Tuesday, December 8, 2020

HONEY-MULLED APPLE CIDER


HONEY-MULLED  APPLE  CIDER


*Use either honey or brown sugar to sweeten the drink.


6  cinnamon sticks

20  WHOLE cloves

20  WHOLE allspice

2  large apples, sliced and cored  (one green Granny and one Gala are preferred)

1 gallon  apple juice 

1/2  cup honey OR packed brown sugar  


OR - skip adding honey or brown sugar all together!  The handsome Bret Sr.'s recommendation is "don't add any extra sweetener... the apple juice is sweet enough."  But let's be real.  Sugar addiction and recipe habits are in play here...


PLUS  -  I'm about to add two optional toppings:

Caramel sauce

Whipped cream


Press all of the whole cloves and whole allspice into apple slices. 


You may not have enough spices for all your apple slices - that's okay!  Be sure to get all the apple slices INTO your cooking pot. 


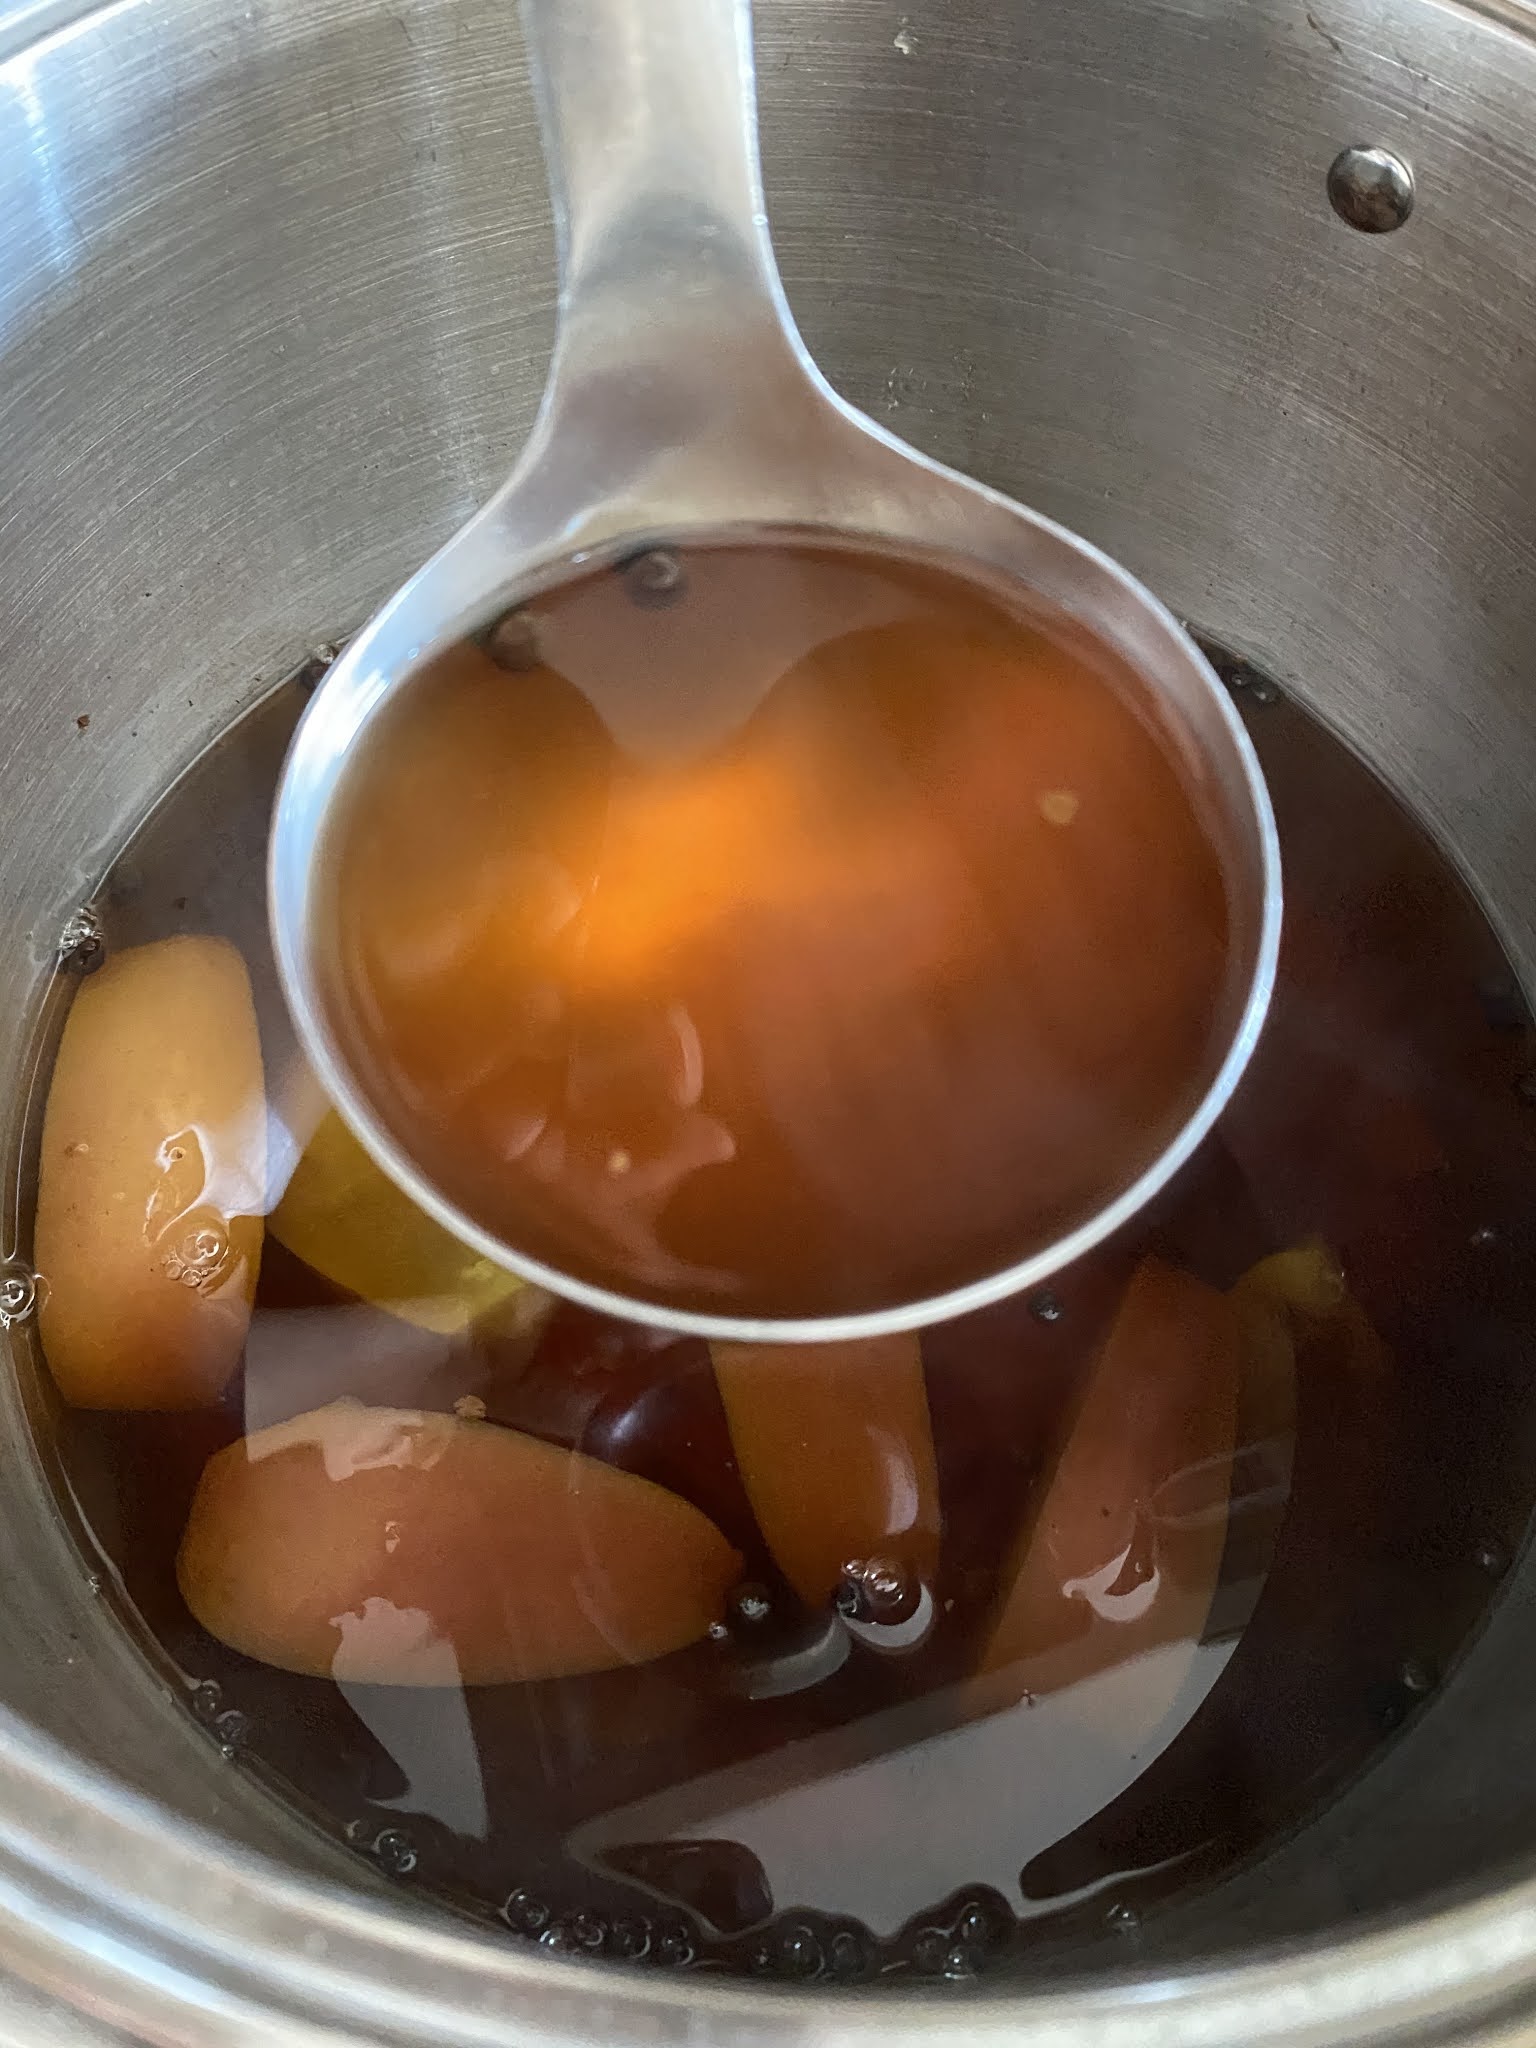
Carefully pour apple juice into a very large cooking pot.


Add your apple slices with spices and cinnamon sticks to the apple juice in the pot.


Add honey or brown sugar.  Stir in gently.


Cover.  


Bring to a gentle boil and either turn off the heat and let steep, or keep on low for a few hours and let your apple cider linger-longer on your stovetop for easy mug refills...


Top with whipped cream and caramel sauce.


FOR A Crock Pot / SLOW COOKER:


1/2  the recipe

Cook on LOW: 5 to 6 hours

HIGH: 2 1/2 to 3 hours.


Click Link FOR:    Mama Jo's Recipe Blog TABLE OF CONTENTS  


Monday, November 30, 2020

Baked Dijon and Lime Chicken


Gavin's new favorite dinner... :0)

Bonus:  Makes quite a bit, and it re-heats beautifully!

Pair with:  Rice Pilaf and a salad OR vegetable


Baked Dijon and Lime Chicken


PRE-HEAT  your oven to 400 degrees.


3 to 5 pounds of chicken breast

9  TABLESPOONS  coarse dijon mustard
3  TABLESPOONS mayonaise
6-8  cloves of garlic minced
3  limes, juiced
2  limes zested (zest is a fancy word for grated) 
...just use the limes you just juiced!
1/4  cup dry parsley
3  teaspoons Kosher salt
2  teaspoons coarse black pepper


Prepare your chicken by splitting the breasts into two sections to even out the thickness of each portion.

In a large bowl combine all the remaining ingredients.

Add your split chicken breasts into the bowl and mix together until mixture is coated on each piece of chicken.

Transfer the chicken pieces to a 9X13 baking dish. 

Layer the chicken pieces into 2 layers; taking care to layer them flat.

Scrap any remaining mixture onto the top layer of chicken.

Bake at 400 degrees for 30-35 minutes.  

Serve with pan drippings.

(NOTE:   ...AND FOR YOUR LEFTOVERS!!!  Keep those pan drippings!  Store and reheat the chicken and rice with them.)


Saturday, November 28, 2020

Double Trouble Pancakes (Gluten-FREE)


OH!  It's YOU!  HELLLOOO there!!!  

WHERE have YOU been???  

I think the last time I saw you was April or March???

...Actually.  It's been me, hasn't it?  

I confess - it's been me, not you.  :0)

Caught!  AND IN TROUBLE!  

(Although maybe I won't be in as much trouble if I tell you I have a drafted recipe for every month that I've missed since April!  This whole COVID crap... My kids were at home doing school and took over the computer... and then there was home MTC - Missionary Training Center - in the office on the computer for 6/7 straight weeks... I got out of the habit!  And now I'm annoyed that all my new favorite recipes aren't on my blog.)

Fittingly I have these "Double Trouble Pancakes" for your breakfast and gluten-free pleasure.  This recipe is adapted from my sister-in-law's.  And truly, she's the one in trouble... and one of the reasons for the name of them.  

Let me explain both reasons for you here and now:
1 - When asked for the recipe this summer, she left out two ingredients.  
Probably not intentional... :0/  Her oldest child had just gotten married.  
(But she's still in trouble.)
2 - There are two sets of gluten-free flours used, and there are two sets of leavening agents used.

Hence - "Double Trouble Pancakes".  
Named by Payton Olivia.


... ... ... ... ... ... ... ... ... ... 


Double Trouble Pancakes


2 cups  Pamela's Gluten-Free Pancake Mix 
2 cups  Gluten-FREE Flour Mix  (scroll past the extra photos to find the recipe linked below)
4 teaspoons baking POWDER
2 teaspoons baking SODA
1/3 cup  OR  1/2  cup sugar

5-6 cups buttermilk
1/2 cup vegetable oil
6-7 eggs, beaten


Note:  The variations given for sugar, buttermilk and number of eggs depends on your thickness/sweetness preferences.  The athletes in my house prefer less sugar and more eggs... and if you like a thinner pancake - use more buttermilk.


In a LARGE bowl, mix dry ingredients.

Mixing by hand, combine with dry ingredients in the following order:
Add buttermilk and mix - Add oil and mix - Add beaten eggs and mix.

Mix thoroughly by hand.

Use PAM or some form of cooking spray for your griddle.  


I fell in love with the texture and taste at first bite!!!
Thank you Heidi for sharing some of the recipe...
You're still in trouble!  XOXO  Love you!  :0)


... ... ... ... ... ... ... ... ... ... 
(It's a recipe FOR your recipe!)

CLICK TO GO TO: 


... ... ... ... ... ... ... ... ... ... 


Wednesday, April 1, 2020

Baking with Natural Yeast - The MAKING of Dehydrated Yeast Flakes


There's been a trend the last few weeks... I've seen it.  There has been an up-tick with baking at home (and now NO flour or sugar in the store!).   In addition to baking, there's been lots of things going on at home - homeschooling, guest room closet organizing, home-project-to-do-lists, and (in addition to all of these) I think one of them has been cleaning out the fridge.

...AND I would bet money more than a few of you cleaned out your fridge at some point in the last 3 weeks, found your supply of "Dotty" (what I named my Natural Yeast a LONG time ago) dried up, stored in a ziplock at the back of your fridge and realized that you had in your hand the ability to make your own bread; and not just ONCE - the ability to make bread for as LONG as necessary.

I need to apologize and I will do it quickly here and now:  I laughingly said at nearly every basic natural yeast bread lesson "OK! This dehydrated yeast is for when the zombie apocalypse happens and there's no bread in the store!  Keep this in your fridge until then... "  Again, I am so sorry.  Much to my boy's disappointment, there are no zombies.  Regardless - zombies or NO zombies - store bread is indeed either gone or in short supply with COVID-19 either keeping people in their homes and/or making huge grocery shopping trips.

Back to the dehydrated Natural Yeast in your hand as you clean out your fridge...

Over the last few years I've sent dry natural yeast flakes in the mail, handed them out the car window in the parking lot at church, and MOSTLY there has been an ample supply of them given freely at any of the basic natural yeast bread lessons I've done individually or in large groups.

My blog post to re-hydrate said flakes has been viewed more than anything else the last few weeks...

You've brought your supply of "Dotty" back to life!  The perpetuation makes me happy!

Now let's use it to re-supply that corner at the back of your fridge - perpetuate "Dotty" a few more years; share her a few more times...

PLUS - knowing that this blog post is now wanted is the push I needed.  I had been meaning to post this post for far too long.


I usually give myself 2-3 days to leave this out on the counter.  I definitely don't plan on having people over for dinner if I'm in the middle of this... I already decorate like an old gypsy - I don't need to add everything else I do to the decor!

You can start this process without making bread, however, the photos for this post will show the process with.  I just do it all at once - starting the dehydrating process pairs perfectly with making natural yeast bread as follows:


NOTE:  These are NOT the same "natural" yeast flakes that you find/buy at the grocery store.  These are a living organism used for the leavening of bread and other baked goods.


CLICK  LINK  FOR:    Baking with Natural Yeast - BASIC LOAF


Gather your supplies!


Ready to use Natural Yeast from the fridge.
(HAPPY and HEALTHY yeast is preferred... 
and dare I say required)

Parchment paper

Cutting board
 (to move your drying Natural Yeast if needed)

Flour

Filtered drinking water

Fork


You'll need a piece of parchment paper
large enough to
cover your cutting board.


IF you're making bread - use the Natural Yeast
amount needed and then feed your jar as normal.

Add flour and water to feed your jar of Natural Yeast.

NOTE:  When adding your flour and water,
do NOT exceed 1/2 of the amount of Natural Yeast in your jar.

EXAMPLE:  After adding Natural Yeast to my bread mix shown in the above photo on the right,
my jars each had a 2 cups remaining.
I added 1 cup flour and 1 cup water to each
jar and mixed thoroughly. 


Place 1/4 cup - 1/2 cup of mixed Natural Yeast
on your parchment paper.


Spread out as THIN as you can.
There will be thicker spots than others... No worries!
It will all eventually dry-out!
EVEN in Houston in the summer it will dry out...
It just takes a lot longer.


DAY  1 - 7PM

(Made pizza the next day with the dough)


DAY  2 - 12 noon


DAY  2 - 8PM


DAY  3 - 10AM

(Made bread with the dough)


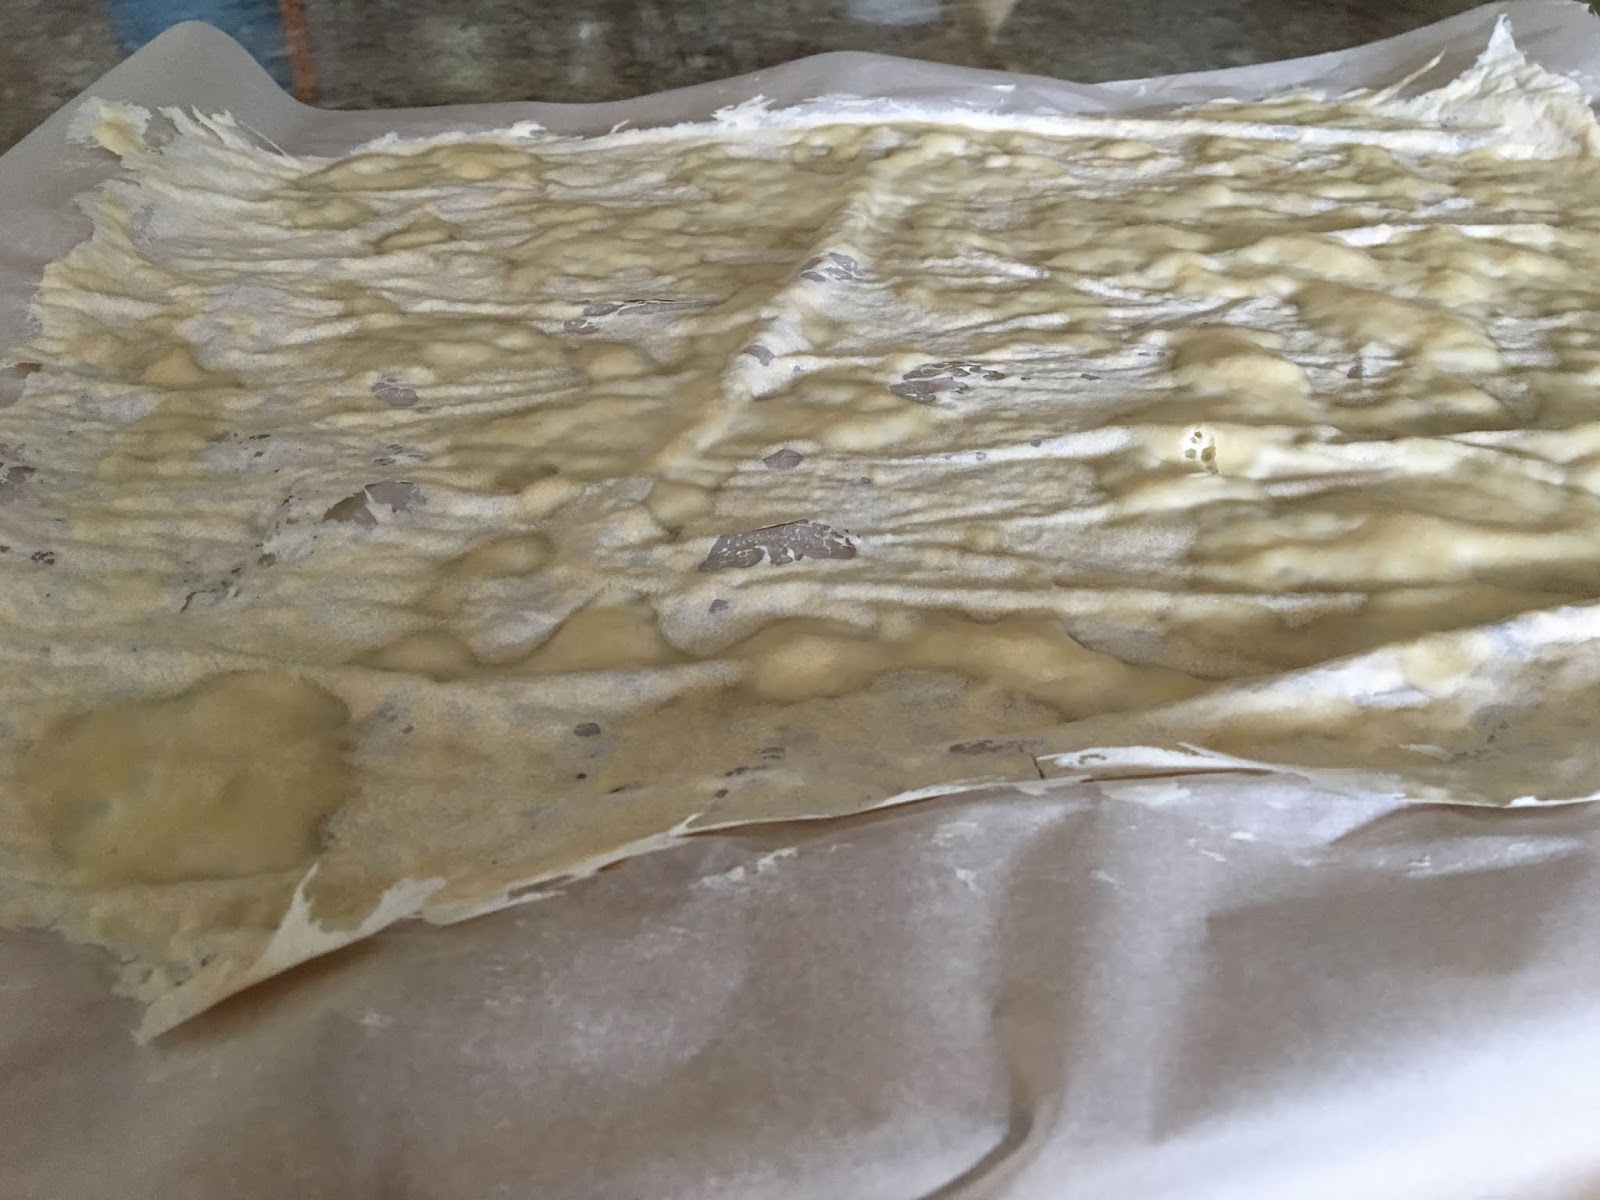
The parchment paper will conform
to the dryness of the Natural Yeast.
It will likely start breaking into large pieces -

MOST  IMPORTANTLY  -
It will be dry to touch and you won't see ANY
wetness, even in the thicker parts of it.


Grab your supplies to store your now
dehydrated Natural Yeast.

Sharpie
Quart-size "freezer" bag
rubberband


The pieces will brake and crumble easily.
Some may need a little more help
to break than others.

Perfectly fine!!!
It will all re-hydrate when needed.


Get as much air out of your bag as
you can before sealing it up -

I prefer using a "freezer" quart size
for the thickness and
long-term storing abilities of the plastic.

Secure with a rubber band -
and remember to date your yeast!

I usually have 2 or 3 of these bags
stored in the back of my fridge.

Putting on the date you stored it will
help you use up or share
the oldest one first...


DONE.  READY!

Store in your fridge for sharing,
First-Aid for your jar of natural yeast,
or for the next (hopefully NEVER!) quarantine.


CLICK  LINK  FOR:    Mama Jo's Recipes - Table Of Contents


CLICK  LINK  FOR:    Baking with Natural Yeast - PIZZA


Friday, February 14, 2020

Potato Waffles


NOTE to self:   Your waffle maker isn't just for breakfast!!!

I think the thing I miss most about watching T.V. is that I no longer enjoy all the ideas from the Food Network channel.  This is one of them... Your waffle maker can be used in creative ways!  THINK:  Easy-Bake-Oven.  It's not just for breakfast waffles: waffle ice cream cookies, or prepped cake mix and you have spongy ice cream sandwich layers; leftover mashed potatoes and you have an enormous savory hash brown...  What else can we come up with???  Please comment with anything else you want to add!  

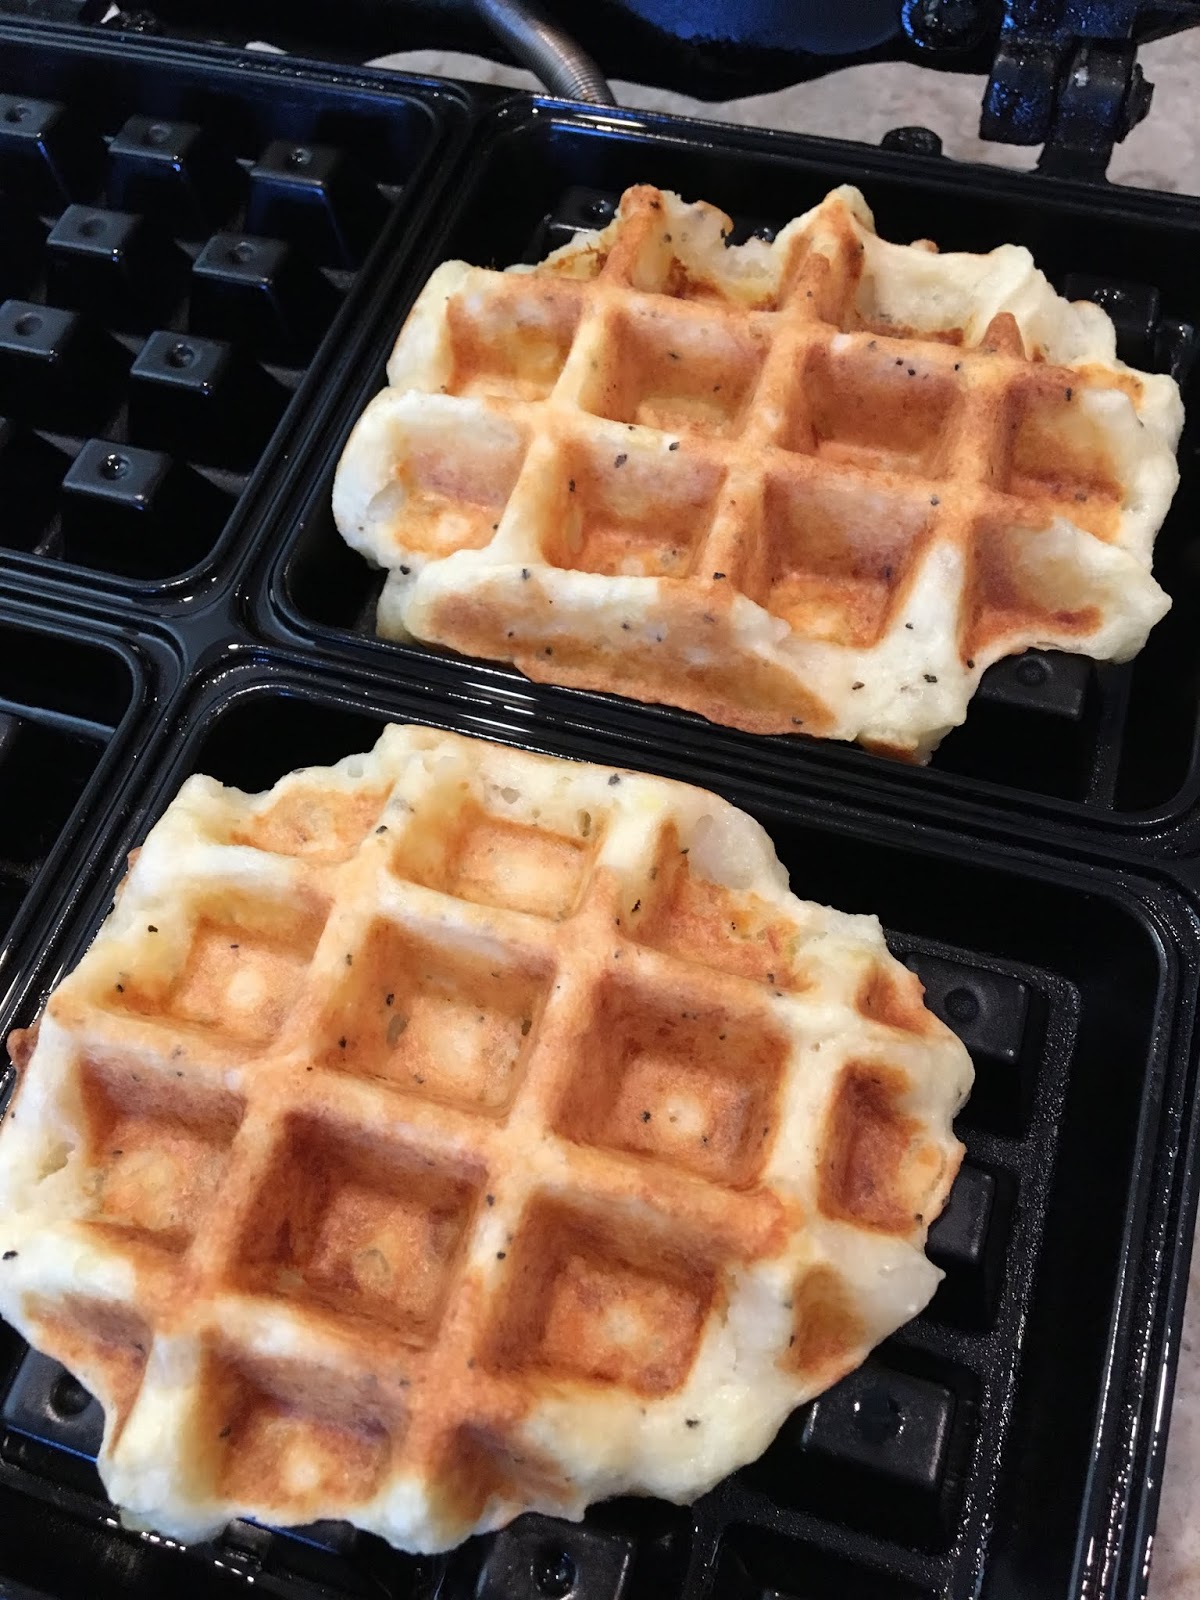
The following recipe will be for the potato waffle.  I  LOVE  IT!  And in my opinion it is the easiest, tastiest, fastest way to reheat and use up any leftover mashed potatoes.  
BONUS:  You don't need a huge amount to feed everyone this side dish.


2 cups mashed potatoes - (i.e.: the leftovers)
3 eggs beaten
1/3 cup Gluten-FREE flour  OR  All-Pourpose flour
1/2 teaspoon Kosher salt
1/2 teaspoon coarse black pepper

Cooking Spray
Waffle Maker


Pre-heat your waffle maker for 10 minutes.

Beat eggs.  Add the flour of your choice, salt and pepper.

(NOTE: Gluten-FREE flour mix recipe at the end of this blog post.)

Flour will be lumpy.  Mix until minimally lumpy.  :0)  

Combine with mashed potatoes and mix throughly.

Spray both the upper and lower portions of the waffle maker.

Scoop 1/4 - 1/3 cup of mixture in to the center of each waffle section.

Cook until golden brown, 8-10 minutes.

Serve with leftover gravy, ketchup OR if y'all are in Texas - Whataburger Spicy Ketchup.


... ... ... ... ... ... ... ... ... ... 
(It's a recipe FOR your recipe!)

CLICK TO GO TO: 


... ... ... ... ... ... ... ... ... ... 


Thursday, February 13, 2020

MAMA JO’S CORNMEAL PANCAKES / BOTH Gluten-FREE & All-Purpose Flour Recipes


Greg Schroeder look away... This breakfast item is indeed listed under DINNER and BREAKFAST.

Breakfast for dinner will never be on Greg's "YES!" list, but it is on our's!!!  Especially this one.

This southern recipe was handed over to my mother years and years ago when I was a little girl.  She was taking oil painting lessons from Tom.  I never met him; and I never knew his last name (I still don't!) but this was originally his recipe and called "Tom's Southern Pancakes".

The original recipe was a little too ambiguous on the amounts and I have had to converted it in recent years to a Gluten-FREE version... and then as a waffle version (MAKE  IT  WITH  BACON  PIECES  IN  IT!!!)...

Sssooooooo...  the following is the Mama Jo version(s) of the Tom's Southern Pancakes.

And if your name is NOT Greg Schroeder PLEASE enjoy this for dinner OR breakfast.  I promise you'll love them as much as we do... day or night.   :0)


MAMA JO’S CORNMEAL PANCAKES: 
Gluten-FREE


3 cups Gluten-FREE flour mix
2 cups cornmeal 
1/2 cup sugar
2 teaspoons baking soda 

8 egg yolks (Gavin, don't throw these out... )
1/2 cup vegetable oil
5 cups buttermilk

8 egg whites, beaten until foamy


In a LARGE bowl, mix dry ingredients.

Mixing by hand, combine with dry ingredients in the following order:
- Add buttermilk and mix 
- Add oil and mix 
- Add egg yolks and mix.

Mix thoroughly by hand.

Beat egg whites and FOLD into mixture.

Use PAM or some form of cooking spray for your griddle.  

Makes 20-30 pancakes.


FOR  WAFFLES:  
Add 2 additional EGGs (egg yolks/egg whites) and an additional 1-2 cups buttermilk.


... ... ... ... ... ... ... ... ... ... 
(It's a recipe FOR your recipe!)

CLICK TO GO TO: 


... ... ... ... ... ... ... ... ... ... 


RECIPE  WITH:  Un-Bleached  All-Purpose  FLOUR


3 cups flour
2 cups cornmeal 
1/2 cup sugar
2 teaspoons baking soda 
1/2 teaspoon salt

6 egg yolks
1/2 cup vegetable oil
1 quart buttermilk (4 cups)

6 egg whites, beaten until foamy


In a LARGE bowl, mix dry ingredients.

Mixing by hand, combine with dry ingredients in the following order:
Add buttermilk and mix - Add oil and mix - Add egg yolks and mix.

Mix thoroughly by hand.

Beat egg whites and FOLD into mixture.

Use PAM or some form of cooking spray for your griddle.  

Makes 20-30 pancakes.


FOR  WAFFLES:  
Add an additional EGG (egg yolk/egg white) and an additional 1 cup buttermilk.


... ... ... ... ... ... ... ... ... ... 
(It's a recipe FOR your recipe!)

CLICK TO GO TO: 


... ... ... ... ... ... ... ... ... ... 

Click Link FOR:    Mama Jo's Recipe Blog TABLE OF CONTENTS


My favorite oil painting that my mother did of
Mirror Lake at Mt. Hood, Oregon.
So lovely!