2 pounds split green peas
1 pound bacon
1 large onion
12 carrots
1 bundle of garlic
12 cups cold water
1 ham-hock (OPTIONAL)
3 teaspoons Kosher salt
1 teaspoon coarse black pepper
Before you start cooking:
take your 2 pounds of split green peas and soak in filtered water.
take your 2 pounds of split green peas and soak in filtered water.
In the large pot you are going to use for your Split Pea Soup, brown:
1 pound of bacon; cut into 1 inch pieces before browning.
Set aside your brown and crispy bacon for when your soup is done cooking.
In the pot, leave the bacon grease and add:
1 large (2 medium/small) onion, diced
1 large (2 medium/small) onion, diced
When onion is translucent and starting to caramelize, add:
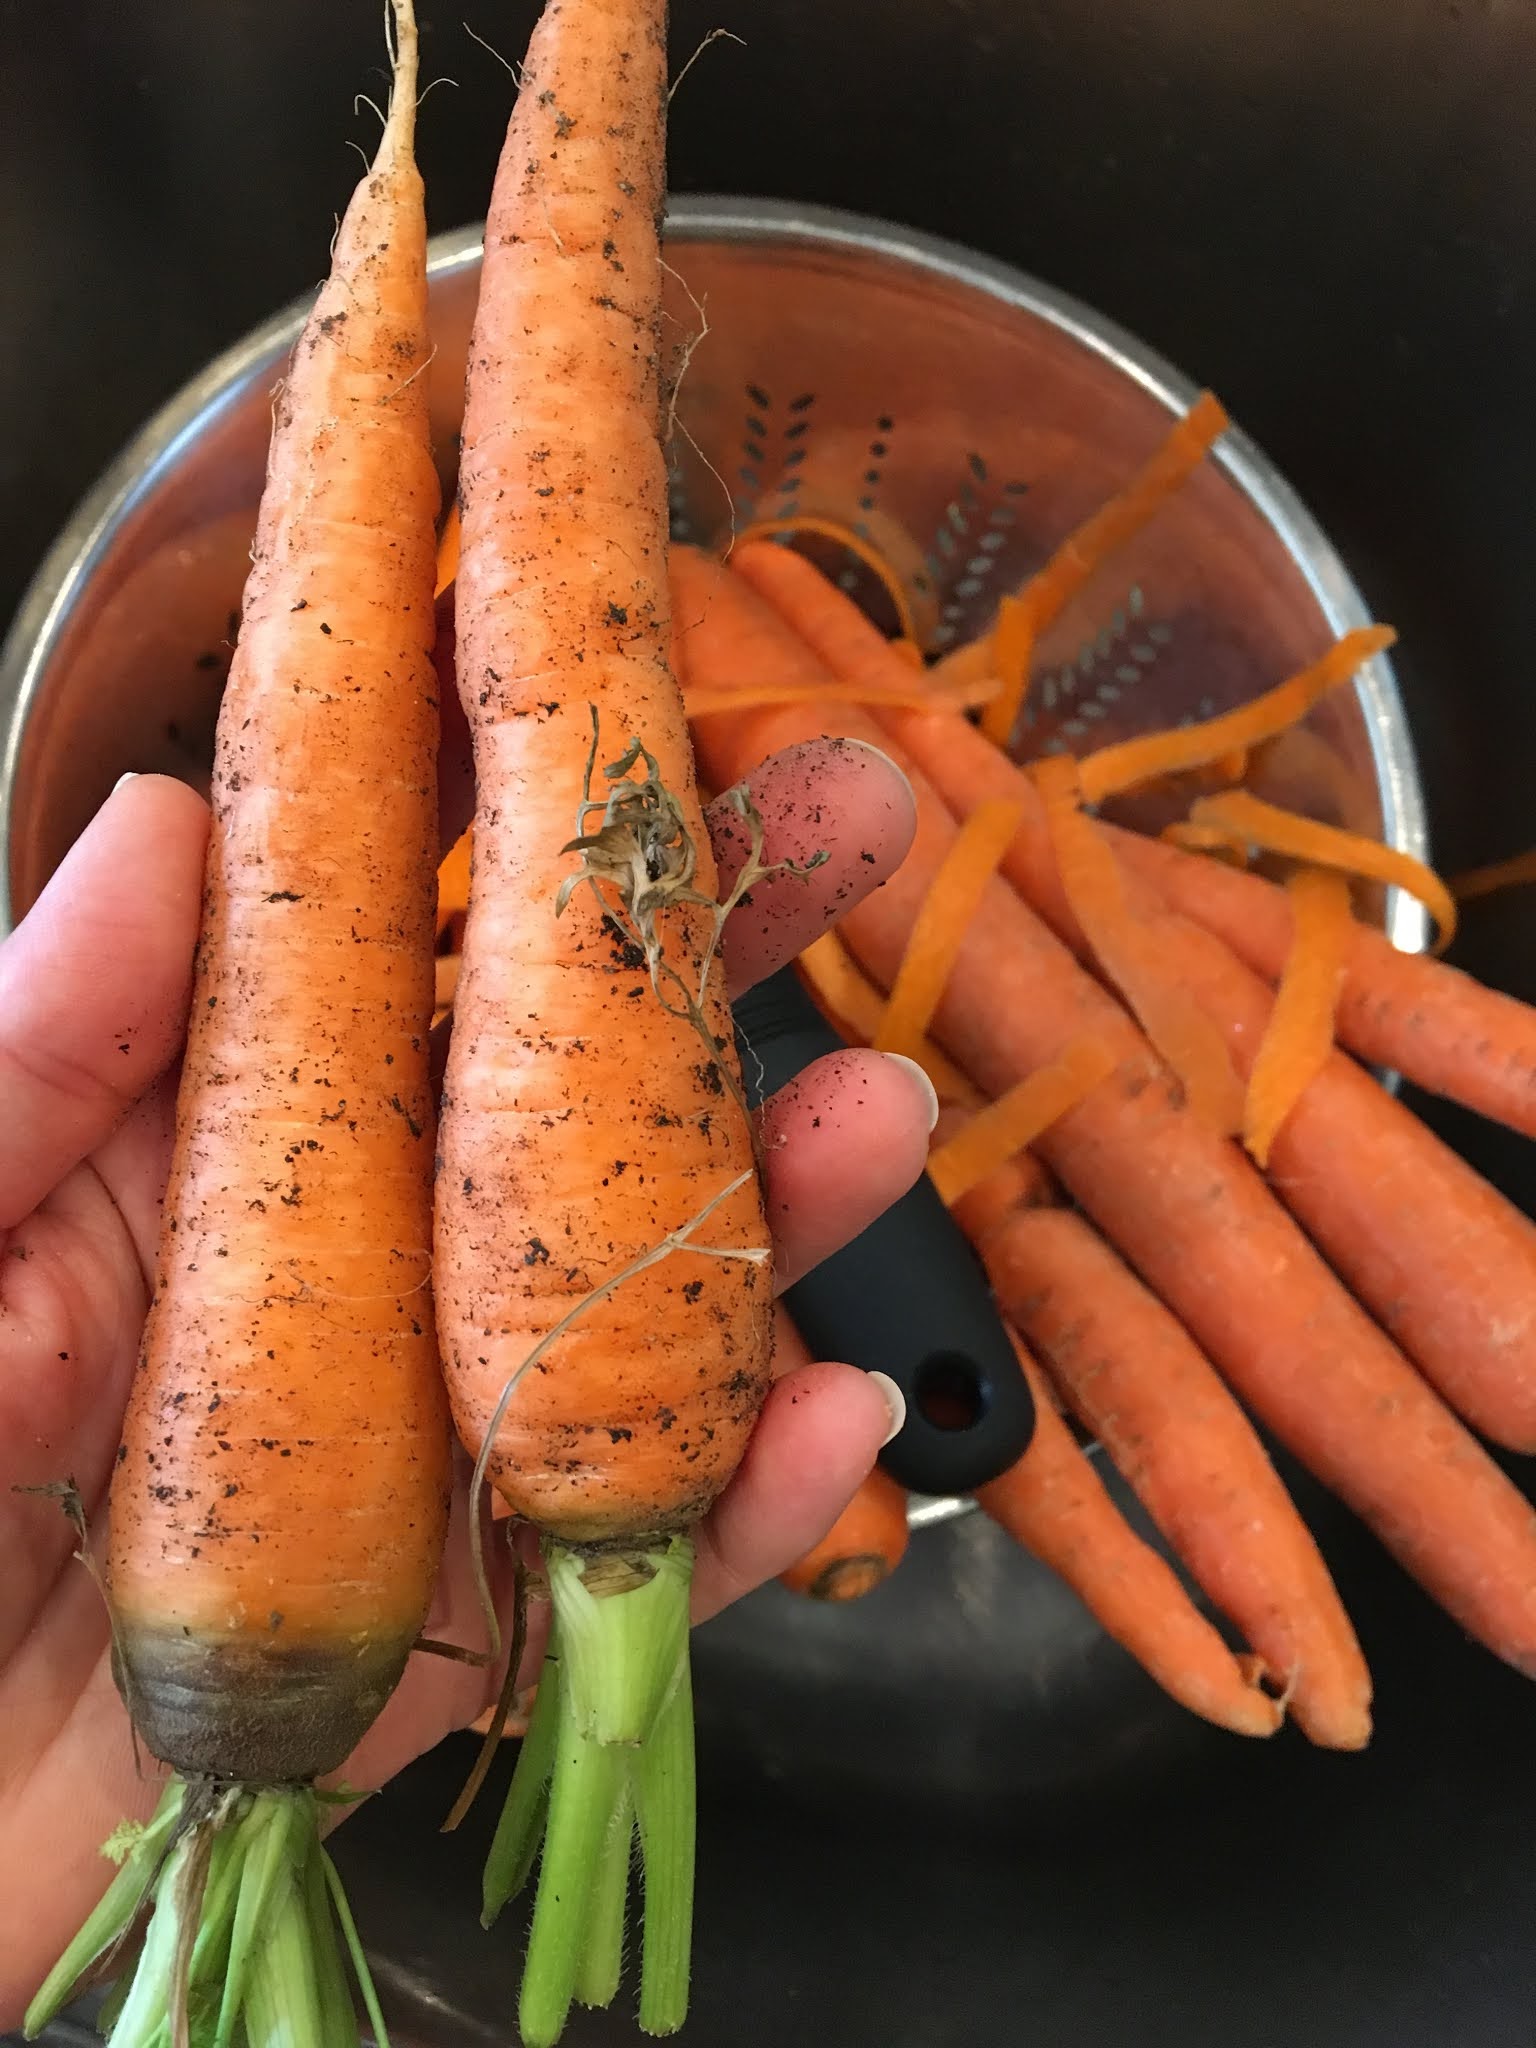
10-12 carrots (2 pounds), peeled and sliced
1 bundle of garlic, minced
Add to everthing you’ve cooked in a soup pot:
12 cups cold water
12 cups cold water
2 pounds split green peas - rinsed
Optional: Add a ham-hock bone for the remaining cooking time.
Bring to a boil, reduce the heat to low and let simmer for 1 hour.
Stir consistently - you DO NOT want to scorch the bottom of your lovely soup.
Add water WHEN and IF necessary; IE: the cooking water is gone and your split peas are still looking crunchy...
Add 3 teaspoons Kosher salt and 1 teaspoon coarse ground black pepper.
Simmer for an hour - (ADD 1 cup of water... if necessary. See note above about adding water!)
Simmer for one more hour and TASTE - ADD Kosher salt and coarse ground black pepper to taste.
Stir in your browned bacon into the soup.
Serve with cornbread or or toasted natural yeast bread.
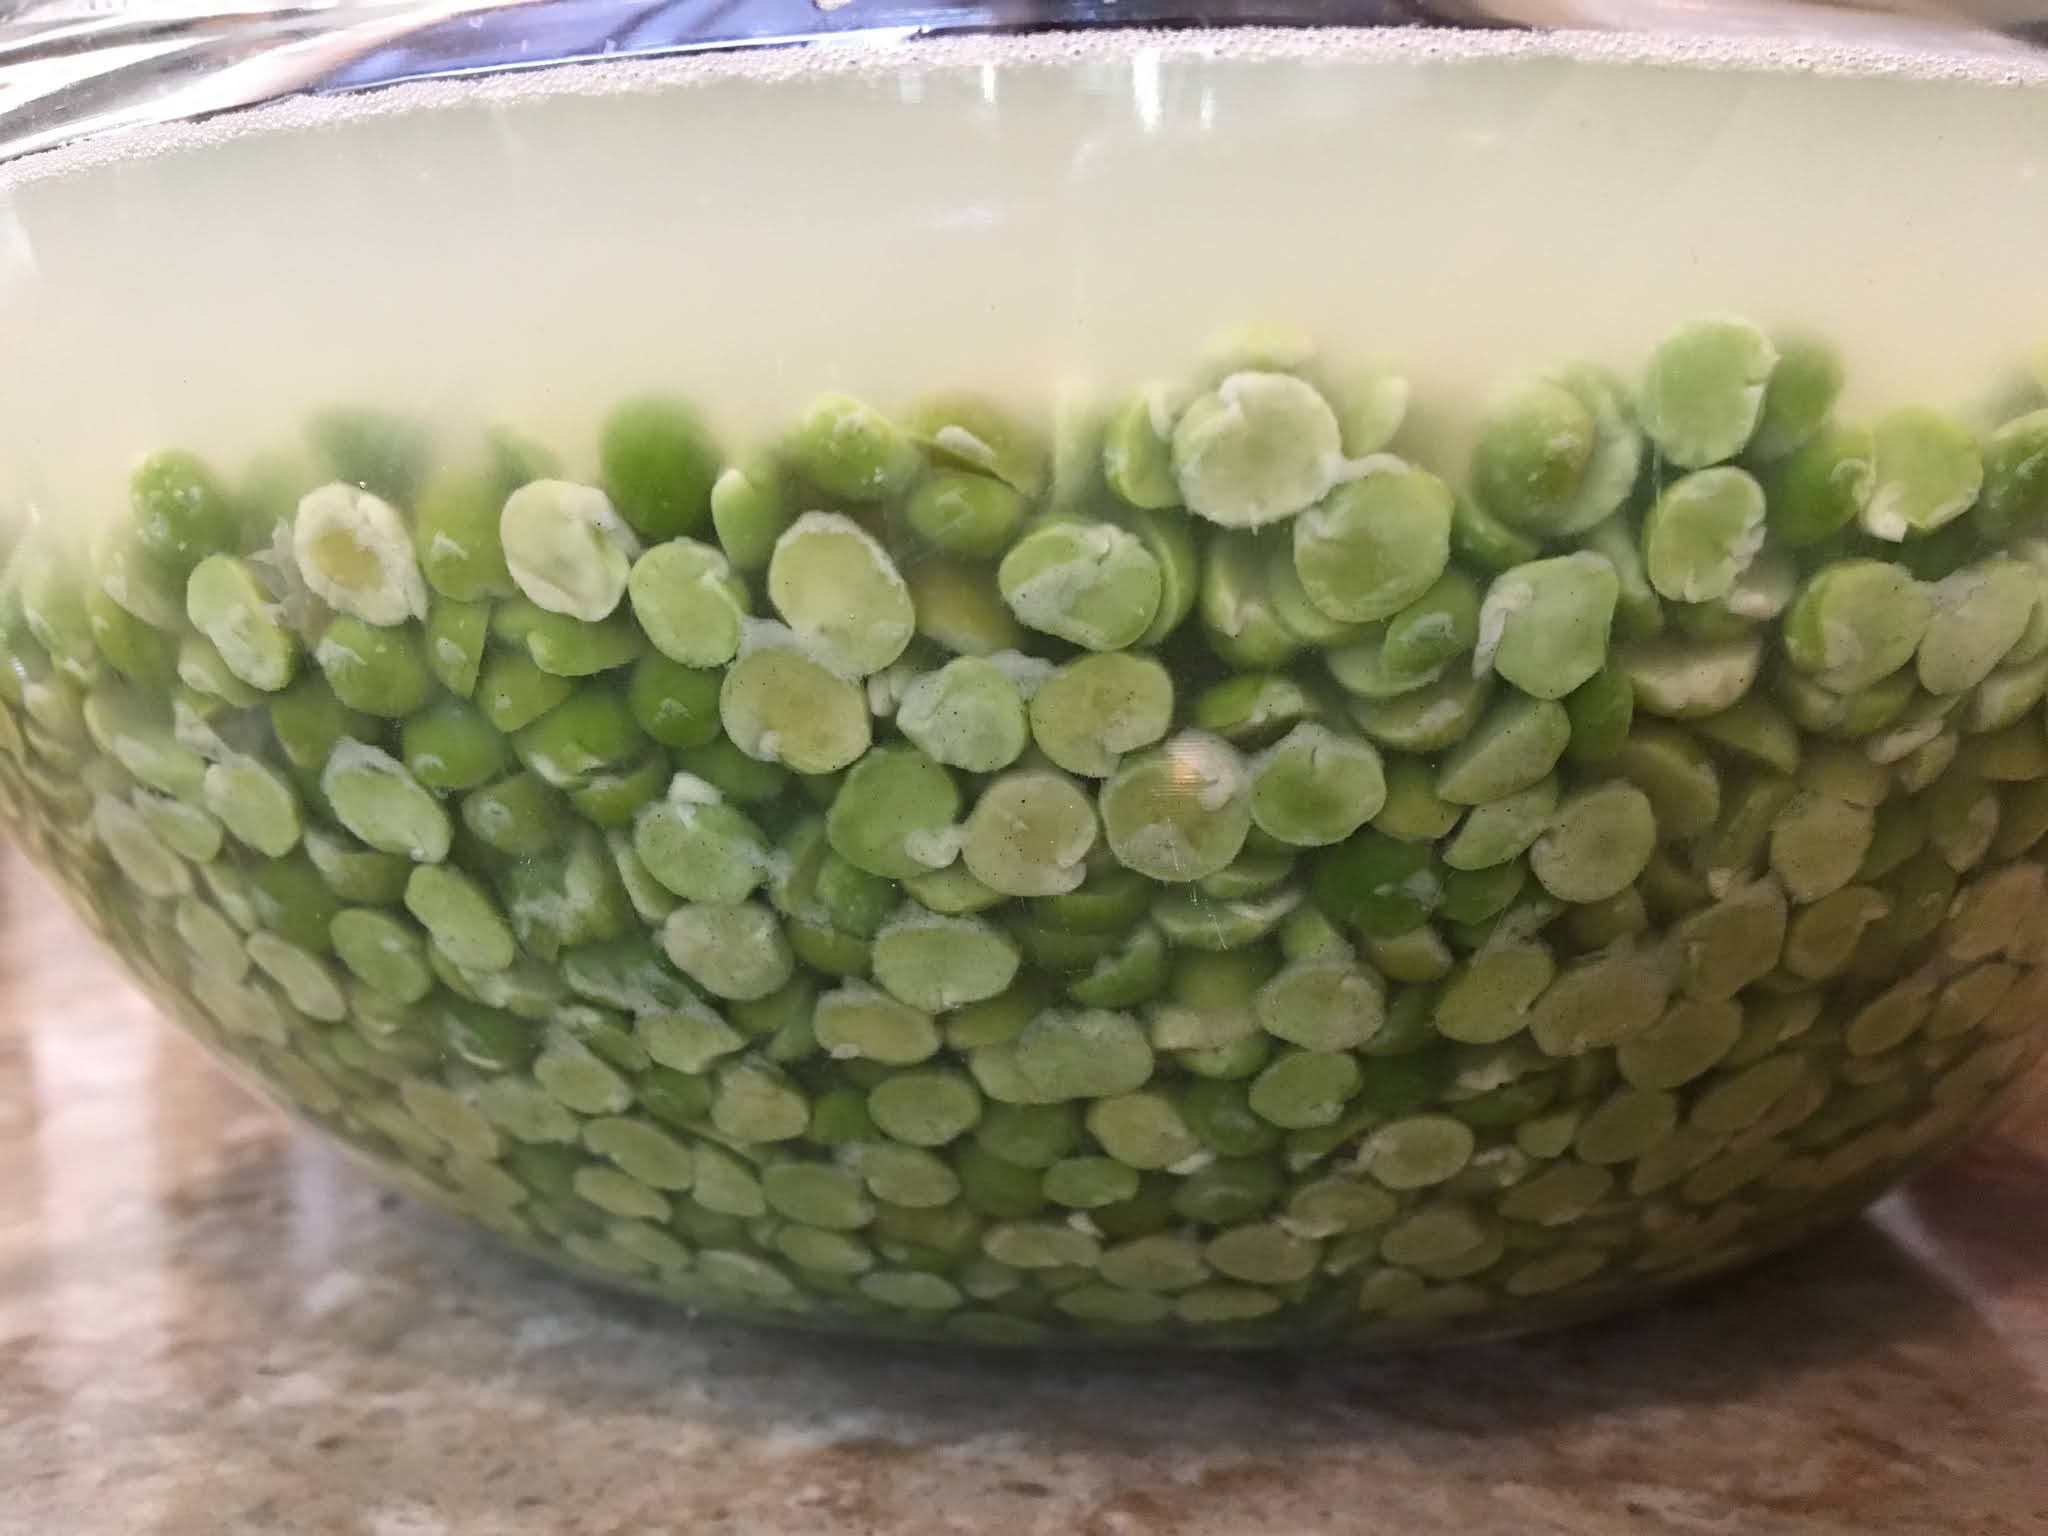 |
| Before you start cooking: take your 2 pounds of split green peas and soak in filtered water. |


 |
When onion is translucent and starting to caramelize, add: 10-12 carrots (2 pounds), peeled and sliced 1 bundle of garlic, minced |

 |
Add to everthing you’ve cooked in a soup pot: 12 cups cold water 2 pounds split green peas - rinsed Optional: Add a ham-hock bone for the remaining cooking time. |
 | ||
Simmer for an hour - (ADD 1 cup of water... if necessary. See note above about adding water!) Simmer for one more hour and TASTE - ADD Kosher salt and coarse ground black pepper to taste. Stir in your browned bacon into the soup.
|

Link to recipe for: Basic Natural Yeast Bread
Click Link FOR: Mama Jo's Recipe Blog TABLE OF CONTENTS