Thursday, February 13, 2020

MAMA JO’S CORNMEAL PANCAKES / BOTH Gluten-FREE & All-Purpose Flour Recipes


Greg Schroeder look away... This breakfast item is indeed listed under DINNER and BREAKFAST.

Breakfast for dinner will never be on Greg's "YES!" list, but it is on our's!!!  Especially this one.

This southern recipe was handed over to my mother years and years ago when I was a little girl.  She was taking oil painting lessons from Tom.  I never met him; and I never knew his last name (I still don't!) but this was originally his recipe and called "Tom's Southern Pancakes".

The original recipe was a little too ambiguous on the amounts and I have had to converted it in recent years to a Gluten-FREE version... and then as a waffle version (MAKE  IT  WITH  BACON  PIECES  IN  IT!!!)...

Sssooooooo...  the following is the Mama Jo version(s) of the Tom's Southern Pancakes.

And if your name is NOT Greg Schroeder PLEASE enjoy this for dinner OR breakfast.  I promise you'll love them as much as we do... day or night.   :0)


MAMA JO’S CORNMEAL PANCAKES: 
Gluten-FREE


3 cups Gluten-FREE flour mix
2 cups cornmeal 
1/2 cup sugar
2 teaspoons baking soda 

8 egg yolks (Gavin, don't throw these out... )
1/2 cup vegetable oil
5 cups buttermilk

8 egg whites, beaten until foamy


In a LARGE bowl, mix dry ingredients.

Mixing by hand, combine with dry ingredients in the following order:
- Add buttermilk and mix 
- Add oil and mix 
- Add egg yolks and mix.

Mix thoroughly by hand.

Beat egg whites and FOLD into mixture.

Use PAM or some form of cooking spray for your griddle.  

Makes 20-30 pancakes.


FOR  WAFFLES:  
Add 2 additional EGGs (egg yolks/egg whites) and an additional 1-2 cups buttermilk.


... ... ... ... ... ... ... ... ... ... 
(It's a recipe FOR your recipe!)

CLICK TO GO TO: 


... ... ... ... ... ... ... ... ... ... 


RECIPE  WITH:  Un-Bleached  All-Purpose  FLOUR


3 cups flour
2 cups cornmeal 
1/2 cup sugar
2 teaspoons baking soda 
1/2 teaspoon salt

6 egg yolks
1/2 cup vegetable oil
1 quart buttermilk (4 cups)

6 egg whites, beaten until foamy


In a LARGE bowl, mix dry ingredients.

Mixing by hand, combine with dry ingredients in the following order:
Add buttermilk and mix - Add oil and mix - Add egg yolks and mix.

Mix thoroughly by hand.

Beat egg whites and FOLD into mixture.

Use PAM or some form of cooking spray for your griddle.  

Makes 20-30 pancakes.


FOR  WAFFLES:  
Add an additional EGG (egg yolk/egg white) and an additional 1 cup buttermilk.


... ... ... ... ... ... ... ... ... ... 
(It's a recipe FOR your recipe!)

CLICK TO GO TO: 


... ... ... ... ... ... ... ... ... ... 

Click Link FOR:    Mama Jo's Recipe Blog TABLE OF CONTENTS


My favorite oil painting that my mother did of
Mirror Lake at Mt. Hood, Oregon.
So lovely!


Friday, January 3, 2020

CREAMY White Bean, Potato and Bacon Soup (Surprise! ...NON-DAIRY)

Surprise!
This creamy soup is "NON-dairy".
"SANS-dairy".
Or you could say "dairy-FREE".

Really doesn't matter how you pose the phrase.  Still creamy.  Still NON-dairy.

"How???"  you're asking...

My answer is it's the potatoes (make sure you have at least 2 different kinds if not all three!), all the beans, and then a slow/low simmer.

BONUS:  it's even creamy (if not more so!) after coming out of a deep freeze in the freezer.

Enjoy!


1 pound bacon - cut into 1 inch pieces

1 VERY large or 2 medium onions - diced

12-15 potatoes - peeled and cubed into small pieces
POTATO  NOTE:  USE  2 or all 3 of the following:  Red, Yellow Yukon, and/OR Russett

1 garlic bundle (8-10 cloves) - minced
1-2 cups ham - diced  (OPTIONAL)

6 cups water
1/4 cup CHICKEN "Better Than Bullion"
3 teaspoons - SMOKED paprika
3 teaspoons Kosher salt

4 cans (15 oz. each) Great Northern Beans - drained and rinsed
OR
2 pounds DRY Great Northern Beans - pressure cooked - drained and rinsed


In an LARGE cooking pot brown the cut bacon until very crisp.

Remove and set aside.

DO NOT DRAIN BACON GREASE.

COOK diced onion in bacon grease on MED-HIGH until slightly brown and caramelized.

ADD cubed potatoes and stir mixture consistently - and be diligent!
NOTE: The potatoes tend to stick to the bottom of the pan!
Cook for 15-20 minutes.

When potatoes are tender, add minced garlic and turn heat down to a  HIGH SIMMER; cook for 5 minutes stirring mixture consistently.

OPTIONAL  ADDITION:  diced ham

ADD:  water, chicken "Better Than Bullion", smoked paprika, Kosher salt and Great Northern beans (remember to drain and rinse either way you did your beans!).

COOK at a low SIMMER for 30-45 minutes until beans and potatoes are tender.

ADD additional smoked paprika and Kosher salt to taste.

ADD your very crispy bacon!

Serve hot with toasted Natural Yeast Bread slices.


If by chance you have any leftovers, this soup freezes up beautifully!  :0)  Having leftovers doesn't happen very often any more!  Recipes that used to feed our family twice feed us once!  Someday I hope to have my freezer full of leftover soups and chilis to pull out after a crazy-busy day... I used to!  For now I am grateful for a house full of happy (and hungry!) kids.


This recipe is a pantry cleaner for sure!
It seems like I am always making this towards the end
of the month when I am using up what I have left in the pantry...
Hence the ambiguous numbers for the potatoes.
No need to go to the store and buy 4-5 of each kind.
WHAT  DO  YOU  HAVE  IN  THE  PANTRY?


A special acknowledgment for Preston:  
THANK YOU for your amazing patience!  
I think I promised to share this recipe with your mother nearly 2 (maybe 3???) years ago...  
So glad to find out that this is still a favorite of your's!!! 

Wednesday, November 20, 2019

Split Pea Soup - Tried and True


2 pounds split green peas
1 pound bacon
1 large onion
12 carrots
1 bundle of garlic
12 cups cold water
1 ham-hock (OPTIONAL)
3 teaspoons Kosher salt
1 teaspoon coarse black pepper


Before you start cooking:
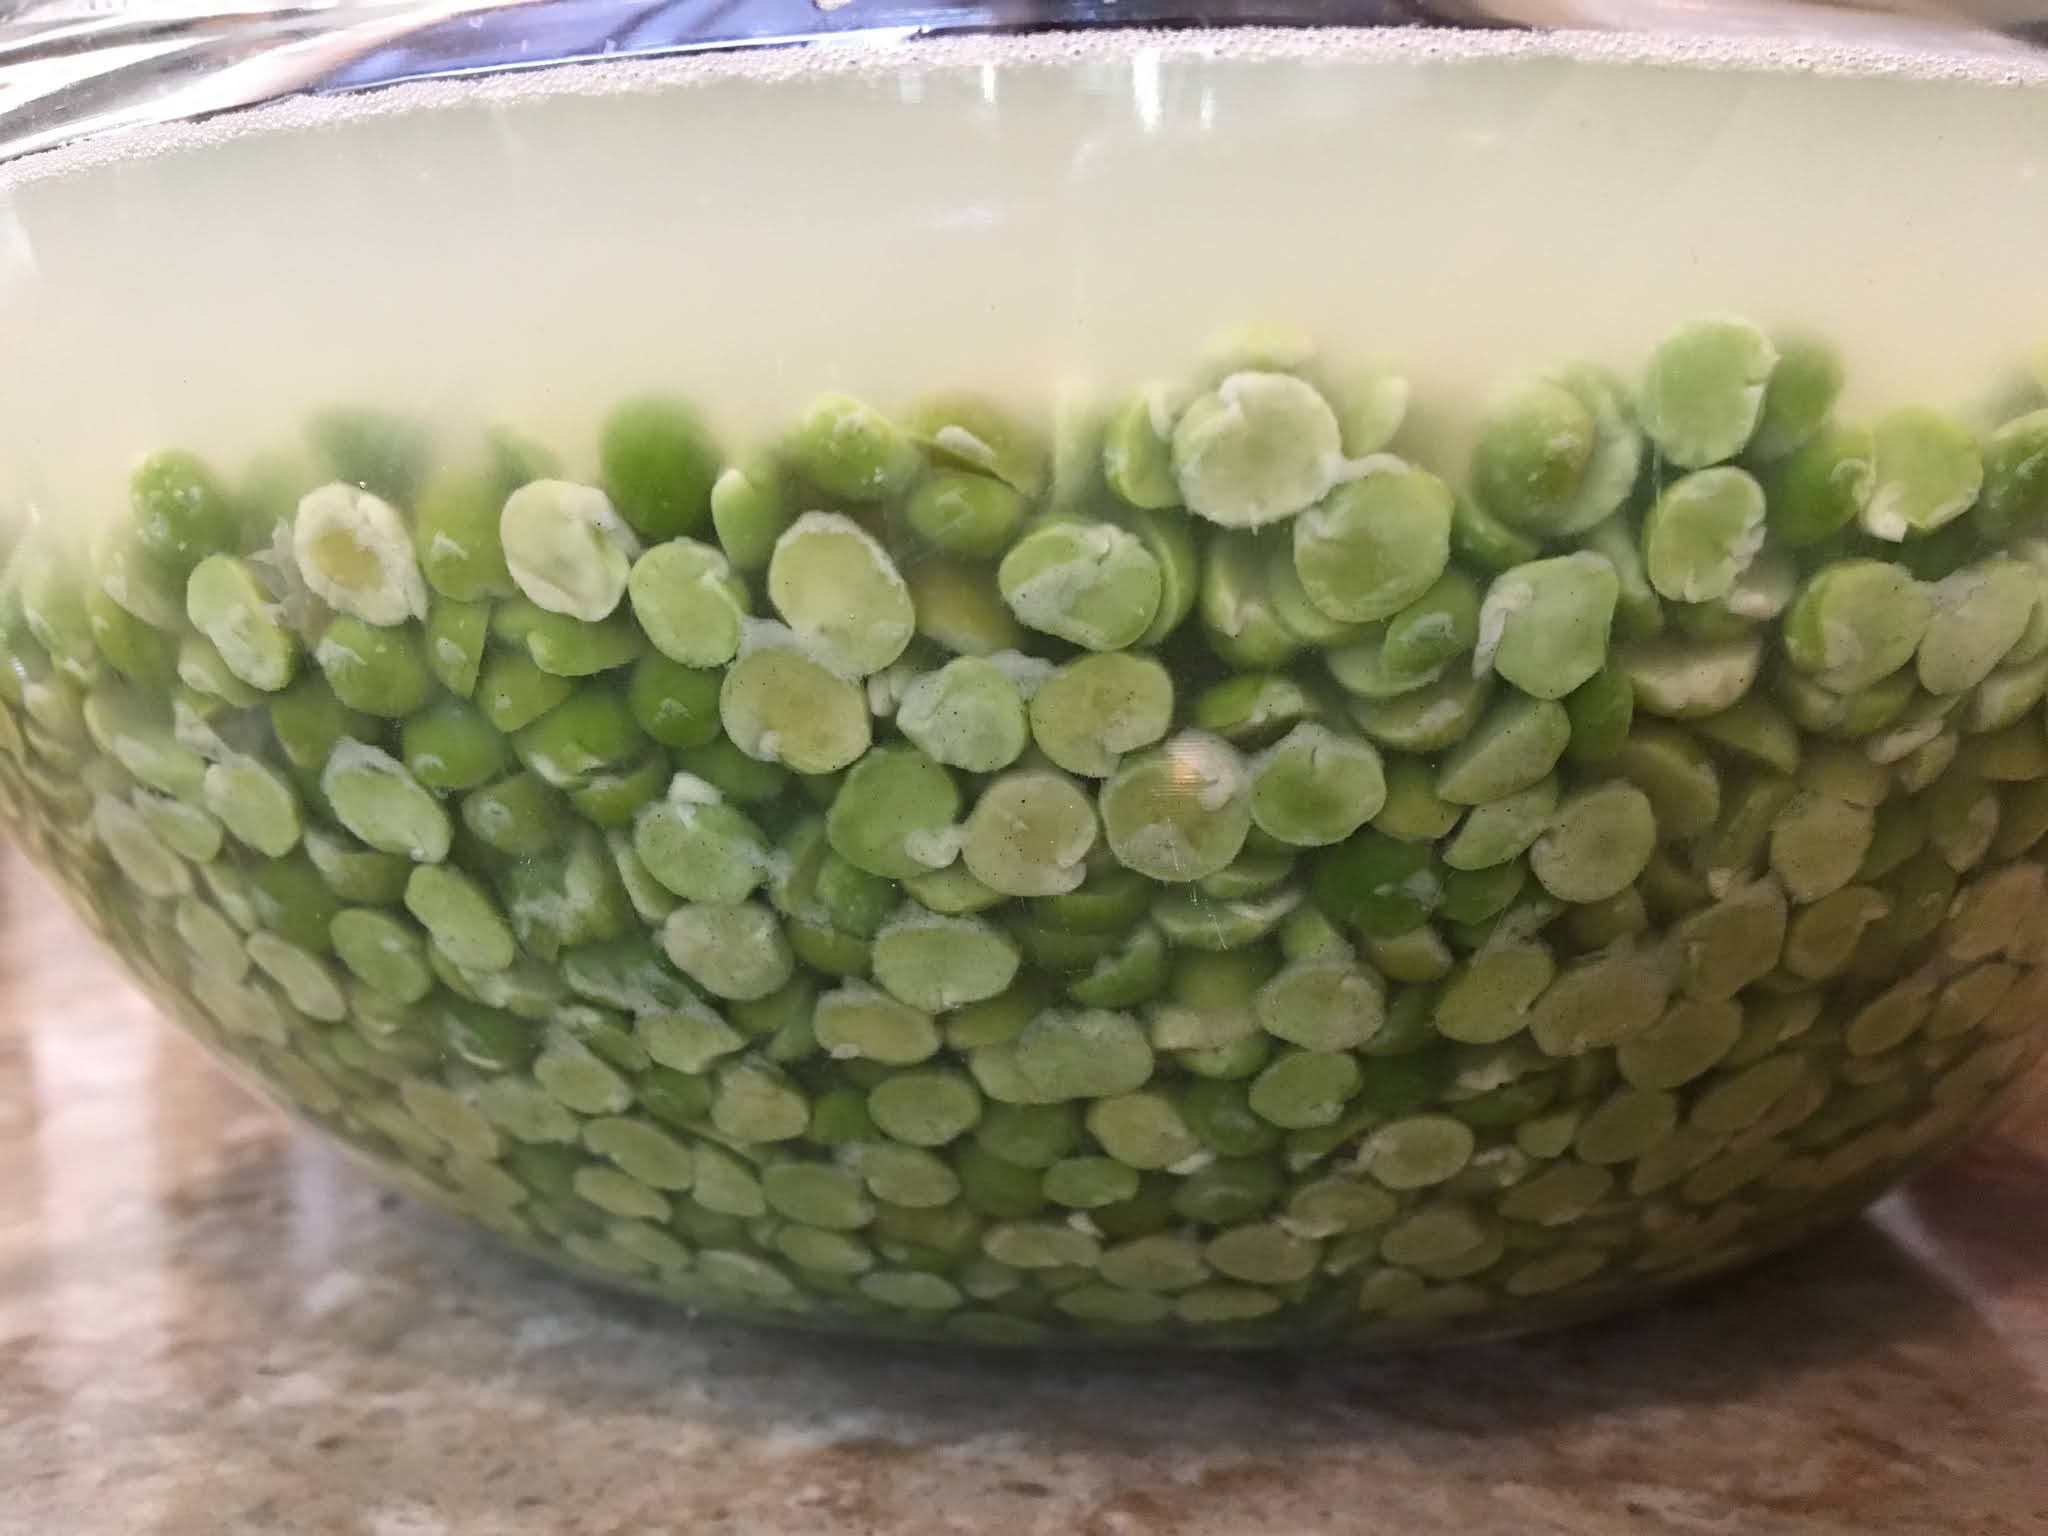
take your 2 pounds of split green peas and soak in filtered water.

In the large pot you are going to use for your Split Pea Soup, brown: 
1 pound of bacon; cut into 1 inch pieces before browning.

Set aside your brown and crispy bacon for when your soup is done cooking.

In the pot, leave the bacon grease and add:
1 large (2 medium/small) onion, diced

When onion is translucent and starting to caramelize, add:
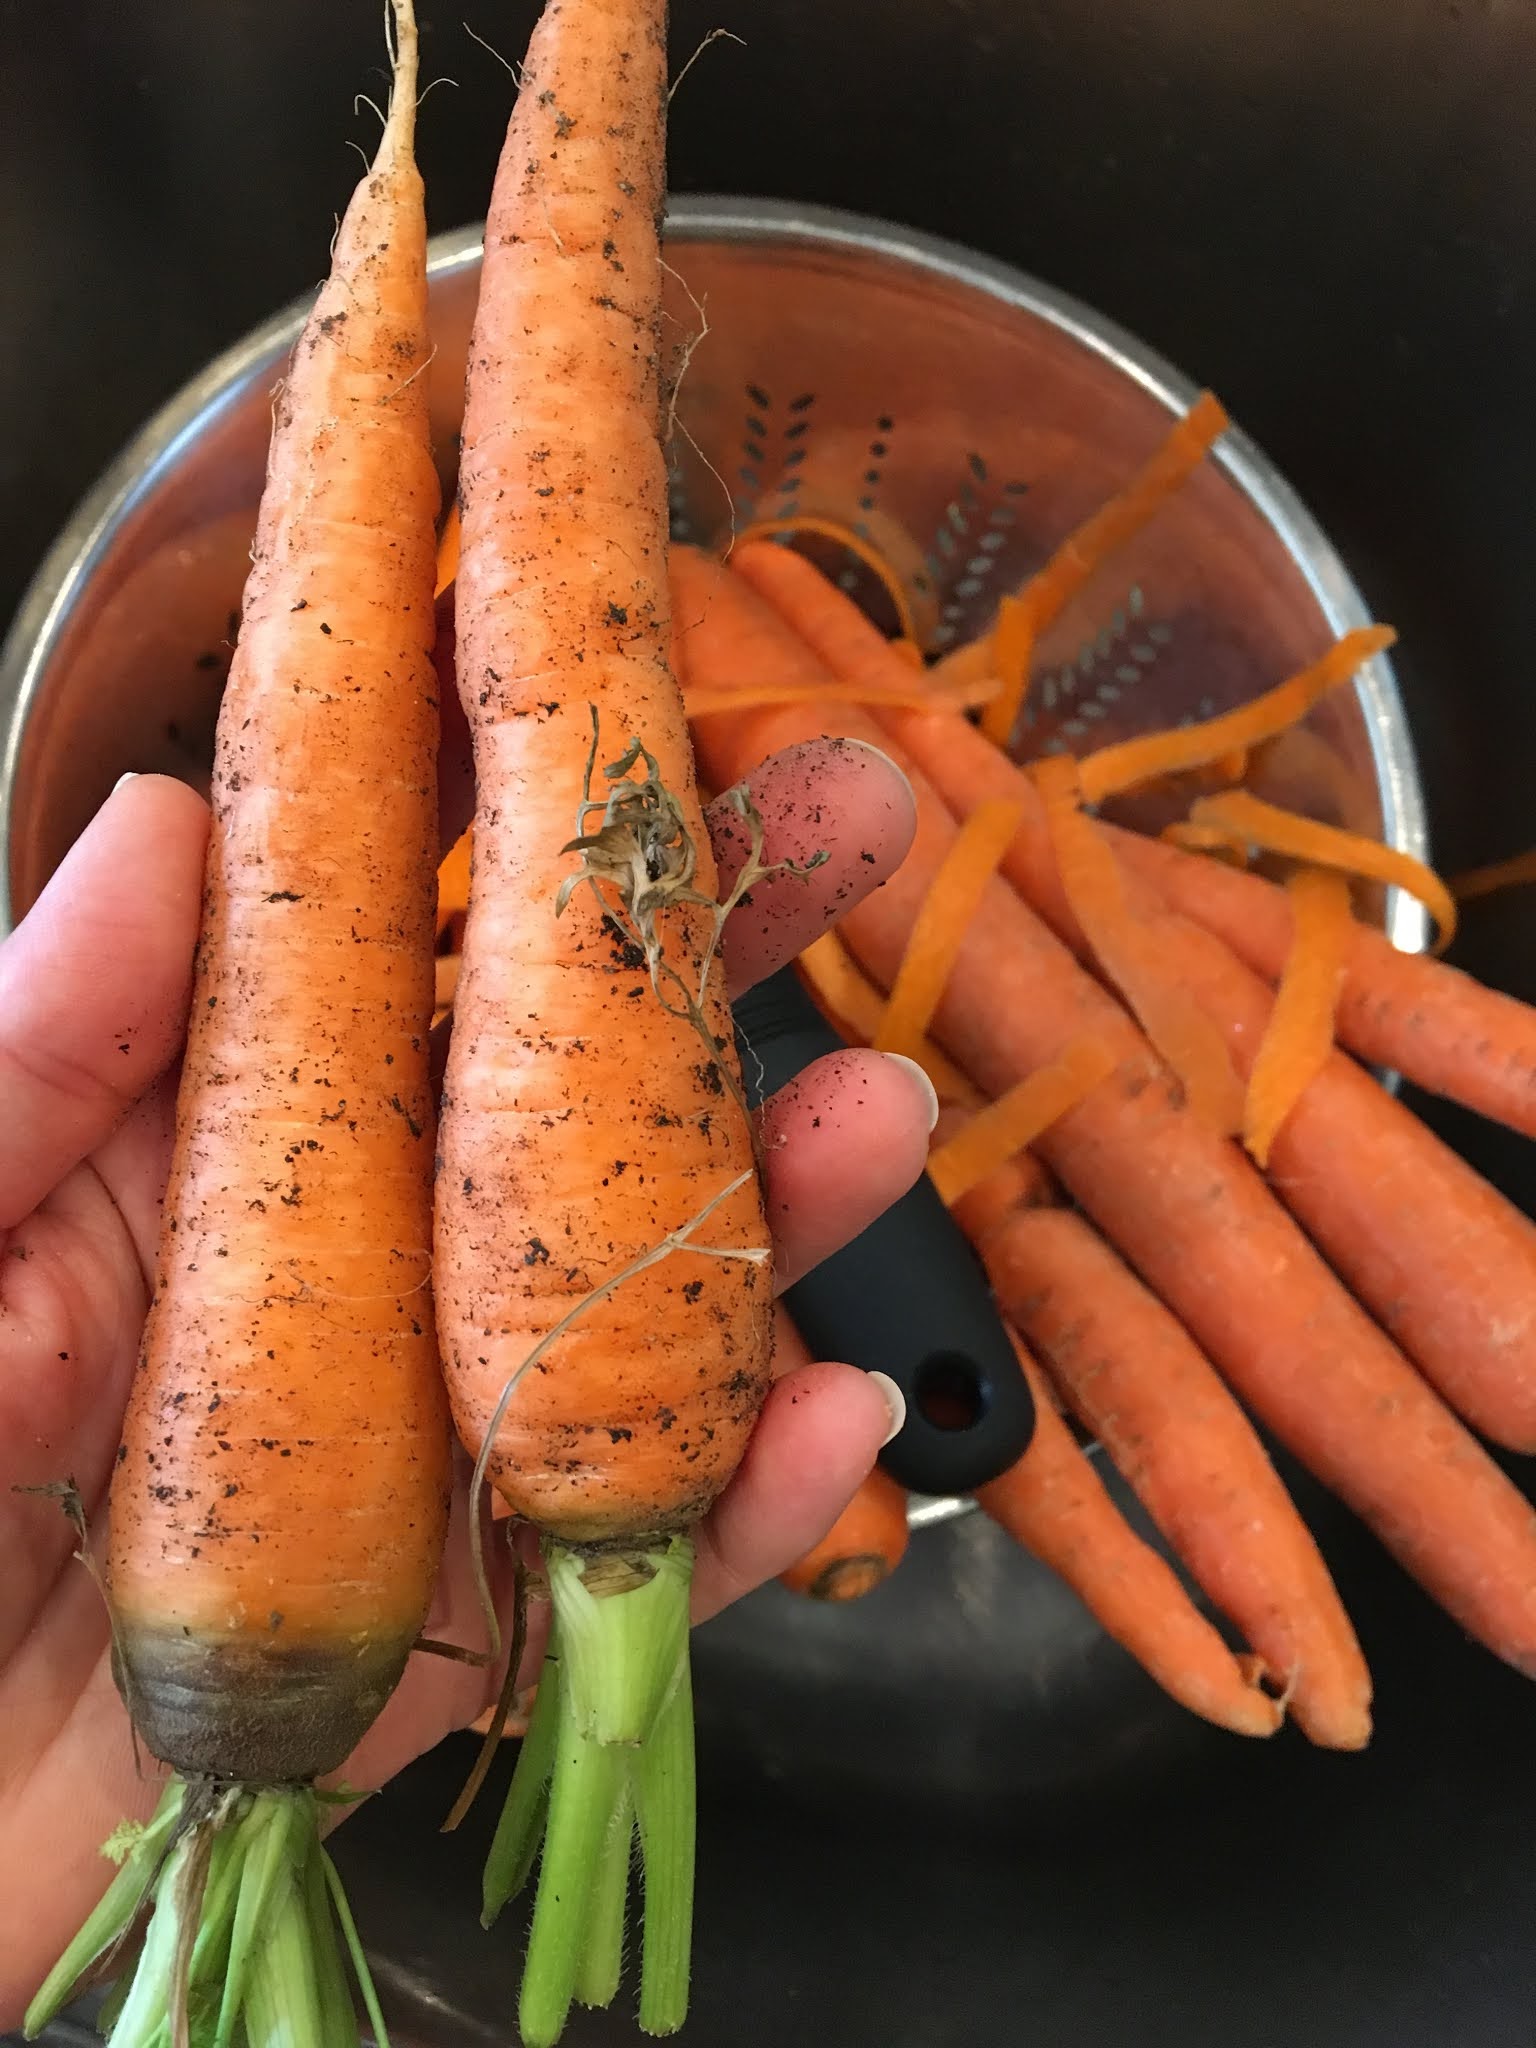
10-12 carrots (2 pounds), peeled and sliced
1 bundle of garlic, minced
Add to everthing you’ve cooked in a soup pot:
12 cups cold water
2 pounds split green peas - rinsed

Optional:  Add a ham-hock bone for the remaining cooking time.


Bring to a boil, reduce the heat to low and let simmer for 1 hour.

Stir consistently - you DO NOT want to scorch the bottom of your lovely soup.

Add water WHEN and IF necessary; IE: the cooking water is gone and your split peas are still looking crunchy...

Add 3 teaspoons Kosher salt and 1 teaspoon coarse ground black pepper.

Simmer for an hour - (ADD 1 cup of water... if necessary.  See note above about adding water!)

Simmer for one more hour and TASTE - ADD Kosher salt and coarse ground black pepper to taste.

Stir in your browned bacon into the soup.

Serve with cornbread or or toasted natural yeast bread.


Before you start cooking:
take your 2 pounds of split green peas and soak in filtered water.


When onion is translucent and starting to caramelize, add:
10-12 carrots (2 pounds), peeled and sliced
1 bundle of garlic, minced


Add to everthing you’ve cooked in a soup pot:
12 cups cold water
2 pounds split green peas - rinsed

Optional:  Add a ham-hock bone for the remaining cooking time.


Simmer for an hour - 
(ADD 1 cup of water... if necessary.  
See note above about adding water!)

Simmer for one more hour and TASTE 
- ADD Kosher salt and coarse ground black pepper to taste.

Stir in your browned bacon into the soup.


Dear Blake Brown:
In your defense - coarse black pepper and chia seed look nearly identical.
  
Dear Everyone else:
Make sure you are adding coarse black pepper - and NOT chia seed.


Link to recipe for:    Basic Natural Yeast Bread


Link to recipe for:    Cornbread - Gluten FREE


Click Link FOR:     Mama Jo's Recipe Blog TABLE OF CONTENTS


Tuesday, November 19, 2019

Best EVER Pork Tenderloin


"BEST  EVER"  ???  

Can I really say that and get away with such a statement?

Yup.

PROOF:  Tonight, Gavin walks into the kitchen without being told what dinner is, he looks around and sees nothing... but then - he smells, closes his eyes and says, "YYYYYEEEESSSSSSS." 

It is the best EVER pork tenderloin.  (And it puts the "tender" in tenderloin...)


2 - 4  1 pound pork tenderloins (for Costco shoppers = a tenderloin 2 pack in the pork selection of meats)

1/4 cup olive oil  (Bertoli’s is preferred)

6 teaspoons Italian seasoning
3 teaspoons garlic powder
3 heaping teaspoons cumin 
3 teaspoons Kosher salt 
3 heaping teaspoons chili powder
2 teaspoons smoked paprika
3/4 teaspoon coarse ground black pepper

6-8 Tablespoons of fresh LEMON juice
6-8 Tablespoons of fresh LIME juice
6-8 Tablespoons of fresh ORANGE juice


Heat oven to 400 degrees.

Line a 9X13 casserole dish with a double layer of foil.

Combine all dry seasonings and set aside.

Combine all citrus juice and set aside.

Place  you meat side-by-side on the foil in the 9X13 baking dish.

Pour olive oil over the meat and then pierce tenderloins all over with a fork.

Sprinkled 1/2 the dry mixture over the meat; FLIP each tenderloin and sprinkle remain 1/2 of the dry mixture on the other side.

Pour ALL of the citrus mixture over all of the meat.

Place in the oven and bake for 25-35 minutes until each tenderloin reads at least 160 degrees on a meat thermometer.

Remove from the oven and let rest 10-20 minutes before slicing into 1 inch pieces.

USE  YOUR  MEAT  JUICES  FROM  THE  PAN.  (Do not discard…)

Serve meat with and save juices from the pan.  

(They will help keep the meat tender in the fridge and then help you again when you re-heat leftovers!!!) 


Serves 12.  OR the Davis family of 6  :0)  

WE  EAT  A  LOT  OF  FOOD  LATELY…

If you need to - cut recipe in 1/2 and keep cook times and temps the same.


Oranges were a surprise from a neighbor,
lemons from a friend
(thanks Jennell!)
AND our own backyard,
limes are honestly OLD and from Kroger...
:0)


Click Link FOR:     Mama Jo's Recipe Blog TABLE OF CONTENTS

Wednesday, November 6, 2019

Chocolate / Hazelnut GELATO


Let's be honest  - ...really should just be called "Nutella Gelato".  But that's a brand and we can't.  (But it IS Nutella Gelato.)

Funny thing to share with y'all:

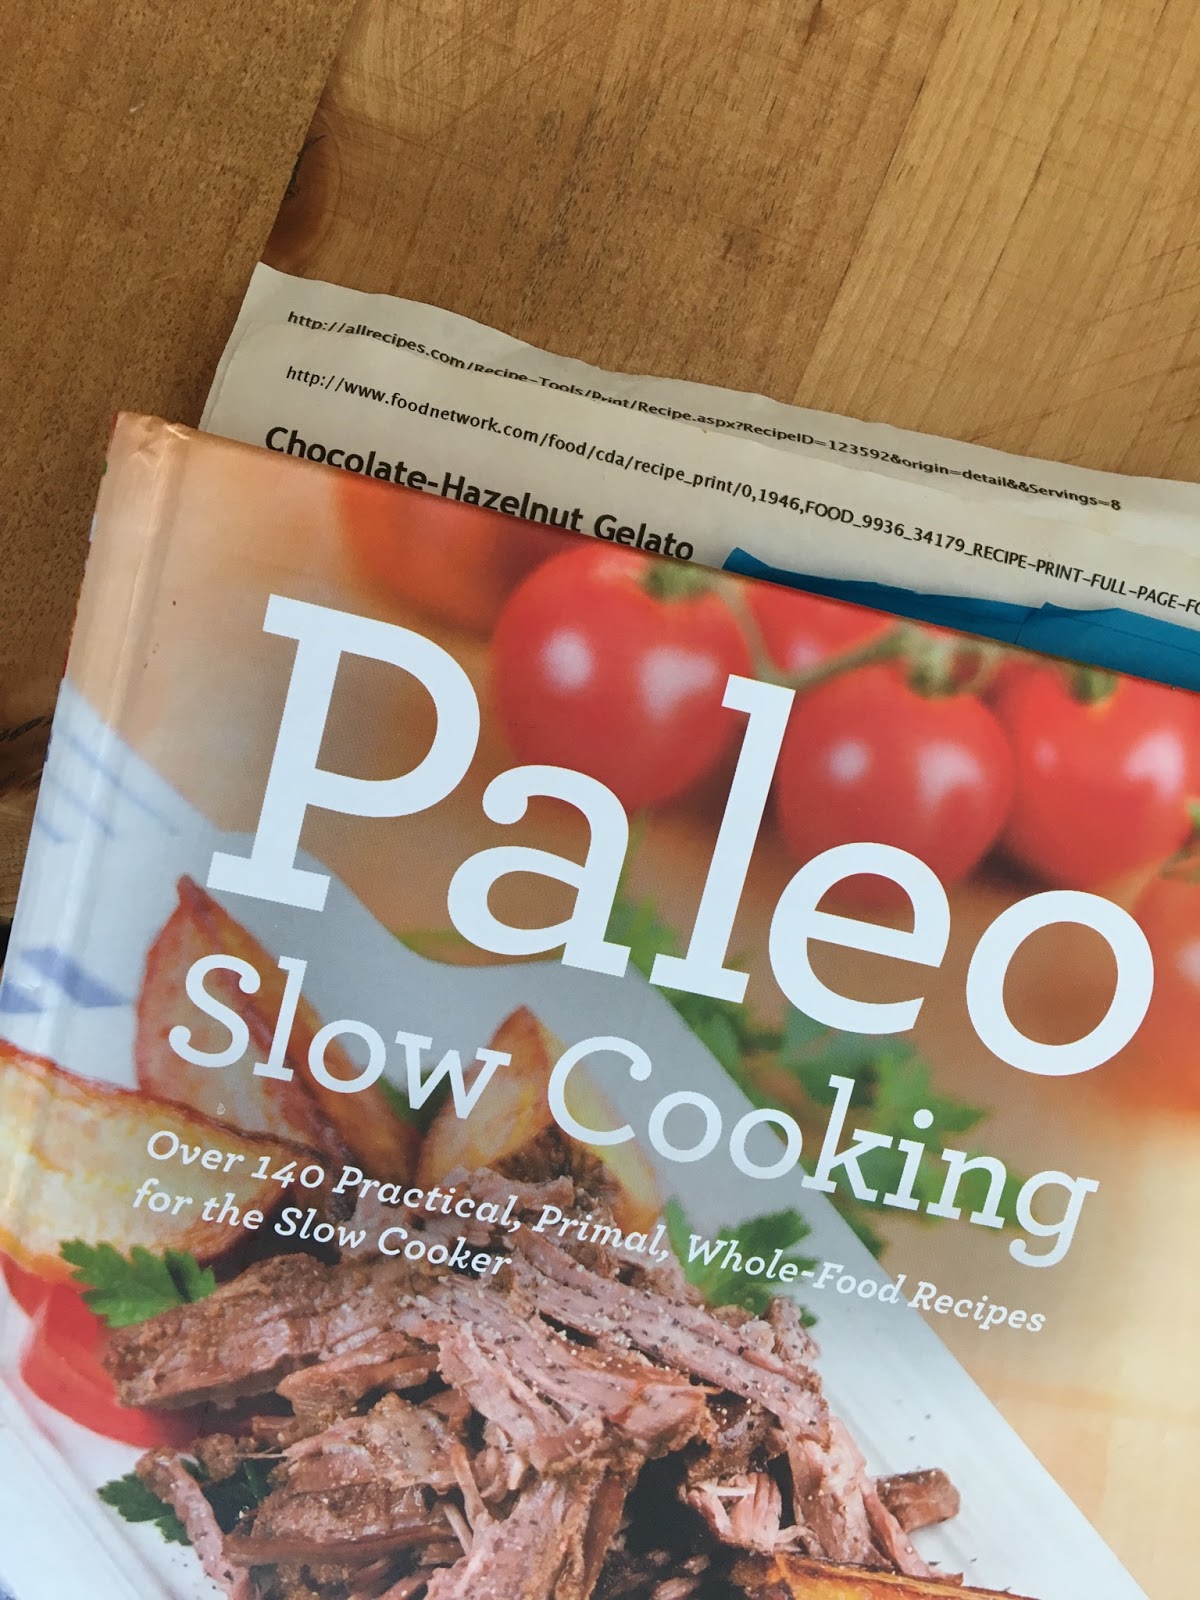
I've had this recipe for nearly 10 years now, printed from the Food Network and being safely kept in my Paleo Cookbook.  NOTE: This is NOT Paleo.  ...the irony made me laugh out-loud when I remembered where I was keeping it.  :0)


You need an ice cream maker.  


Can I recommend one?  The ONLY one I can recommend is the KitchenAid bowl with two small attachments to keep track of.  NO  EXTRA  APPLIANCE.  You just use your KitchenAid stand and keep the bowl frozen in the freezer.  Genius.  I love it.  You'll love your's and learn to keep the bowl in the freezer so that it is ready and waiting for you to make this and MANY other ice creams.  


That said, this is the only gelato recipe that I've TRIED and that I've LIKED.


It's a "plan ahead" and "make ahead" kind of a thing, but worth the work and planning.


Chocolate / Hazelnut GELATO 


4  egg yolks
1/4  cup sugar

2  cups whole milk
1  cup heavy whipping cream
1/2  cup sugar

1/2  teaspoon vanilla
1/2  cup  chocolate-hazelnut spread (NOTE:  Nutella is preferred - shouldn't be a surprise)


In a medium mixing bowl whip the egg yolks and 1/4 cup sugar using an electric hand-mixer on high for 3-4 minutes until the eggs and sugar thicken and become a pale yellow.

SET  ASIDE.

In a medium to large sauce pan combine the milk, cream, and 1/2 cup sugar and stir consistently over medium heat.

Cook, (stirring!) for 5-7 minutes until the sugar dissolves.

Take a 1/2 cup of the the hot milk and cream mixture and POUR into the egg yolk and sugar mixture - STIR.   (NOTE: This will warm up the egg mixture before adding all of it into the milk and cream saucepan.)

NOW - Add the egg yolk and sugar mixture into the saucepan with the remaining milk and cream mixture.

COOK - Stirring consistently over a low heat, cook until the mixture thickens enough to coat the back of a spoon.  7-12 minutes.

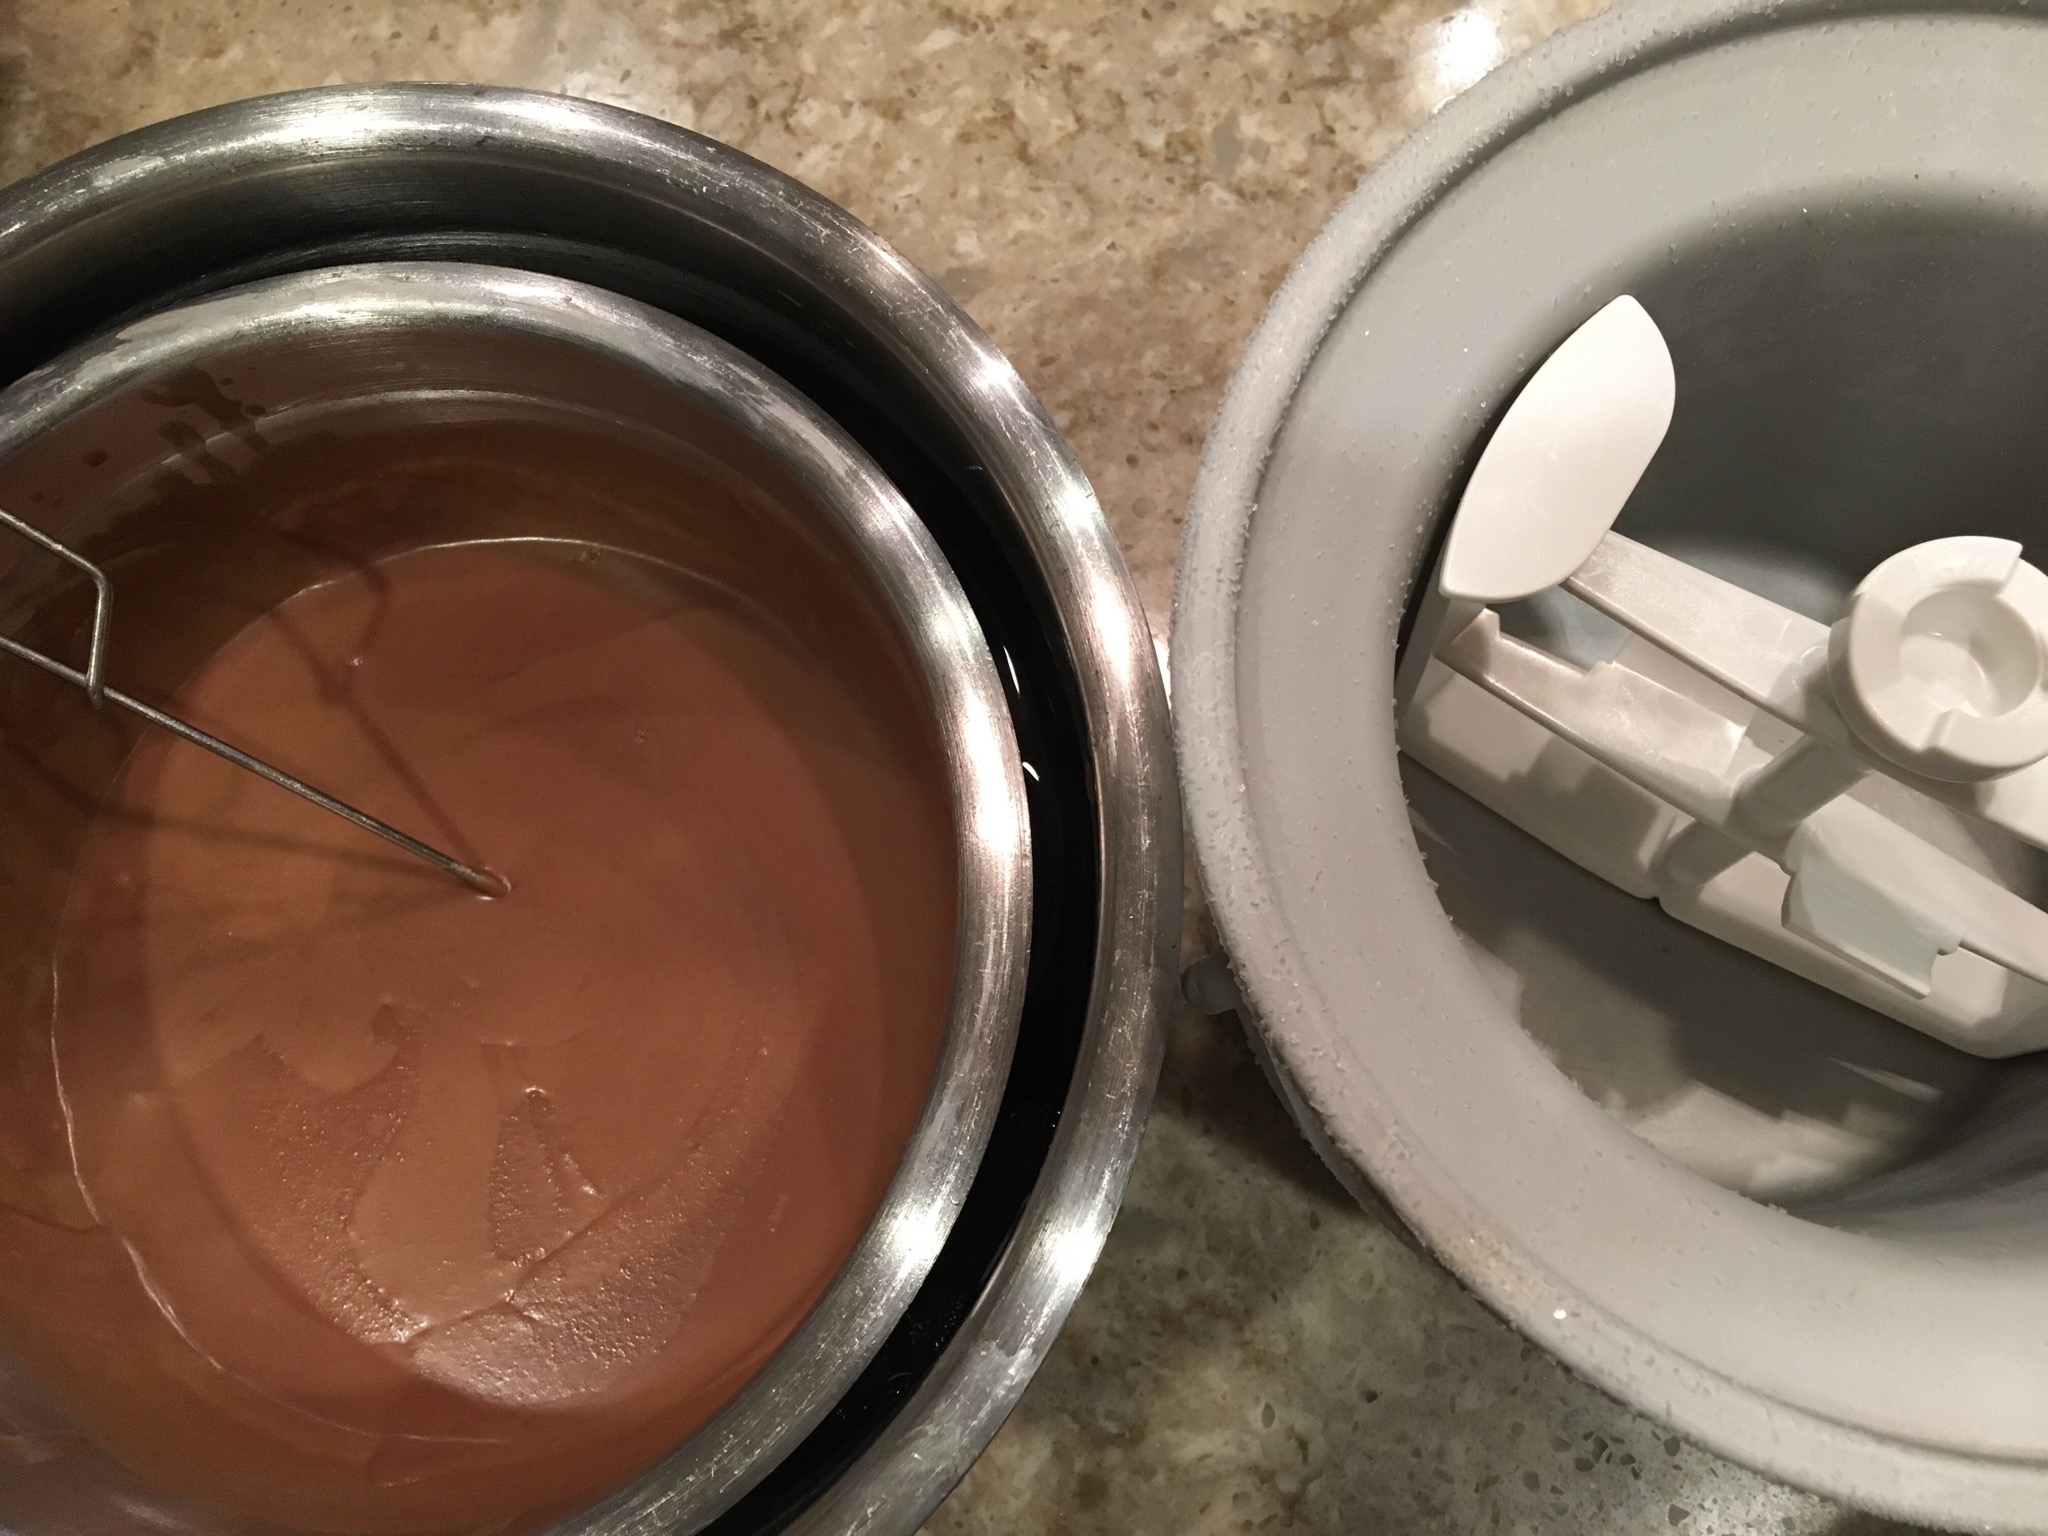
Place a mesh strainer over a medium bowl; then pour the cooked mixture through the mesh strainer.  Discard anything to catch in there...

Add vanilla and chocolate-hazelnut spread and stir until dissolved.

Let cool  UNCOVERED  -  and then chill in fridge for 12-24 hours.

NOTE:  Be sure your ice cream bowl is frozen ahead of making this recipe so you are READY for the final step.

Assemble your KitchenAid ice cream bowl attachments BEFORE pouring your mixture in.

MIX on "stir" setting for 25-30 minutes.

Serve and share and enjoy...

OR

Transfer all contents from ice cream bowl into incognito containers and hide in your freezer for personal consumption and personal, un-shared enjoyment...