Sunday, May 21, 2017

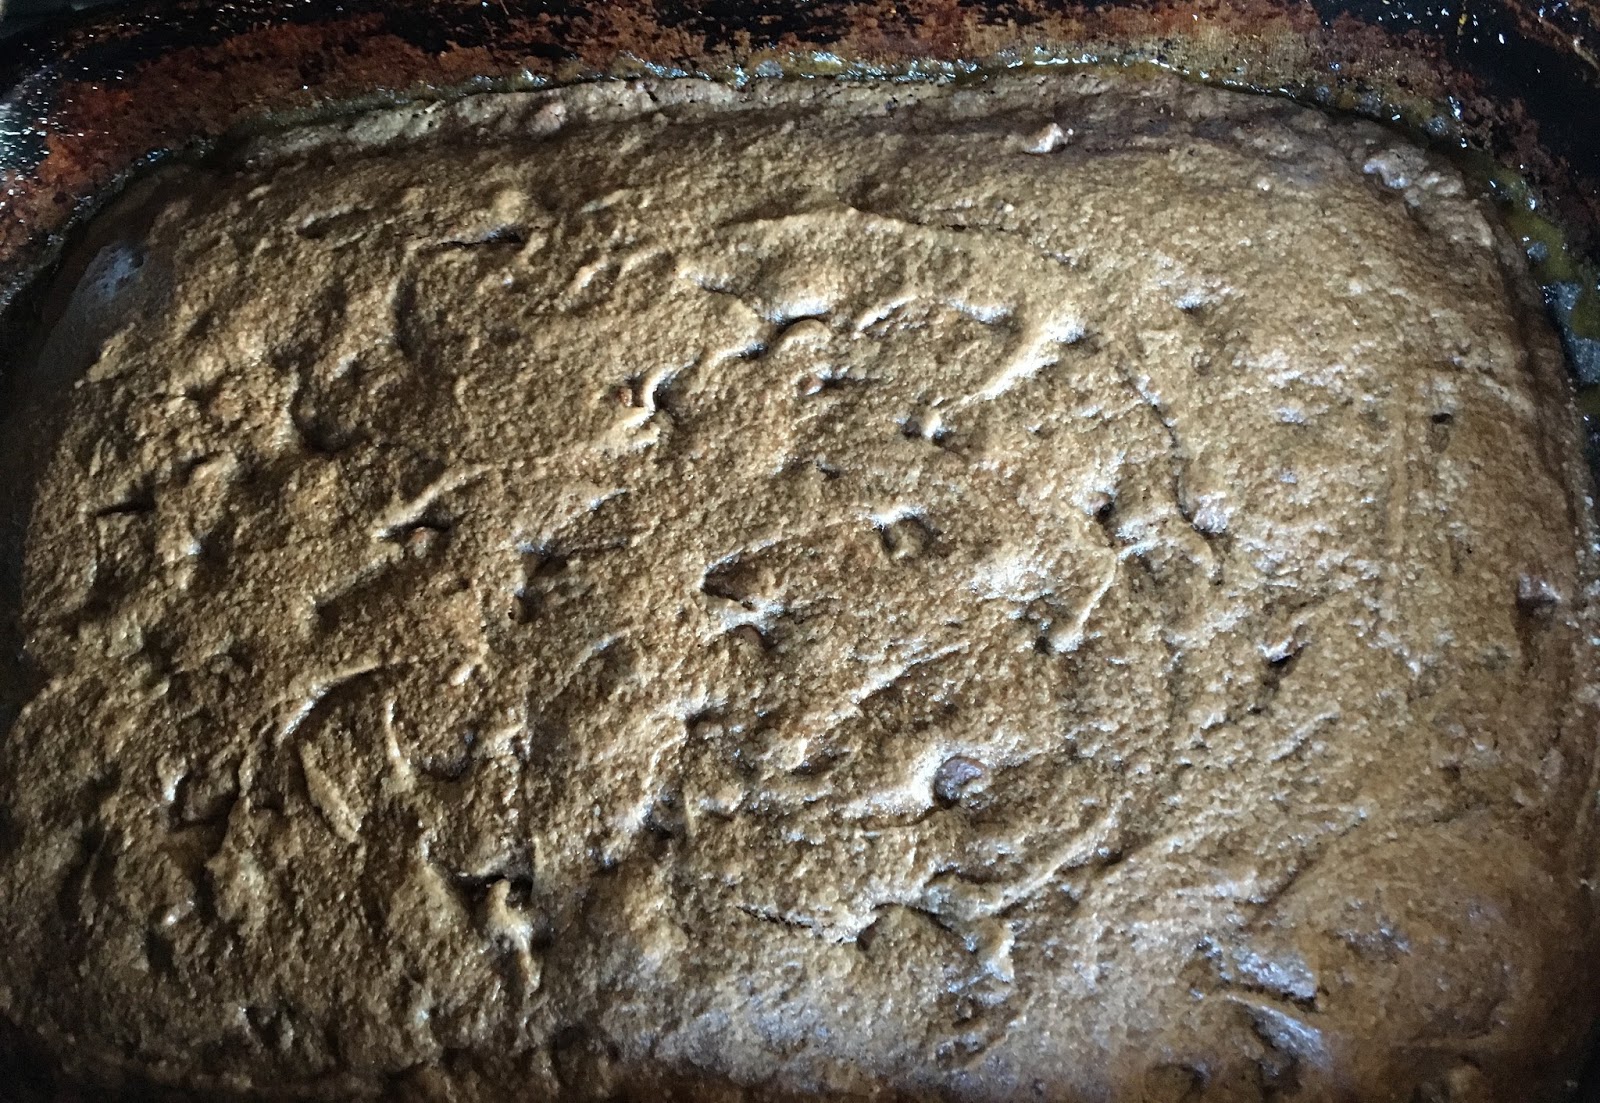
GLUTEN-FREE Brownies

BROWNIE  RULES:

DO NOT OVER MIX YOUR BROWNIES  or they will turn out like cake.  If I'm going to eat all the calories in a brownie, I have to say I will not eat a cake-y brownie. Brownies are supposed to be gooey and moist ...and NOT CAKE.  :O)

When you are mixing a brownie batch, mix the dry ingredients together as much as you'd like.  Then, in a separate bowl, mix the wet ingredients together... as much as you'd like!

BUT, when you mix them together... STOP when all the dry ingredients are moistened. AND let it sit for a few minutes (10 if you need to set a timer) before you pull it into a baking pan.

... ... ... ... ... ... ... ... ... ... 

DRY  INGREDIENTS: 
2 1/4 cups GLUTEN-FREE flour mix
3 cups sugar
3/4 cup cocoa powder
1 cup semi-sweet chocolate chips 

WET  INGREDIENTS:
3/4 cup butter, melted  (...that's 1 and a 1/2 sticks of butter.)
7 eggs, beaten
1 teaspoon vanilla


Pre-heat oven to 375.

In a glass bowl (or whatever is NOT metal...) melt the butter in the microwave.

In a mixing bowl combine and mix all dry ingredients.

Make a well in the middle of your dry ingredients. 

Add melted butter (once cooled), beaten eggs and vanilla to the well in the middle of your mixed dry ingredients.


Mix wet ingredients with the dry ingredients until just barely combined.

LET  BROWNIE  MIX  REST  FOR  5-10  MINUTES.

Grease a 9X13 baking pan with refined coconut oil (coconut oil WITHOUT the coconut flavor), and dust with sugar.

Pull brownie mixture into pan and level it out before putting in the oven.

Bake at 375 for 25-30 minutes.

Let cool 30-50 minutes before cutting up into squares.


Wishing there was a "Scratch-and-Sniff"
sticker for you here...  :O)

Mix your dry ingredients in a large mixing bowl.
In the middle, make a well for the wet ingredients. 

If it says "7 eggs beaten", you actually do need to beat the eggs...

Add beaten eggs, vanilla and butter to the dry ingredients.


Mix together until the dry ingredients and wet ingredients
are barely integrated like this photo.

Then let rest 5-10 minutes before finishing
mixing and incorporating the wet and dry.

Grease your 9X13 pan generously with refined coconut oil.
Dust with sugar.  This shouldn't be an issue anymore...
We've talked about using sugar to dust for a few years now.  :O)


When you pull the brownie mix from the bowl (literally pulling...)
Take your scraper or wooden mixing spoon and pull the top to the edges
of the baking pan until they're even and nearly flat.


Bake for 25-30 minutes.

You'll know they're done when there is no longer a DARK and un-baked middle.
And it will smell like brownies...

If you can stand the wait:
Let cool 30-50 minutes before cutting up into squares.


... ... ... ... ... ... ... ... ... ... 
(It's a recipe FOR your recipe!)

CLICK TO GO TO: 


... ... ... ... ... ... ... ... ... ...

Click Link FOR:       Mama Jo's Recipe Blog TABLE OF CONTENTS


Wednesday, April 19, 2017

RED CHILI


Make this GLUTEN-FREE by reading your chili bean labels... It's amazing (ANNOYING) how much gluten is put into the food we eat.  Unless you're making each item from the beginning,  YOU  HAVE  TO  READ  THE  LABEL!  For those of you not really needing to avoid an allergen food - it's still good habit to at least take the time once in a while to grab up an item you purchase often, flip it over to the listed ingredients and then take a few minutes to read (TRY to read!  Sound it out using your kindergarten phonic skills...) the listed ingredients.  If you have no clue or it looks suspicious, ask GOOGLE!  :O)  I have learned amazing things about thickeners and natural ingredients derived from trees that looked suspicious... but are just amazing feats of nature!

As for the title of this recipe, I had to label it RED  CHILI, otherwise in 10 years when my kids are flipping through this cookbook they won't know what it is!  I make several chili recipes... BBQ Chicken Chili is another favorite, so they have come to be known in our house as such.  If you have a copy of my cookbook that I started 14 years ago, this is called "Great Quick Chili" in there.  However, it has definitely evolved over time and is NOW as follows:  

THOUGH  THE  TITLE  IS  UPDATED...
- THIS  ONE  IS  STILL  GREAT  AND  QUICK!!!!


2025 UPDATE:

 I use Simple Truth Organic canned beans now. NON GMO - no BPA.

Found at:  
Kroger / Fred Meyer / Smith’s grocery stores 


RED  CHILI  -  OR  -  "GREAT,  QUICK  CHILI"


2 Tablespoons olive oil
2 lbs. lean ground beef
1 lb pork sausage - hot/Kroger brand preferred
1 1/2 cups chopped onion  

1 teaspoon Kosher salt
1 bundle of garlic (6-8 garlic cloves) minced
3/4 teaspoon coarse black pepper
1/2  cup salsa

2 cans (30 oz.) tomato sauce
5 cans (15 oz.) chili beans 
2 cans (15oz.) dark red kidney beans, drained 


In a large enameled dutch oven or large cooking pot, brown sausage, ground beef with olive oil and chopped onion.

Add seasonings and salsa.  

Add garlic and cook until garlic is browning slightly.

Add canned items and bring to a simmer.  

Simmer partially covered with a lid for 30 - 45 minutes.  

Stir chili every 5-10 minutes, making sure to grab the beans on the bottom of the pot.

This certainly is a stand alone meal... but it is spectacular when served with cornbread!!! 


A perfect pair!!!
CORNBREAD  and  CHILI...


(click the link below for the cornbread recipe)

Mama Jo's Gluten-FREE Cornbread


Always take a minute and read your labels.
 You may be surprised  how much more your buying - and then eating...  


Sizes for accomplishing 1 1/2 cups chopped onions: 1 extremly large onion, 2 medium onions, or 3 smallish garden onions...


2025 Chili Cook-Off
Award WINNING edits: 
2 pounds Kroger Hot Sausage
1 pound ground beef


Tuesday, April 4, 2017

GLUTEN-FREE Cornbread


... ... ... ... ... ... ... ... ... ... 

1 1/2 cups cornmeal
1 cup  AND  2 Tablespoons  GLUTEN-FREE flour mix
1/2 cup sugar
3 teaspoons baking powder

1 egg, beaten
1 cup milk
1/4 cup melted refined coconut oil 
(it does NOT taste like coconut…)
... ... ... ... ... ... ... ... ... ... 

Preheat your oven to 375.

Combine dry ingredients together in a bowl, making a void in the center for your wet ingredients.

Add into the dry ingredient void: beaten egg, milk, and the melted coconut oil.  

Stir SLIGHTLY - ONLY until the dry ingredients are moist and then STOP.

Let sit 20 minutes.   AND  DO  NOT  STIR.

Pull into a well greased (with refined coconut oil) and lightly sugared 9X9 pan.

(OR  pull into a bundt pan sprayed with cooking spray and lightly sugared.)

Spread out the dough with your fingers and the back of your mixing spoon until the top is even and as flat as you can manage without handling it TOO much...

Bake at 375 F for 22-25 minutes, or until a golden brown along the edges and dark golden brown spotting on top.

Cut into squares (or wedges from your bundt!).  

Serve warm with soft butter or in the middle of a bowl of chili.

To re-heat or serve as leftovers:  Split serving squares and place middle facing up on a baking sheet.  Broil for 2 minutes and lightly butter tops.

... ... ... ... ... ... ... ... ... ... 

NOTES:  

Original recipe called for shortening.  Coconut oil is better for you, and it translates perfectly for the shortening.

GLUTEN-FREE CORNMEAL:
Now let's talk about cornmeal... corn in naturally GLUTEN-FREE.  Most store-bought bags of processed cornmeal is not.  
If you have a food allergy or intolerance you know your life revolves around reading food labels and making your own food to have ingredient control.  I find it is easiest on me to grind my own cornmeal.  If  you have a huge question mark over your head as to how you'd go about making your own...  It's straight up as simple as ground popping corn kernels.  :O)  You need a bag of popping corn (usually the bottom shelf under the microwave kinds...)  and a grain grinder.  Make sure you check your cornmeal for any kernels that didn't get ground-up all the way before you toss your cornbread together!!!

... ... ... ... ... ... ... ... ... ... 


... ... ... ... ... ... ... ... ... ... 
(It's a recipe FOR your recipe!)

CLICK TO GO TO: 


... ... ... ... ... ... ... ... ... ... 

Click Link FOR:      Mama Jo's Recipe Blog TABLE OF CONTENTS


Monday, March 13, 2017

GLUTEN-FREE DOUBLE CHOCOLATE CAKE


This cake has been an evolution of sorts...  Over the last year I've baked this one up time and again; and then again a different way.  Every time I've had any to share, the comments I get are, "GLUTEN-FREE???  Are you sure?  This is the BEST cake!". 


I have to say that this my newest favorite go-to dessert when family night rolls around or a birthday cake is requested.  I will have photos with this post of the 3 different ways to bake this homemade GLUTEN-FREE cake up!

And, while we are talking about food intolerances or allergies... technically this is a GLUTEN-FREE and DAIRY-FREE cake if you keep ice cream off of it.  But if you don't have to avoid dairy --- then I DEMAND you serve this with vanilla ice cream and a hard-shell chocolate syrup!  My apologies to the DAIRY-FREE ladies and gentlemen... you will be missing out.    

NOTE:  The easiest of the 3 ways to bake is the bundt - and it maintains a DAIRY-FREE status until you put ice cream on top of it.


Without any more of a delay... I'm finally getting this one on the blog for y'all!!!  And I've included all of my "quick tricks" - I'm excited for you to try it.


PREP  WHATEVER  BAKING  PAN(S)  YOU'RE  GOING  TO  USE:

Large Bundt:
Preheat your oven to 325 for the LARGE bundt cake pan.  Grease your LARGE bundt evenly with cooking spray, and then dust your cake pan with sugar.

Mini-Bundt:
OR - Preheat your oven to 350 for mini-bundt cake pan.  Grease your mini-bunt cake pan evenly with cooking spray, and then dust your mini-bundt cake pan with sugar.

2 - 9 inch Cake Pans: OR - Preheat your oven to 350 for two nine inch cake pans.  Grease your 9 inch cake pans with refined coconut oil, and then dust your cake pan with sugar.

  
A NOTE BEFORE YOU START:  

A trick I always use to make prep "room temperature" eggs on the fly - 
Place eggs in medium size bowl and run warm/not-too-hot water over eggs.  
Let them soak in the warm/not-too-hot water while you prep the rest of the cake ingredients.


INGREDIENTS:

2 eggs, large and room temperature, beaten - set aside 
(READ ABOVE: "a note before you start")

2 Tablespoons DARK cocoa powder
1 Cup boiling water

2 Tablespoons vanilla, pure extract
1/2 Cup vegetable oil
1/2 Cup ice-COLD water

2 Cups GLUTEN-FREE flour mix
3/4 Cup,  AND  2 Tablespoons unsweetened cocoa powder
1/2 teaspoon salt
1 teaspoon baking soda
2 teaspoons baking powder
1 Cup granulated sugar
1 Cup DARK brown sugar, packed  
NOTE: light brown sugar is just fine! I prefer the DARK when I can find it...


TO  PREP  THE  CAKE:

In a medium bowl, whisk together boiling water and DARK cocoa powder.  
Set aside to cool.

In a large mixing bowl combine gluten-free flour mixture, unsweetened cocoa powder, salt, baking soda, baking powder,  granulated sugar, and either DARK or light brown sugar (I like DARK!).  

Mix dry ingredients until well combined.
Make a void in the center for wet ingredients to be poured. 

In a small bowl, whisk together eggs.  
Add iced COLD water, vanilla, and vegetable oil.

Pour the DARK cocoa powder and boiling water mixture (now cooled...) into the center void of the dry ingredient bowl.  Add egg mixture and stir until JUST BARELY combined and all the dry ingredient mixture is wet.  

Set aside for 5-10 minutes.

Gently finish combining ingredients that may still be dry.

Pour evenly into your baking pan(s) of choice.


TO  BAKE  with LARGE  BUNDT:    Bake at 325 for 55 minutes or until cake tester comes out clean.  Let cool for 15 minutes and then bump out onto a cooling rack.  Serve hot with ice cream and a "hard shell" chocolate syurp.


TO  BAKE with Mini- Bundts:    Bake at 350 for 20-25 minutes or until cake tester comes out clean.  Let cool for 10 minutes and then bump out onto a cooling rack.  Serve hot with ice cream and a "hard shell" chocolate syrup.


TO  BAKE with 9-inch pans:    Bake at 350 for 25-30 minutes or until cake tester comes out clean.  Let cool for 10 minutes and then bump out onto a cooling rack.  Let cool completely and frost with chocolate frosting.


Boiling water actually means "boiling water"...
Make sure you see bubbles BEFORE
you add it to your DARK cocoa powder.


Ice water actually means "ice water"...
use your ice cubes people!  I usually start this first
before getting the dry ingredients going.


When you're ready to combine with vanilla 

and vegetable oil, dump out what's left 
of your ice cubes, drain off the extra water 
to measure out your 1/2 cup of literal "ice water".


Combine all your dry ingredients into a large bowl.

Make a void or well in the center of your dry
 ingredients as shown in the previous photo.

Add your boiling water and DARK cocoa 

mixture to the center and mix just slightly.

Combine your vanilla, ice water, and oil with your 

room-temperature, beaten eggs;
then add to the mixture into your large bowl.

Mix gently until all dry ingredients are combined and wet.


Let mixture sit and rest for 5-10 minutes.


The large bunt cake is perfect to serve hot from the oven
with vanilla ice cream, hard-shell chocolate syrup, and
with fresh strawberries over the top.

Mini-bunt cakes with peanut butter cup centers.

12 year-old Payton Olivia
practicing her cake decorating skills.


... ... ... ... ... ... ... ... ... ... 
(It's a recipe FOR your recipe!)

CLICK  LINK  FOR: 


... ... ... ... ... ... ... ... ... ...

CLICK  LINK  FOR:     Mama Jo's Ultimate Chocolate Frosting

... ... ... ... ... ... ... ... ... ...

CLICK  LINK  FOR:  
... ... ... ... ... ... ... ... ... ...

CLICK  LINK  FOR:      Mama Jo's Recipe Blog TABLE OF CONTENTS


BLOG POST PHOTOS BY:  Gavin Morgan Davis

Photos Edited By:  Mama Jo