Wednesday, November 6, 2019

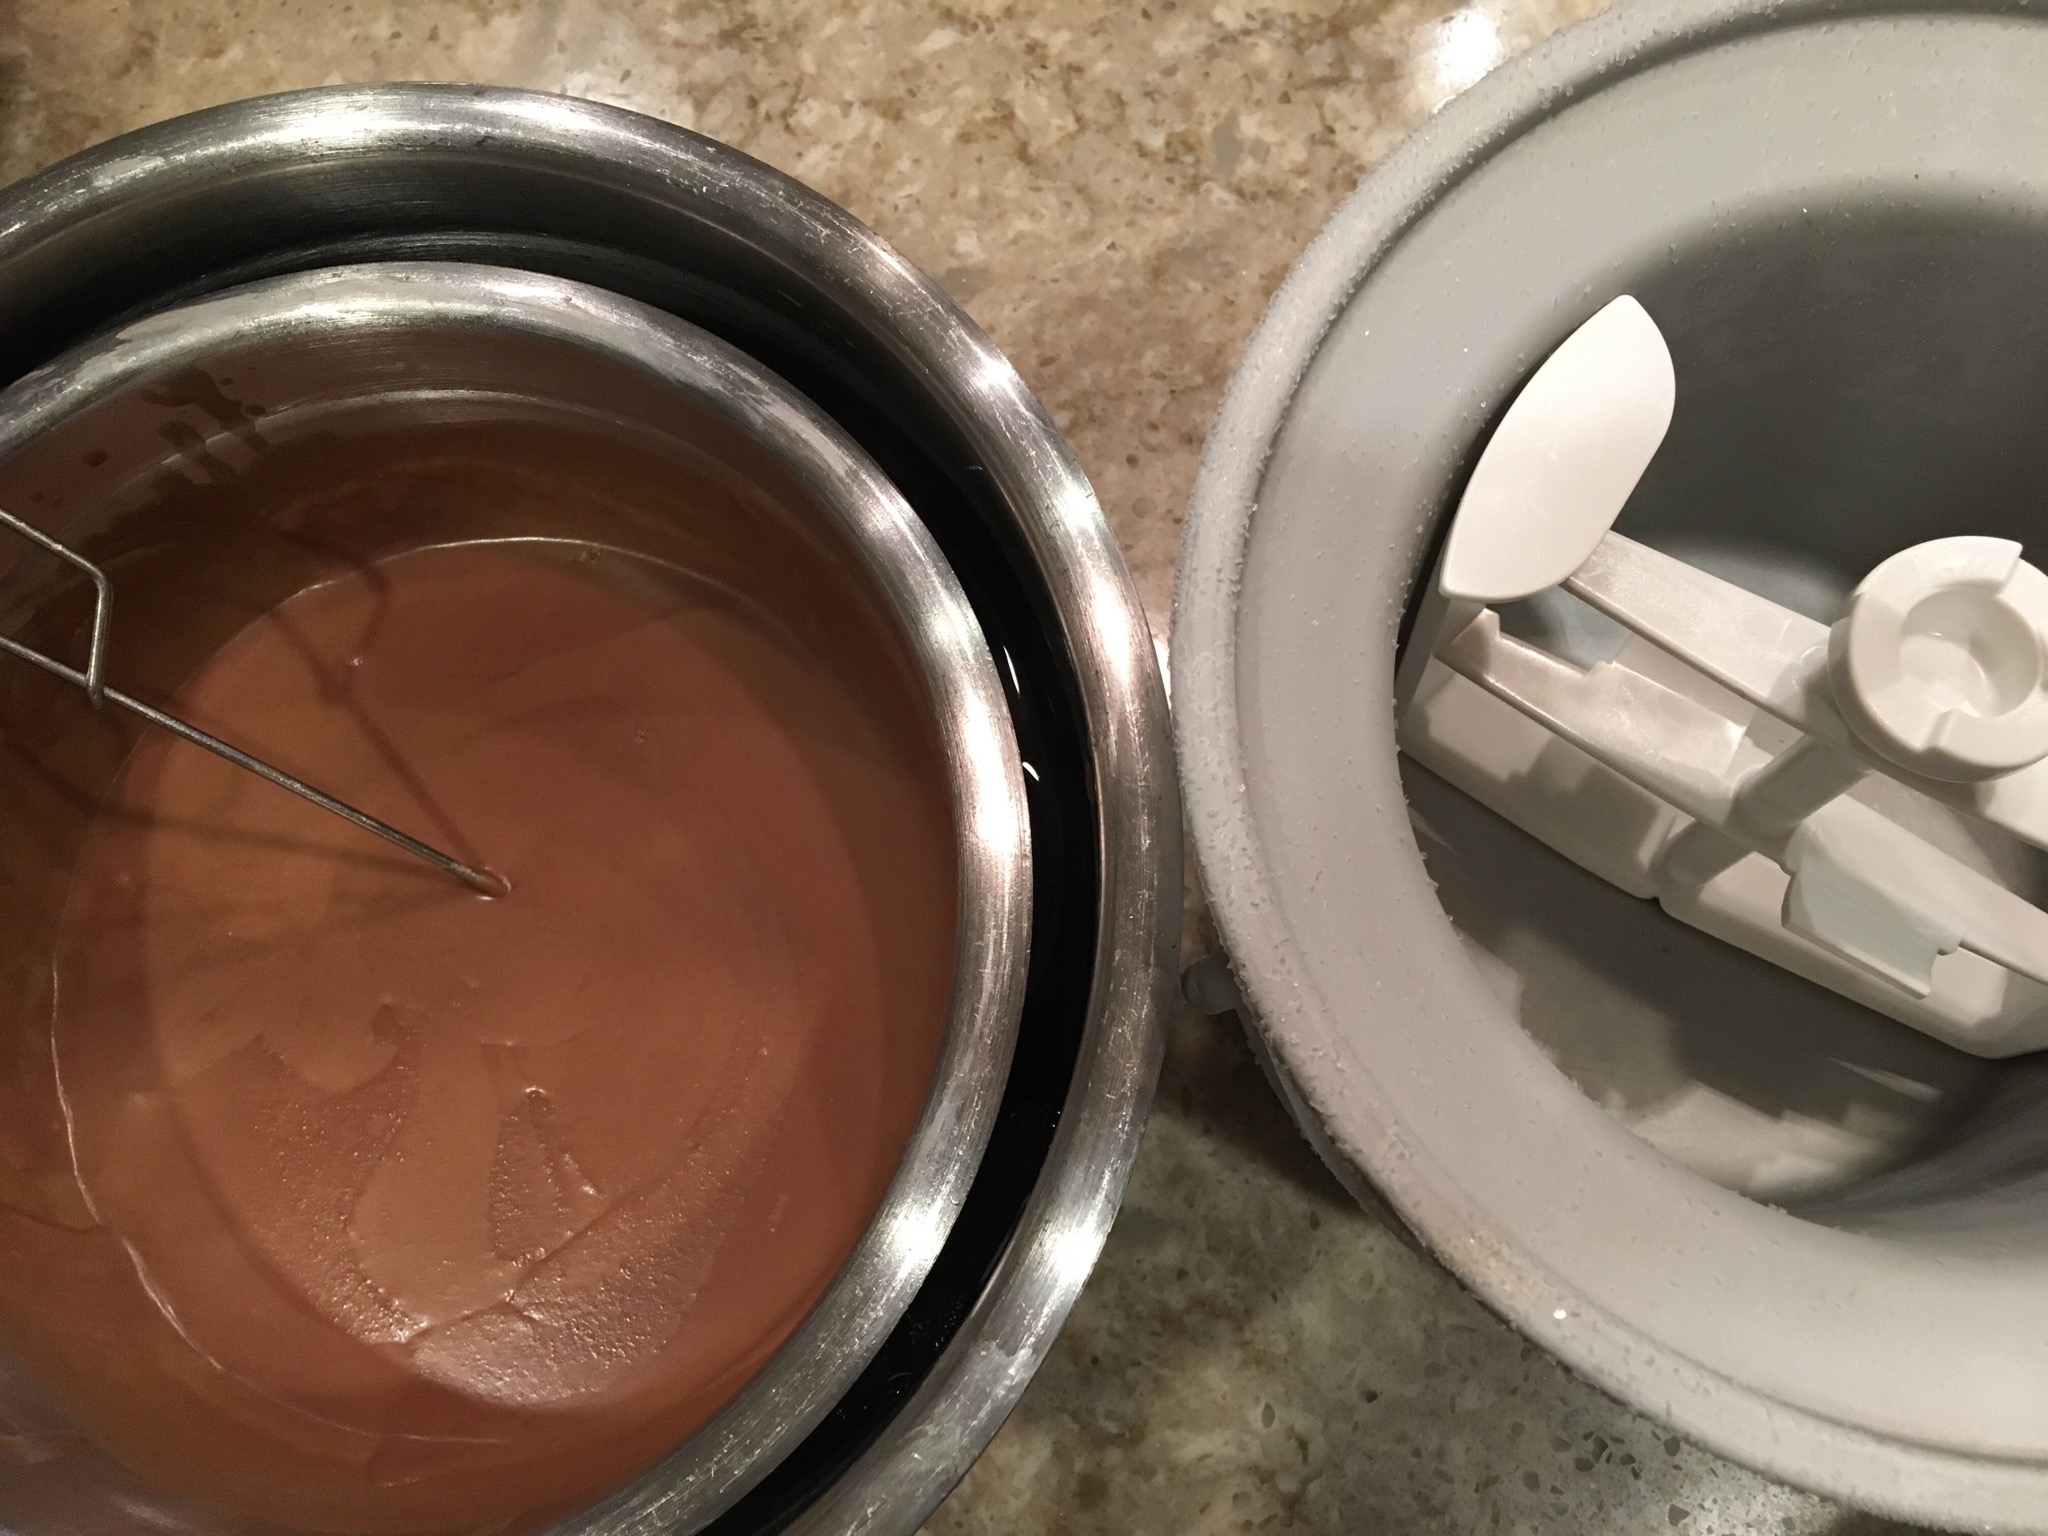
Chocolate / Hazelnut GELATO


Let's be honest  - ...really should just be called "Nutella Gelato".  But that's a brand and we can't.  (But it IS Nutella Gelato.)

Funny thing to share with y'all:

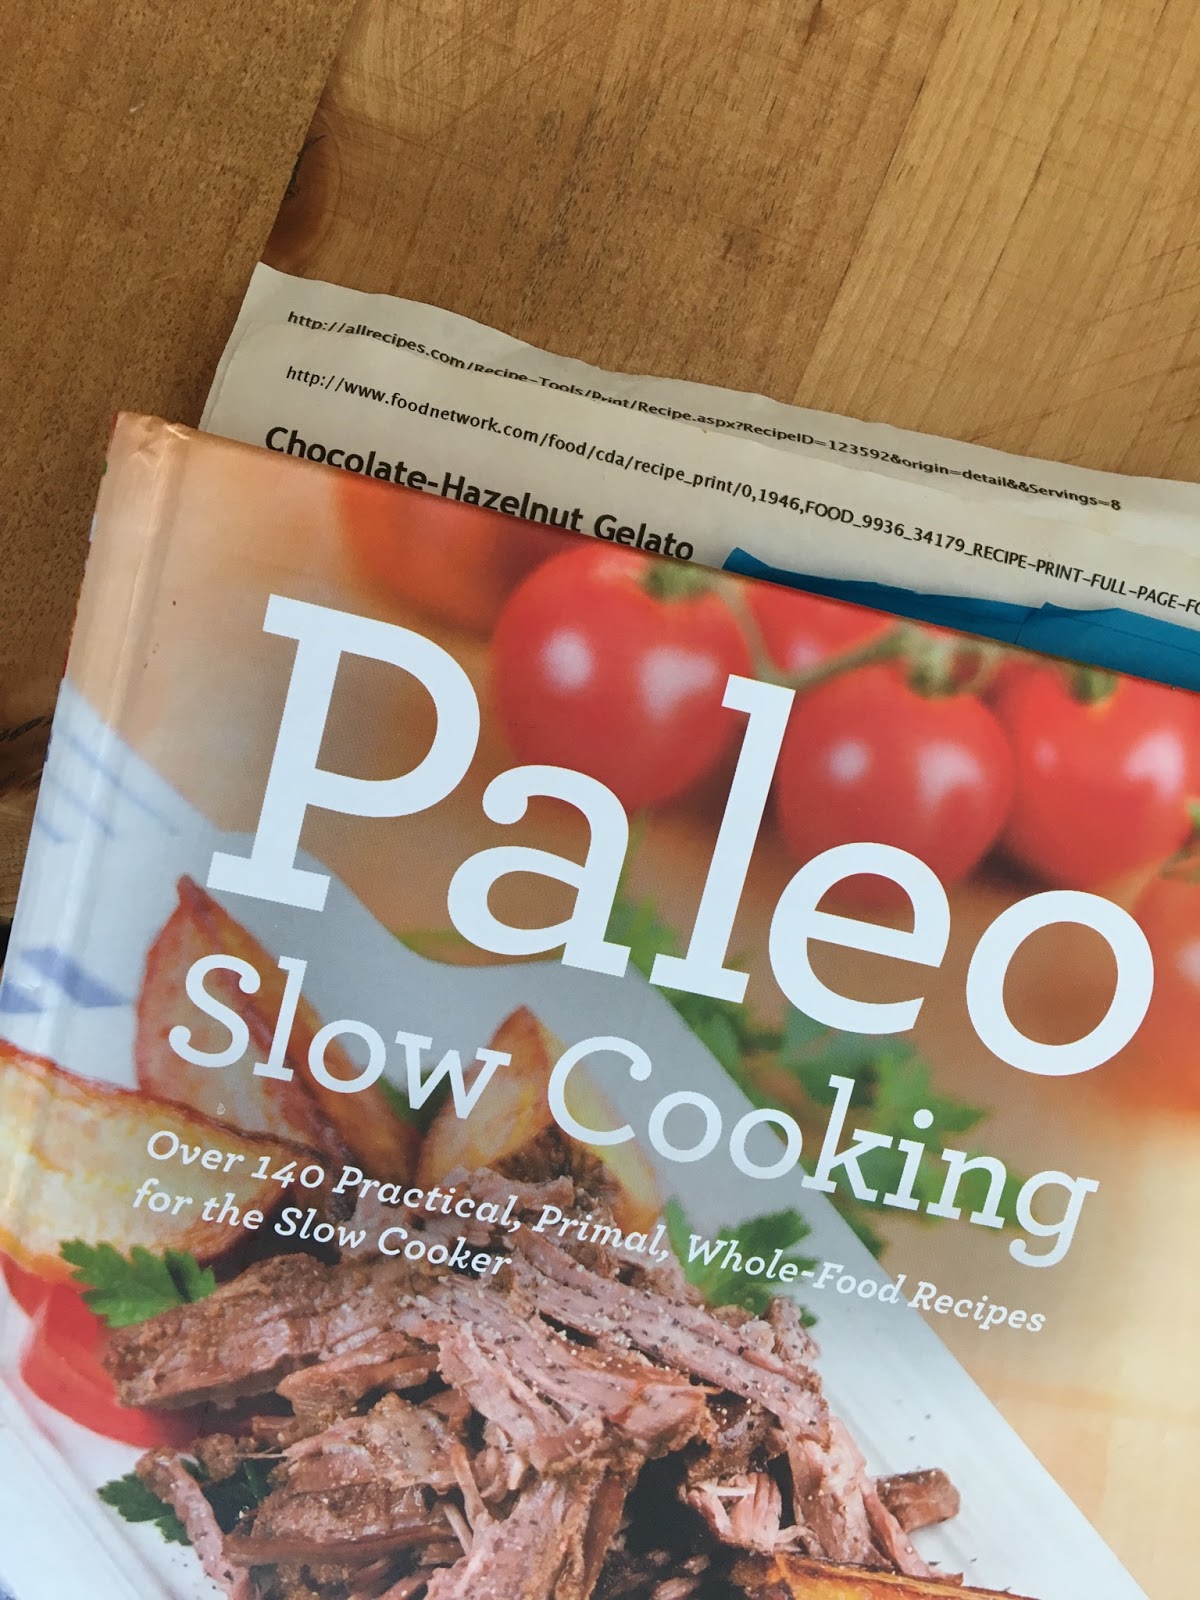
I've had this recipe for nearly 10 years now, printed from the Food Network and being safely kept in my Paleo Cookbook.  NOTE: This is NOT Paleo.  ...the irony made me laugh out-loud when I remembered where I was keeping it.  :0)


You need an ice cream maker.  


Can I recommend one?  The ONLY one I can recommend is the KitchenAid bowl with two small attachments to keep track of.  NO  EXTRA  APPLIANCE.  You just use your KitchenAid stand and keep the bowl frozen in the freezer.  Genius.  I love it.  You'll love your's and learn to keep the bowl in the freezer so that it is ready and waiting for you to make this and MANY other ice creams.  


That said, this is the only gelato recipe that I've TRIED and that I've LIKED.


It's a "plan ahead" and "make ahead" kind of a thing, but worth the work and planning.


Chocolate / Hazelnut GELATO 


4  egg yolks
1/4  cup sugar

2  cups whole milk
1  cup heavy whipping cream
1/2  cup sugar

1/2  teaspoon vanilla
1/2  cup  chocolate-hazelnut spread (NOTE:  Nutella is preferred - shouldn't be a surprise)


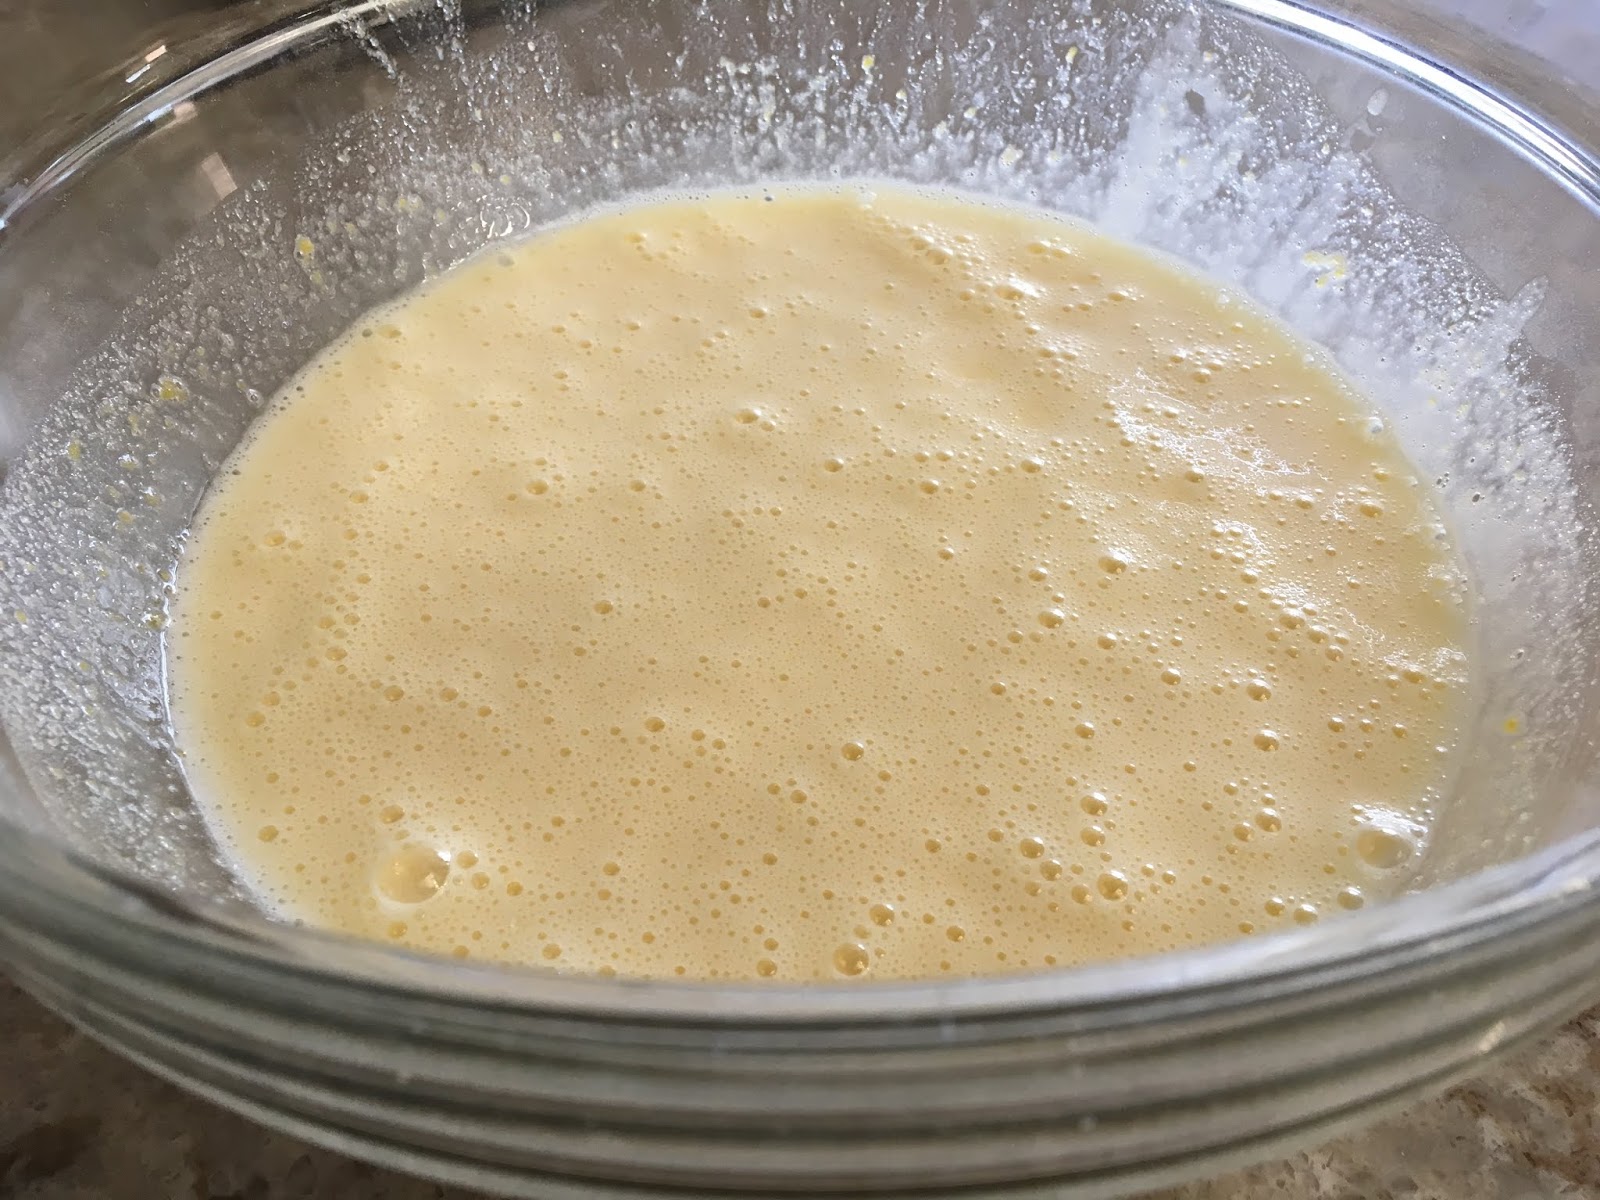
In a medium mixing bowl whip the egg yolks and 1/4 cup sugar using an electric hand-mixer on high for 3-4 minutes until the eggs and sugar thicken and become a pale yellow.

SET  ASIDE.

In a medium to large sauce pan combine the milk, cream, and 1/2 cup sugar and stir consistently over medium heat.

Cook, (stirring!) for 5-7 minutes until the sugar dissolves.

Take a 1/2 cup of the the hot milk and cream mixture and POUR into the egg yolk and sugar mixture - STIR.   (NOTE: This will warm up the egg mixture before adding all of it into the milk and cream saucepan.)

NOW - Add the egg yolk and sugar mixture into the saucepan with the remaining milk and cream mixture.

COOK - Stirring consistently over a low heat, cook until the mixture thickens enough to coat the back of a spoon.  7-12 minutes.

Place a mesh strainer over a medium bowl; then pour the cooked mixture through the mesh strainer.  Discard anything to catch in there...

Add vanilla and chocolate-hazelnut spread and stir until dissolved.

Let cool  UNCOVERED  -  and then chill in fridge for 12-24 hours.

NOTE:  Be sure your ice cream bowl is frozen ahead of making this recipe so you are READY for the final step.

Assemble your KitchenAid ice cream bowl attachments BEFORE pouring your mixture in.

MIX on "stir" setting for 25-30 minutes.

Serve and share and enjoy...

OR

Transfer all contents from ice cream bowl into incognito containers and hide in your freezer for personal consumption and personal, un-shared enjoyment...


Thursday, October 24, 2019

Ginger Snaps - Gluten FREE ...(and dairy FREE!)

(AKA:  Ginger Bends if you grew up in the Davis House)


Tis the season to bake.  And bake we will...

This is one to bake to make your house smell like fall / winter.

We are still baking outside in the outdoor oven since the air conditioner is still running EVERY DAY, EVERY DAY, EVERY DAY.

The season of "Fall" in the South happens when it is cold enough to wear your boots without an enormous amount of sweat.  When that actually happens is around 75 degrees.  AND  WHEN that blessed temperature arrives... it is joyful to wear boots here!!! 

It's happened once so far and we are staring Halloween in the face.  Yeah - we have to fake Fall with smells and baking and wishing it were cold enough to wear boots EVERY DAY.  (Maybe in Idaho - or Oregon - or New York - or anywhere else... but not HERE.)

These cookies are worth the effort, if only for the smells.  

GOOD  NEWS!!!

They are delightful to eat too.  :0)

NOTE  TO  THOSE  OF   YOU  WHO  EAT  REGULAR  FLOUR -
There are instructions for you at the end of the recipe for an All-purpose flour use.
These baking recipes were originally NOT gluten-free... so all y'all are welcome!  YUP - Both recipes in one place.


Soft Ginger Snaps - GLUTEN-Free


Preheat oven to 325.


Cream with a hand mixer in the following order:

                  ¾ cup refined coconut oil 
                       (that means NO coconut flavor 
                       - LouAna’s is preferred!) 
                  1 cup sugar


Then  Add:
4 Tablespoons molasses
and BEAT together

Then  Add:
1 egg - beaten
and BEAT all together


In a separate bowl, mix together dry ingredients before adding to the creamed ingredients:

2 teaspoons baking soda
1 TABLESPOON cinnamon
2 1/2 cups gluten-FREE flour mixture
1 teaspoon ground ginger
1 teaspoon ground cloves


Add dry ingredients to the creamed ingredients one 1/2 cup at a time until smooth.  

Roll into small walnut-sized balls; or use a SMALL cookie scoop.  

Dip and roll cookie dough balls in granulated sugar and place 2 inches apart on a parchment lined baking sheet.    (OR use a lightly greased cookie sheet.)

Before baking, push down in the center of each cookie with a finger or thumb. 

OPTIONAL (BUT NOT REALLY):  
In the fingerprint, sprinkle a small amount of LARGE GRANULATED SUGAR CRYSTALS. 

Bake at 325 for 13-15 minutes.  
DO NOT OVER BAKE or they will be crunchy…
Let rest on baking pan for 5 minutes before lifting off.
Store in an air-tight container (if there are any left to put away!)
Makes 3 dozen small cookies.


... ... ... ... ... ... ... ... ... ... 


WHEAT FLOUR VERSION:

USE:   
2 cups all-purpose flour
3/4  cup shortening

BAKE at:   
350  for  10-13 minutes


... ... ... ... ... ... ... ... ... ... 
(It's a recipe FOR your recipe!)

CLICK TO GO TO: 


... ... ... ... ... ... ... ... ... ... 

Click Link FOR:    Mama Jo's Recipe Blog TABLE OF CONTENTS

Wednesday, October 16, 2019

LEMON-Y Lemon Bars

Dear Melissa,

I know that you have had a long history with these... a love/hate relationship if we take a moment to be honest.  They turn out just fine; then they DON'T turn out "just fine" and don't set.

I am writing you this letter (on a recipe blog) to let you know that I have experimented multiple times over these 8 long years of being separated by a 2 day drive (why is Texas so big???) AND NOW... I think I have the kinks worked out.

Please try this again, one more time!

Here's the thing... you have to pinky-promise to NOT skip any of the weird things that I have noted on here to do.

GOOD  LUCK!   ❤️ LOVE  YOU  FRIEND!  :O)

Sure miss cooking for you and then talking for hours while our kids played... someday soon (I hope!)  I will be back!

Love,  Your Jo


LEMON-Y  Lemon  Bars 

Crust
2  cups all-purpose flour
1/2  cup powdered sugar
1  cup (2 sticks) butter, softened to room temperature 

Filling
4  large eggs at room temperature 
( - FOR THIS: PUT THE EGGS IN A BOWL, RUN HOT WATER OVER THEM FOR A FEW MINUTES, and set aside in the warm/hot water)
1/4  cup freshly squeezed lemon juice, strained of pulp & seeds
1  teaspoon baking powder
1/4  cup all purpose flour
2  cups white sugar

Glaze
(zest a whole lemon, sprinkle zest on bars before you glaze)
1  cup powdered sugar
3  TABLESPOONS strained freshly-squeezed lemon juice


Preheat oven to 350. 

Mix together the flour and powdered sugar and then cut in the butter with a pastry blender until the mixture is crumbly. 

NOTE:  Then cut in the butter, flour, powdered sugar AGAIN until it starts to form a ball.

Lightly press into the pan and bake for 15  minutes, or until light golden brown around the edges.  Remove from oven.

During the last few minutes of the shortbread’s baking time: 
Prepare the filling:  mix the eggs, lemon juice, flour, sugar, and baking powder in a large bowl with an electric mixer until combined.  

NOTE:  Once combined, mix on HIGH speed for 3 minutes. 

The mixture should be frothy and a very, very pale yellow. 

Pour the mixture over the warm crust and then return the pan to the oven for another 20-25 minutes or until lightly golden brown on the top. 

NOTE:  Check the bars at 20-23 minutes to make sure the top isn’t getting too dark.


Remove the pan from the oven and allow to cool completely. (...Can take up to 4-5 hours.) 

When the bars are cooled, cut into squares.

Then whisk together the glaze ingredients until smooth and gently spread over the bars. 

Leave in your baking pan until ready to plate and refrigerate for at least 2 hours.  (...Over night is preferred by all the Davis food snobs in my house.)

Make about 36 bars. 


This is what it needs to look like after your
SECOND time cutting the butter into the flour and powdered sugar.  

Use the back of a large spoon to press down the
outer edges of your crust so that it doesn't burn.

Then use the spoon again to smooth out the top.

Bring your eggs to room temperature using lukewarm,
then warm then REALLY warm water.
Finish with HOT WATER.
NOTE:  this has to happen Melissa (and all y'all!).  
I promise it will work out; I think this is the kink. 


Set your 3 minute timer ONLY when you have the
filling ingredients mixed and looking like this.


The filling will be a bit puffy - GOOD NEWS.
It should be.


ONLY when cooled - slice into squares. Or rectangles.
Or eat the whole thing by yourself and don't slice it at all...

Whisk the glaze ingredients together 
until smooth and then gently spread over the bars. 

Leave in your baking pan until ready to plate 
and refrigerate for at least 2 hours.  
(...Over night is preferred by all the 
Davis food snobs in my house.)

(I save all the edges and corners for myself...
:0)  they are my favorite.)


Blog LINK:  Home Grown and Handmade By Dr. D

Thanks to the Handsome Bret Sr.,
someday (hopefully spring 2020!) soon
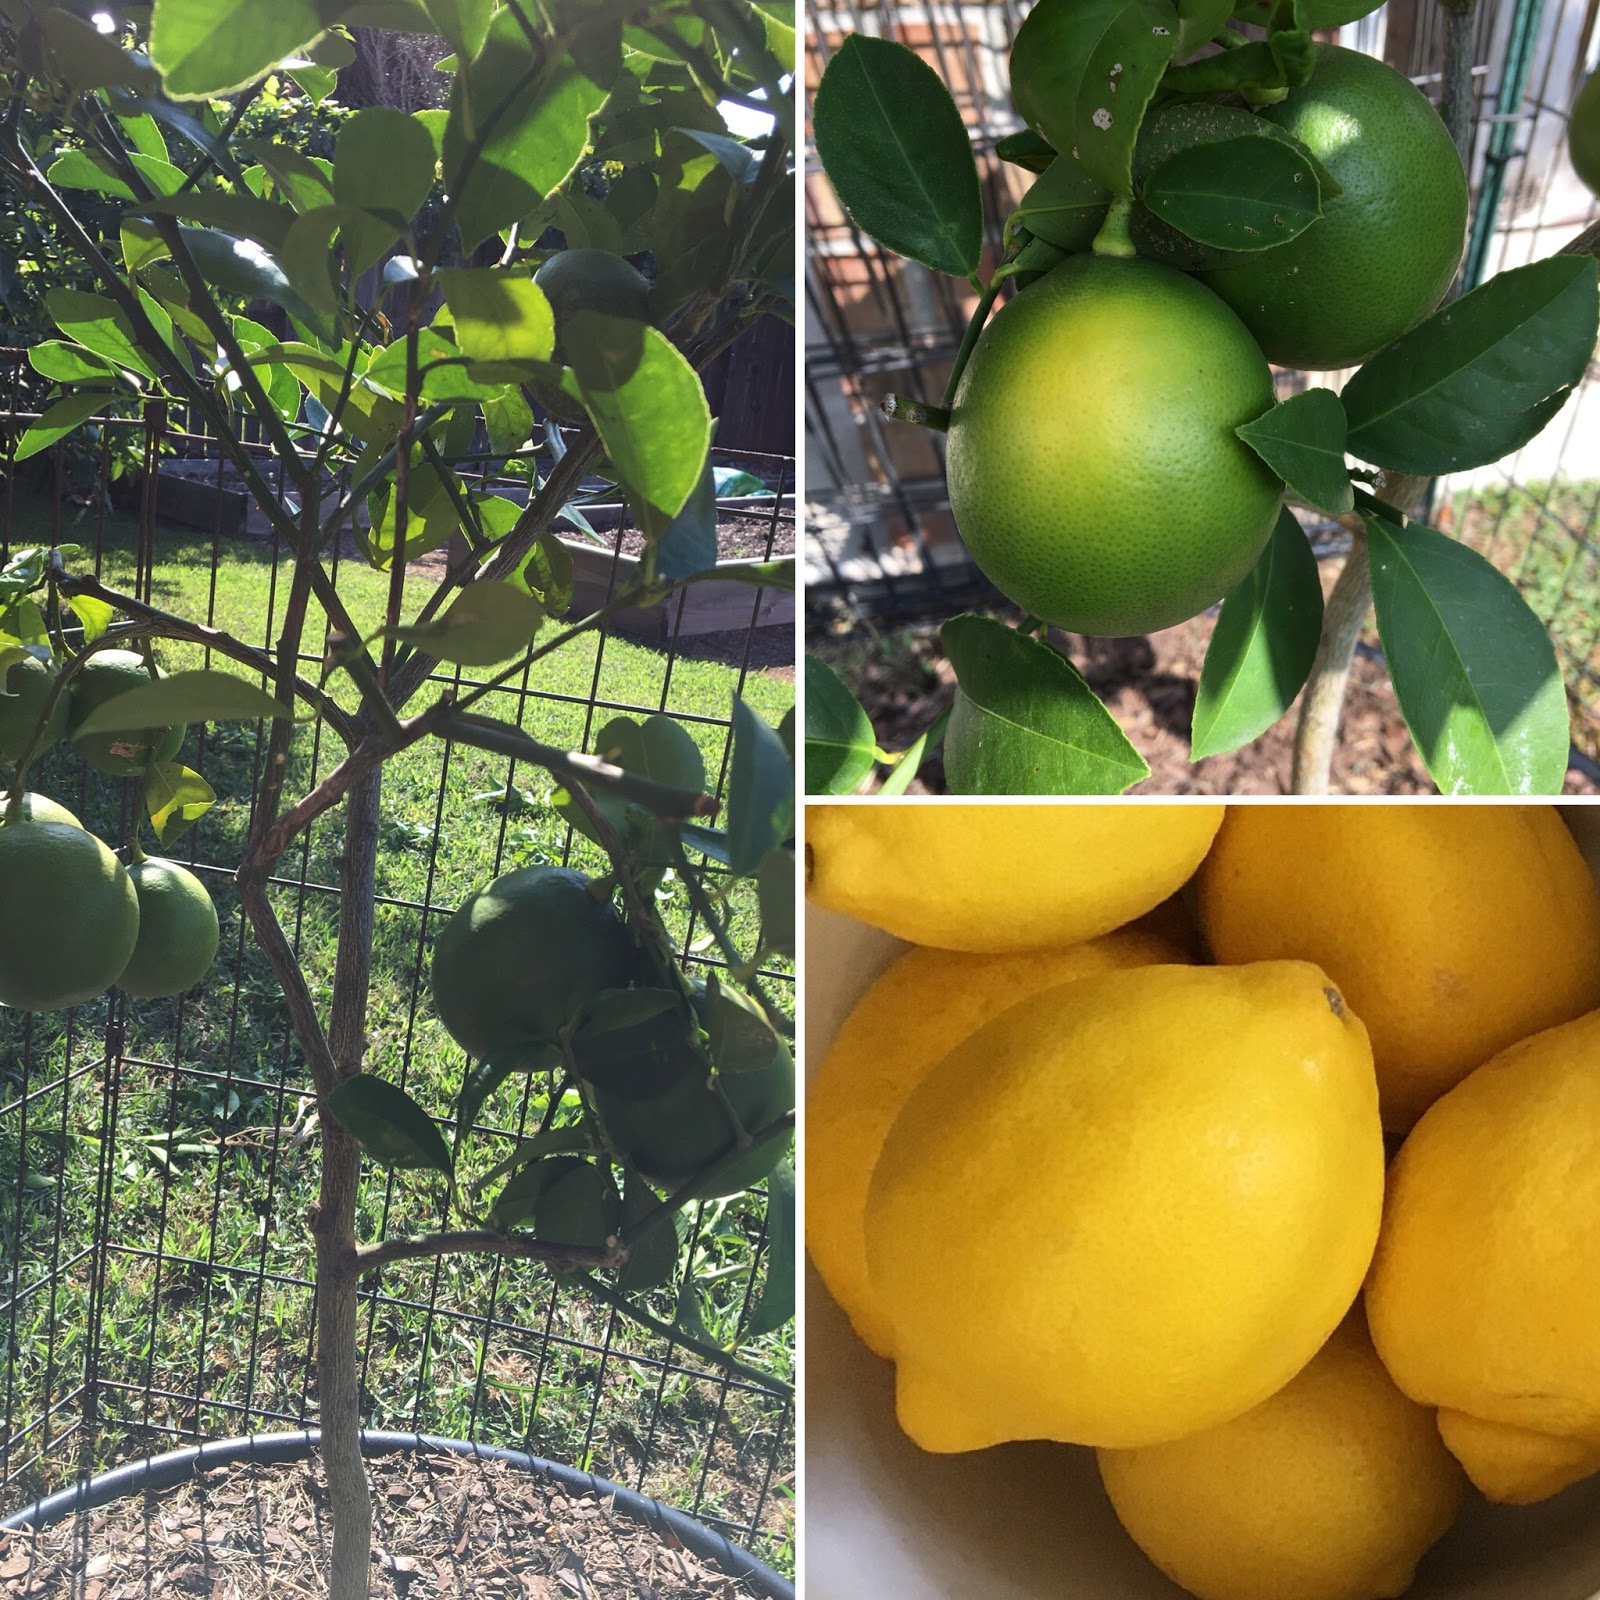
I will be able to have lemons from my own lemon tree
to make this family favorite!


Click Link FOR:  Mama Jo's Recipe Blog TABLE OF CONTENTS


Mama Jo’s New York Style Cheesecake


CRUST:

1/2  cup melted butter
1  1/2  packages of graham crackers - pulsed into crumbs
1/4  cup granulated sugar
1/2  teaspoon cinnamon

Crust Instructions:     

Mix well and press firmly into a springform pan.


FILLING:

2   8 0z. pkg. cream cheese, softened (NO COLD SPOTS!) warmer than colder is better...
3  eggs - beaten
½  cup  AND  2 Tablespoons  granulated sugar
1  teaspoon  vanilla  (Mexican vanilla preferred)

Filling Instructions:    

Mix soft (slightly warm) cream cheese with a hand mixer on MED-HIGH for 2-3 minutes until smooth.  
ADD SUGAR.  Mix again on MED-HIGH until smooth and well combined.
ADD eggs and vanilla.
Mix all ingredients at HIGH speed until smooth and well combined.  


Pour filling over pressed crust.

Bake at 350 degrees for 30-40 minutes in a springform pan.

Cheesecake is done with its first bake and ready for the topping when edges are sightly brown and middle is firm.

While crust and filling are baking, prep the following topping and then bake a second time as noted in the additional baking instructions.


TOPPING:

1 cup  sour cream
1  ½  Tablespoons granulated sugar
¼  teaspoon vanilla

Topping Instructions:    

Mix, add to the top of the baked crust and filling portions AFTER the first 30-40 minute bake. 

Bake again for an additional 10 minutes.

Cool.

When cooled completely, refrigerate 8-10 hours or overnight before serving.


Click Link FOR:     Mama Jo's Recipe Blog TABLE OF CONTENTS

Monday, September 30, 2019

Baking With Natural Yeast - Breakfast Sausage Gravy AND a Basic Loaf


Substitute a basic loaf of natural yeast bread for traditional buttermilk biscuits... 


:0)  I have a buttermilk biscuit recipe, but you'll have to marry into my family to get it.
(Along with a few other recipes worthy of their own food truck.)


A family favorite for breakfast (or dinner... I've yet to hear complaining if this shows up as a dinner) it is often a birthday breakfast request, or a Christmas morning request, or a Father's Day morning request.  Basically y'all will either like it or LOVE IT.  


Milk Gravy:
2 pounds breakfast sausage - COOKED - SET ASIDE with grease
NOTE: use (1) HOT (1) MILD

3/4 cup melted butter
1/4-1/3  cup GLUTEN-FREE or all-purpose flour
5 cups milk - hot/warm
1 1/2 - 2 teaspoons Kosher salt (taste before adding salt)
1 teaspoon coarse black pepper


Heat and melt butter in LARGE cooking pot. 

Add the flour you’ve decided to use and  and whisk into the butter slowly on LOW HEAT until smooth. 

Add the hot/warm milk 1 cup at a time and bring to a simmer. 

Keep the heat at a low simmer and stir, until thickened, about 5-8 minutes, adding milk as necessary to control the thickness. 

Season the gravy with salt and pepper. 


Serve hot over toasted Natural Yeast Bread and a pair of fried eggs.


... ... ... ... ... ... ... ... ... ... 
(It's a recipe FOR your recipe!)

CLICK TO GO TO: 


... ... ... ... ... ... ... ... ... ... 

Click Link FOR:     Mama Jo's Recipe Blog TABLE OF CONTENTS