Showing posts with label dessert. Show all posts

Wednesday, September 10, 2025

SAMOAS POWER SNACK - A Wanna-Be Girl Scout Cookie


OH MY.
So tasty!
And I have completely convinced myself that I am eating a girl scout cookie (but I'm NOT...)

This recipe, or more accurately: a version of this recipe, has been circling my Pinterest feed for a few years.  I've done this one enough times now I know what I like and what is not optional. 

So if you're like me and would buy a box of the Samoa cookies (or 2) for you to eat by yourself... I present this delightful substitute! ENJOY!

... ... ... ... ... ... ... ... ... ... ... 

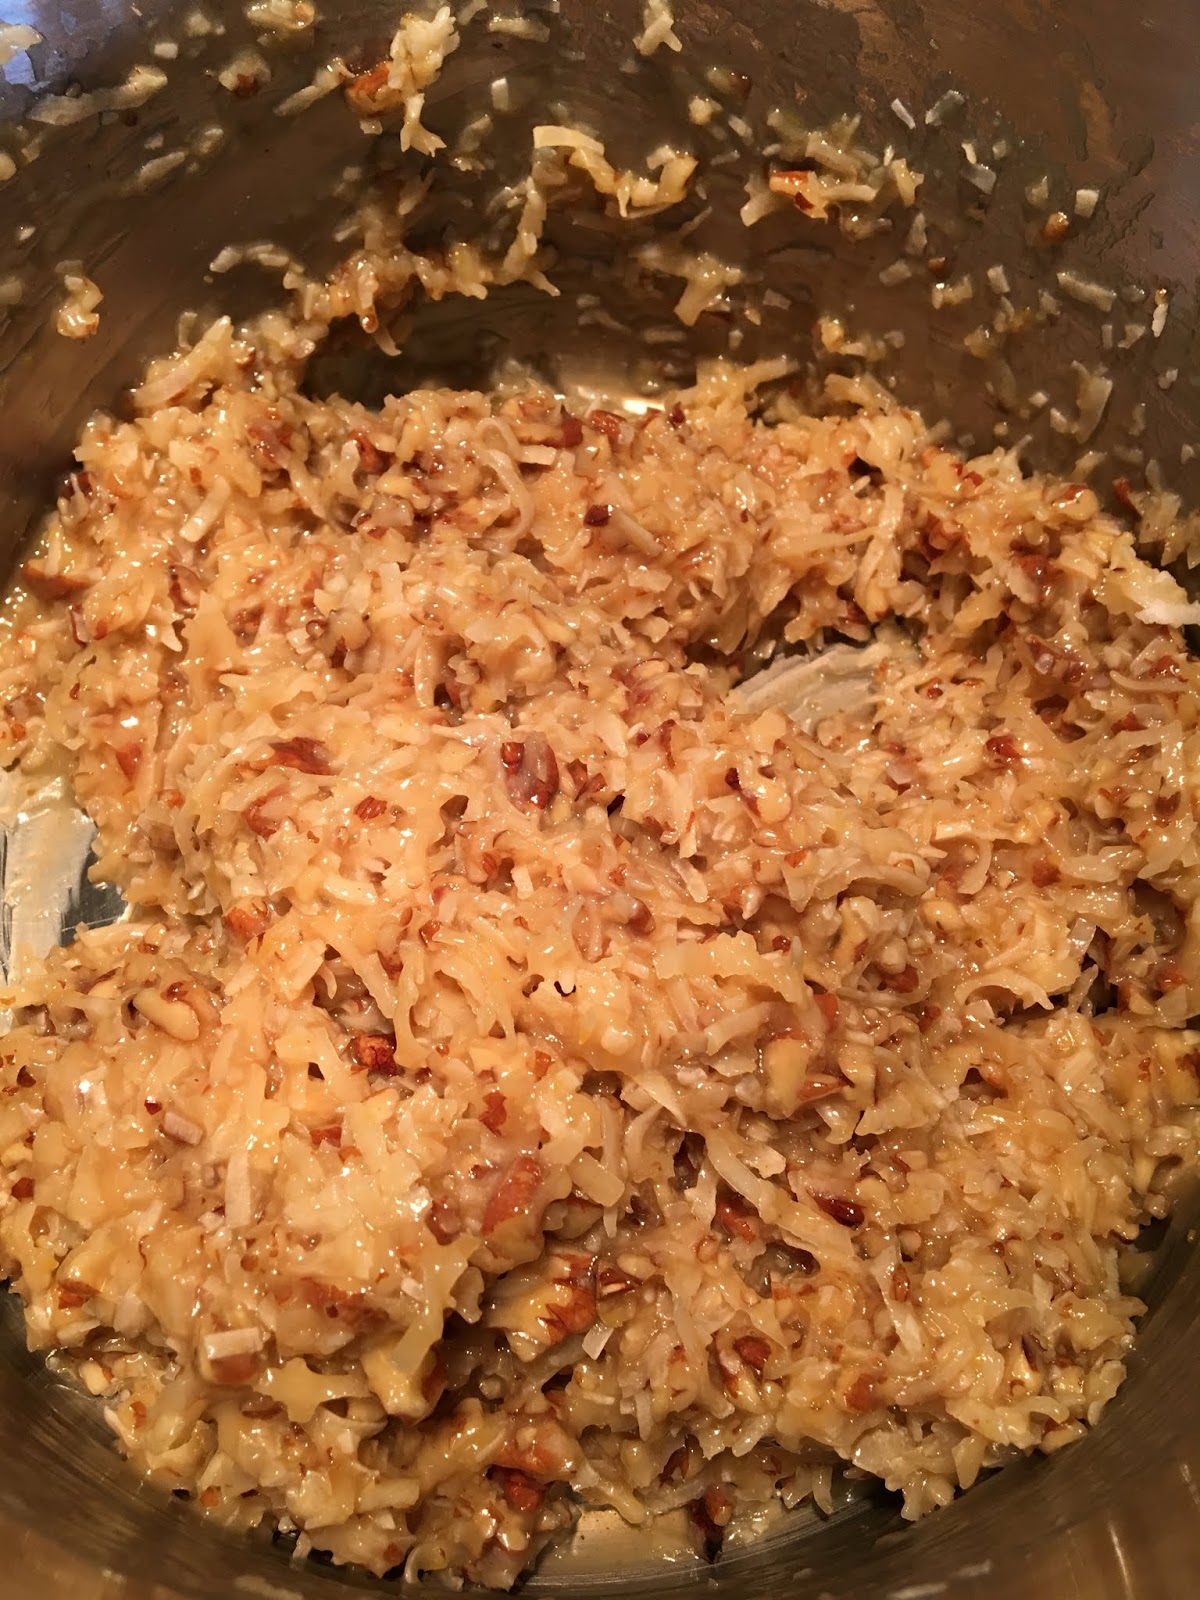
1 and 1/4 cup unsweetened coconut flakes - TOASTED
(the large kind if you can find them!)

2 cups (about 20) Medjool dates - PITTED
1/4 cup semi-dark chocolate chips OR dark chocolate pieces
2 Tablespoons almond butter
1/4 teaspoon pink Himalayan salt
1/4 teaspoon Mexican vanilla


Toasted Coconut:
Bake at 400 on a small cookie tray with parchment paper for 5-6 minutes.  At around 3 minutes: pull the baking tray out and toss the coconut for it to all evenly toast up.  (BE WATCHFUL! It goes from "toasty" to "burnt" really fast.)  Set aside.


Make The "Dough":

Pit all the dates.

Layer in a food processor or a DRY or WET Vitamix blender:
toasted coconut - 3/4 of it ONLY
pitted dates
almond butter
chocolate - 1/2 of it ONLY
vanilla
salt

Process until the mixture turns into a "dough" ball.


PULL IT ALL TOGETHER:
(you'll get a bit messy...)
Work the remaining chocolate into the dough.
Pinch off small amounts - about the size of a walnut - or use small cookie scoop and roll into 16 balls.
Roll and squish the dough balls in the remaining toasted coconut.

Store in an air-tight container and refrigerate.

Edible right away for sure!

However... best chilled overnight or 1/2 a day.

Store in the fridge for as long as they last... 


... ... ... ... ... ... ... ... ... ... ... 


Click Link FOR:       Mama Jo's Recipe Blog TABLE OF CONTENTS  


Sunday, May 29, 2022

Pumpkin Pie Ice Cream


Pumpkin Pie Ice Cream

Perfectly Paired with a gluten-free
graham cracker and/or chocolate syrup.


Pumpkin Pie Ice Cream


4  cups half and half  (or see listed substitutions)

2  cups heavy whipping cream

2  vanilla beans  (or see listed substitutions)

1  and  1/2 cups white sugar

1/2  cup light brown sugar


7.5 oz canned pumpkin (1 cup)

1  teaspoon nutmeg

1  teaspoon ground cinnamon

1/2  teaspoon ground ginger

1/4  teaspoon ground cloves


Combine all dairy into a saucepan along with all the sugar. 

Split and scrape the vanilla beans into the dairy and sugar mixture. 

Bring to 170 degrees F. to dissolve sugar then let cool to room temperature. 

Once cooled completely, chill in the refrigerator overnight. 


NOTES:

When cooking diary on a stovetop - be VERY watchful!  It can erupt like a volcano-science-experiment up and out of your saucepan! Stir constantly and check the temperature often.


IF  USING  LIQUID  VANILLA  AS  A  SUBSTITUTION:  

Add vanilla AFTER sugar is dissolved and mixture is removed from heat.


Combine pumpkin and add the listed spices. 

Mix in a bowl to combine, then cover and chill overnight in the refrigerator. 


The next day, take pumpkin and dairy mixture out. 

Filter dairy mixture to remove large vanilla bean pieces. 

Add some of the dairy mixture to the pumpkin and mix well to loosen it up. 

Then combine both the dairy mixture and pumpkin mixture together thoroughly. 

Freeze in your ice cream freezer according to the manufacturer's instructions.

Let the ice cream harden for at least two hours unless serving immediately.


ADDITIONAL  INSTRUCTIONS  FOR

A  KITCHEN  AID  ICE  CREAM  BOWL:

MAKES  2  BATCHES!!!  

Split your combined final mixture in 1/2.  

(Keep one 1/2 in the fridge until your bowl is ready for use again in the next few days…)  

Retrieve your Kitchen Aid Ice Cream Bowl from the freezer and put to use immediately.  

Place white ice cream paddle in the bowl before adding ice cream mixture.  

Attach corresponding spring attachment to the rotating arm of the Kitchen Aid machine. 

Mix for 30 minutes on “stir” OR your lowest setting. 


Substitutions:

FOR - 4 cups half and half

SUB - 1 cup water, 1 cup whole milk, 2 cups whipping cream


FOR - vanilla beans

SUB - 1 and 1/2 teaspoons Mexican vanilla  OR  vanilla


Monday, January 4, 2021

German Chocolate Cake Frosting - WITH Gluten-Free DOUBLE Chocolate Cake


GERMAN  CHOCOLATE  CAKE
AKA:  Mom's  Birthday  Cake 
(that no one else eats...)


MAKE  AHEAD  (in however many layers your heart desires!):


Gluten-FREE  DOUBLE  Chocolate  Cake 

CLICK HERE FOR RECIPE LINK


Using round layer cake pans, make and cool cake as directed in the recipe.  


Tip (But really a requirement):  

instead of using flour on the greased pans, use sugar!


FROSTING:


1  cup sugar

3/4  cup evaporated milk

2  egg yolks, beaten

1/3  cup LouAna refined coconut oil

1  teaspoon vanilla

1 and 3/4  cups coconut, flaked and un-sweetened 

1  cup pecans, chopped


In a medium saucepan combine sugar, evaporated milk, egg yolks, and shortening.  


Cook and stir over medium heat until mixture comes to a boil.  


Remove from heat.  


Stir in vanilla, coconut, and pecans.  


Let cool at least 15 minutes.  


Spread frosting ONLY between layers and on top of cake.


In a medium saucepan combine sugar,
evaporated milk, egg yolks, and shortening.


Cook and stir over medium heat until mixture 

comes to a boil.  


Remove from heat.  


Stir in vanilla, coconut, and pecans.  


Let cool at least 15 minutes.


ALL  CAKES  NEED  TO  REST
-  COOL - 
and HANG OUT
for 10 minutes before they get bumped
out of their pans.


Your cakes don't have to be as cool for this
frosting as they would need to be for
a buttercream. 

That said - they CANNOT be hot.


Spread frosting ONLY between layers
and on top of cake.


Start stacking!

SIMPLE - PRETTY - AND BONUS:
DELISHOUS!


These cake layers were made wedding cake topper pans -
AND... If you didn't know it, TOTALLY appropriate
to use on my birthday cake because I got married
ON my 21st birthday.  :0) 
2020 was our 20th anniversary!


HAPPY  BIRTHDAY  TO  ME!!!

...photographed cake from 2020 -
and at the beginning of the COVID pandemic!
I thought would be over by June, maybe July at the latest.  HA!!!


Even made a matching ice cream...
Coconut Ice Cream  :0)


Click Link FOR:
      Coconut Ice Cream

Coconut Ice Cream


1/2  cup heavy cream

1 and 1/2 cups  unsweetened coconut milk

1  cup whole milk

6  large egg yolks

1/2  cup granulated sugar


Heat the heavy cream, coconut milk and whole milk in a heavy-bottomed saucepan over medium heat. 


Place the eggs and sugar in a heatproof mixing bowl and beat until pale yellow in color and all of the sugar has dissolved. 


Temper about 1/2 a cup of the cream mixture into the egg mixture and whisk vigorously to incorporate well. 


Add the egg mixture to the saucepan with the cream mixture, lower the heat slightly, and cook, stirring constantly with a whisk or wooden spoon, until the custard has thickened enough to coat the back of a spoon, 4 to 5 minutes.


Remove from the stove and strain the custard through a fine mesh sieve into a clean bowl. 


Place the bowl in another bowl half-filled with ice and water. 


Stir occasionally until chilled.


Pour the chilled custard into an ice cream machine and process according to the manufacturer's instructions until frozen. 


Transfer to an airtight container and freeze until ready to serve.


Click Link FOR:   


Wednesday, November 6, 2019

Chocolate / Hazelnut GELATO


Let's be honest  - ...really should just be called "Nutella Gelato".  But that's a brand and we can't.  (But it IS Nutella Gelato.)

Funny thing to share with y'all:

I've had this recipe for nearly 10 years now, printed from the Food Network and being safely kept in my Paleo Cookbook.  NOTE: This is NOT Paleo.  ...the irony made me laugh out-loud when I remembered where I was keeping it.  :0)


You need an ice cream maker.  


Can I recommend one?  The ONLY one I can recommend is the KitchenAid bowl with two small attachments to keep track of.  NO  EXTRA  APPLIANCE.  You just use your KitchenAid stand and keep the bowl frozen in the freezer.  Genius.  I love it.  You'll love your's and learn to keep the bowl in the freezer so that it is ready and waiting for you to make this and MANY other ice creams.  


That said, this is the only gelato recipe that I've TRIED and that I've LIKED.


It's a "plan ahead" and "make ahead" kind of a thing, but worth the work and planning.


Chocolate / Hazelnut GELATO 


4  egg yolks
1/4  cup sugar

2  cups whole milk
1  cup heavy whipping cream
1/2  cup sugar

1/2  teaspoon vanilla
1/2  cup  chocolate-hazelnut spread (NOTE:  Nutella is preferred - shouldn't be a surprise)


In a medium mixing bowl whip the egg yolks and 1/4 cup sugar using an electric hand-mixer on high for 3-4 minutes until the eggs and sugar thicken and become a pale yellow.

SET  ASIDE.

In a medium to large sauce pan combine the milk, cream, and 1/2 cup sugar and stir consistently over medium heat.

Cook, (stirring!) for 5-7 minutes until the sugar dissolves.

Take a 1/2 cup of the the hot milk and cream mixture and POUR into the egg yolk and sugar mixture - STIR.   (NOTE: This will warm up the egg mixture before adding all of it into the milk and cream saucepan.)

NOW - Add the egg yolk and sugar mixture into the saucepan with the remaining milk and cream mixture.

COOK - Stirring consistently over a low heat, cook until the mixture thickens enough to coat the back of a spoon.  7-12 minutes.

Place a mesh strainer over a medium bowl; then pour the cooked mixture through the mesh strainer.  Discard anything to catch in there...

Add vanilla and chocolate-hazelnut spread and stir until dissolved.

Let cool  UNCOVERED  -  and then chill in fridge for 12-24 hours.

NOTE:  Be sure your ice cream bowl is frozen ahead of making this recipe so you are READY for the final step.

Assemble your KitchenAid ice cream bowl attachments BEFORE pouring your mixture in.

MIX on "stir" setting for 25-30 minutes.

Serve and share and enjoy...

OR

Transfer all contents from ice cream bowl into incognito containers and hide in your freezer for personal consumption and personal, un-shared enjoyment...