Monday, January 11, 2021

Baking With Natural Yeast - BRET'S DINNER ROLLS


"Bret's Dinner Rolls" - as in the lovely Bret Annalese, not the Handsome Bret Sr.

Did y'all know I have TWO Bret Davis' in my life?  

Ways that they differ:
- years apart
- BOY Bret is my husband, GIRL Bret is my fourth child and second daughter
- they both like being called Bret. However, I call GIRL Bret by the name I "won" which is Bret Annalese...
- one likes to read non-stop for days on end and then re-read whatever novel series was just devoured.  While the other Bret would rather leave the books on the shelf unless they have to do with timber-framing a house, BBQ or gardening.
- one likes to talk for and be listened to for long, long, long conversations... The other would like for you to get to the point rather quickly.  

Ways that they are similar:
- they are both taller than me...  (NOT hard to do)
- they both order the "Daily Warrior" at Smoothie King
- their chin   :0)  
- their sarcasm
- their made-up "DAD JOKES"
- their food snobbery and desire for treats
- their fire making skills
- they don't clean up after themselves (IE:  shoes are always left out... everywhere)
- they LOVE, LOVE, LOVE my dog Jane Austen


MANY times we just say that they're "THE Bret's" - I  LOVE  IT!

It can be confusing to people who meet us as a family for the first time and fun for all of us at home when I'm mad and yelling at one of them and they don't know which one it is until I include a "Daddy Bret" or "Bret Annalese" with my angry commentary.
   
If you take another look at their similar list you'll see that they both are food snobs.  Which can actually come in very handy  for  ME  -  they often come up with a good idea about the food that is made in this house.  

As it happens to be the case with this idea/recipe - Bret Annalese requested that we have actual dinner rolls with our Thanksgiving dinner this year instead of our usual loaf of Natural Yeast Bread all sliced up.  Turns out, it was a great idea and a totally different result than our usual bread loaf (even though it is using the EXACT  SAME  RECIPE!).  

What brings about the difference y'all ask? 
- The rolls are shaped using grapeseed oil and then left to rise for 30 minutes before baking.  The rolls turned out to be incredibly extra-fluffy and delightful!

------------------------------------------------------------

TO MAKE:

You'll need make up a Natural Yeast Dough recipe the day before you want to bake your dinner rolls.  


Once your dough is ready around the 20-24 hour mark - gather up your items needed for the shaping and baking:

a circle or a 9X9 square baking dish/pan
grapeseed oil
small dish or plate for extra grapeseed oil needed for shaping
your prepped-the-day-before and now READY dough 

------------------------------------------------------------

Pour a few Tablespoons of grapeseed oil into your small dish or plate.

Grease your baking dish thoroughly with grapeseed oil using your hands (they need to be adequately oiled in order to handle your sticky dough...)

Pinch off a handful dough and then pinch into a roll - my girls informed me it looks like a Chinese dumpling.  And indeed it does.

Place in your greased baking dish with the pinched side facing down.

Repeat trying to get a similar size for each roll until the dough is gone.

Let rise uncovered for 30-45 minutes. 

NOTE:  if your house is cold it will take longer!  

Keep in mind you want to see the dough rise an inch or more.

Bake in your oven at 400 degrees for 28-30 minutes.

Let cool 15-20 minutes and serve warm.


Pour a few Tablespoons of grapeseed oil 
into your small dish or plate.

Grease your baking dish thoroughly with 
grapeseed oil using your hands 
(they need to be adequately oiled in order 
to handle your sticky dough...)


Pinch off a handful dough and then pinch into a roll 
- my girls informed me it looks like a Chinese dumpling.  
And indeed it does.


Place in your greased baking dish with the
pinched side facing down.


Repeat trying to get a similar size
for each roll until the dough is gone.


Let rise uncovered for 30-45 minutes 
- if your house is cold it will take longer!


Keep 
in mind you want to see the
dough rise an inch or more.


Bake in your oven at 400 degrees for 28-30 minutes.

Let cool 15-20 minutes and serve warm.


I love doing these rolls in my cast iron! 
If you have a size 8 or 10 - GIVE IT A TRY! 


Monday, January 4, 2021

German Chocolate Cake Frosting - WITH Gluten-Free DOUBLE Chocolate Cake


GERMAN  CHOCOLATE  CAKE
AKA:  Mom's  Birthday  Cake 
(that no one else eats...)


MAKE  AHEAD  (in however many layers your heart desires!):


Gluten-FREE  DOUBLE  Chocolate  Cake 

CLICK HERE FOR RECIPE LINK


Using round layer cake pans, make and cool cake as directed in the recipe.  


Tip (But really a requirement):  

instead of using flour on the greased pans, use sugar!


FROSTING:


1  cup sugar

3/4  cup evaporated milk

2  egg yolks, beaten

1/3  cup LouAna refined coconut oil

1  teaspoon vanilla

1 and 3/4  cups coconut, flaked and un-sweetened 

1  cup pecans, chopped


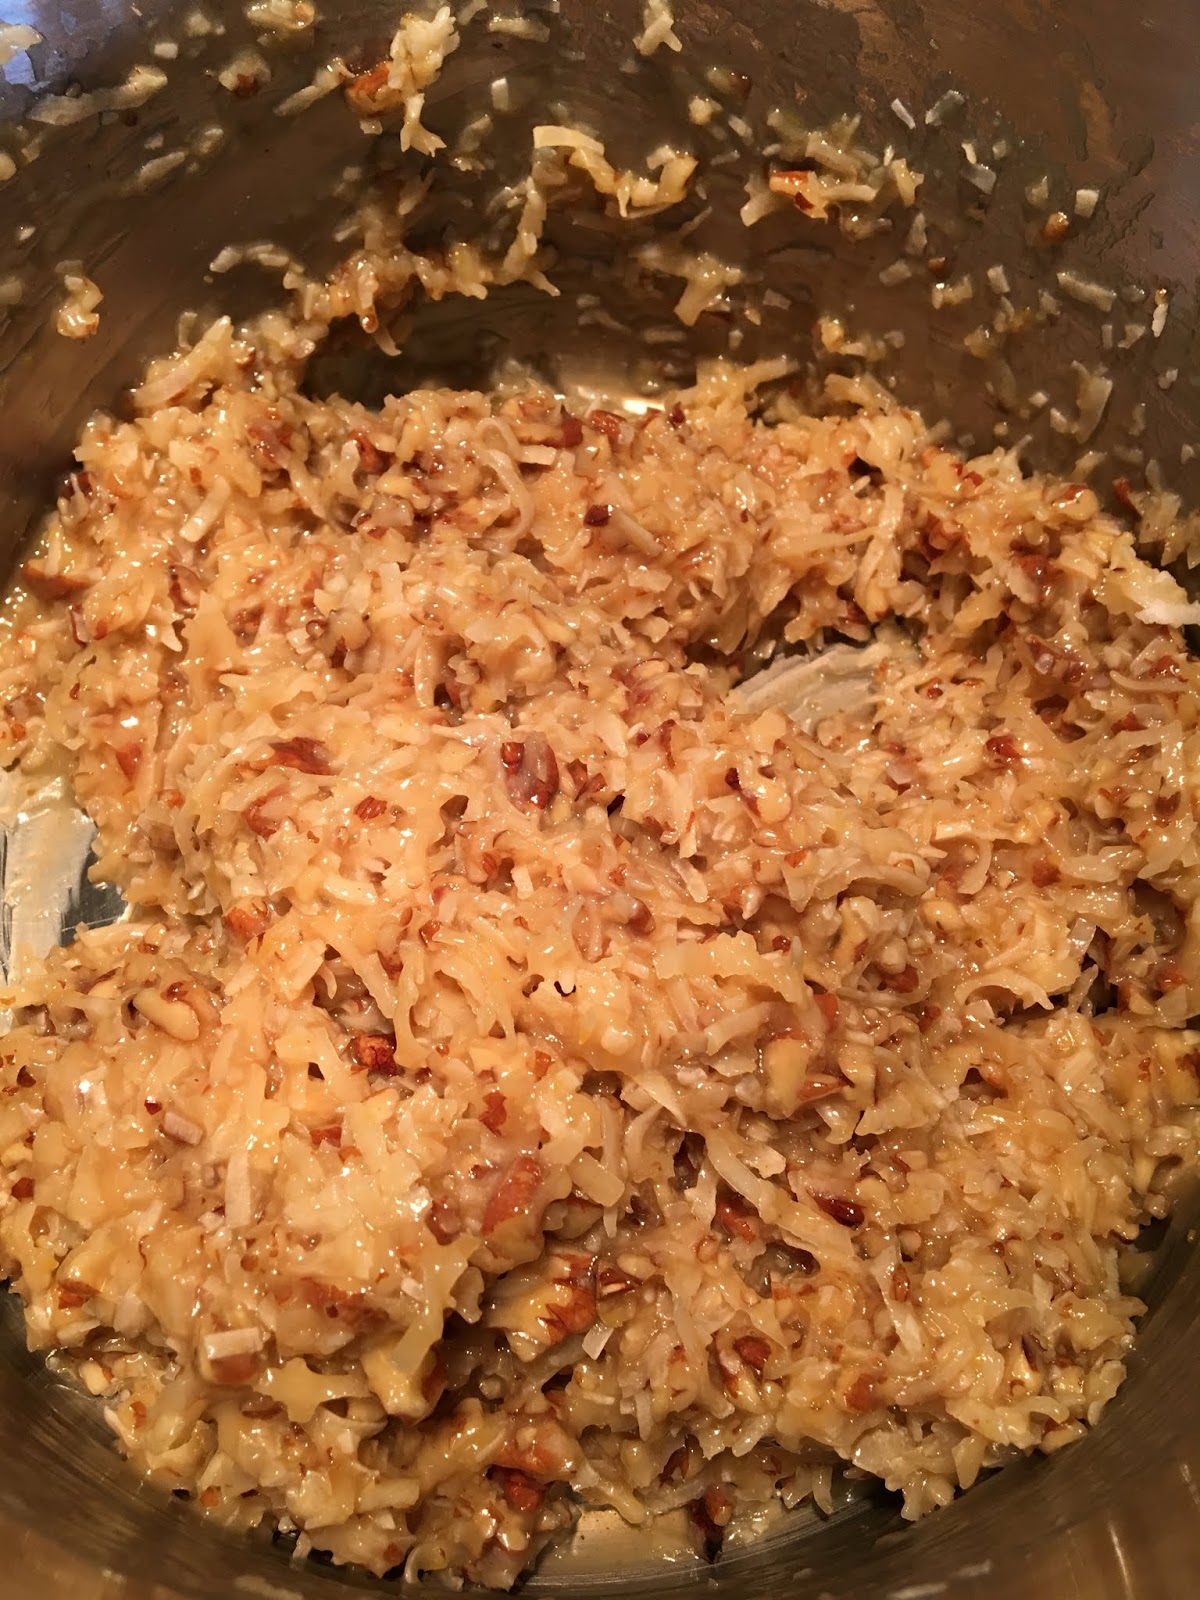
In a medium saucepan combine sugar, evaporated milk, egg yolks, and shortening.  


Cook and stir over medium heat until mixture comes to a boil.  


Remove from heat.  


Stir in vanilla, coconut, and pecans.  


Let cool at least 15 minutes.  


Spread frosting ONLY between layers and on top of cake.


In a medium saucepan combine sugar,
evaporated milk, egg yolks, and shortening.


Cook and stir over medium heat until mixture 

comes to a boil.  


Remove from heat.  


Stir in vanilla, coconut, and pecans.  


Let cool at least 15 minutes.


ALL  CAKES  NEED  TO  REST
-  COOL - 
and HANG OUT
for 10 minutes before they get bumped
out of their pans.


Your cakes don't have to be as cool for this
frosting as they would need to be for
a buttercream. 

That said - they CANNOT be hot.


Spread frosting ONLY between layers
and on top of cake.


Start stacking!

SIMPLE - PRETTY - AND BONUS:
DELISHOUS!


These cake layers were made wedding cake topper pans -
AND... If you didn't know it, TOTALLY appropriate
to use on my birthday cake because I got married
ON my 21st birthday.  :0) 
2020 was our 20th anniversary!


HAPPY  BIRTHDAY  TO  ME!!!

...photographed cake from 2020 -
and at the beginning of the COVID pandemic!
I thought would be over by June, maybe July at the latest.  HA!!!


Even made a matching ice cream...
Coconut Ice Cream  :0)


Click Link FOR:
      Coconut Ice Cream

Coconut Ice Cream


1/2  cup heavy cream

1 and 1/2 cups  unsweetened coconut milk

1  cup whole milk

6  large egg yolks

1/2  cup granulated sugar


Heat the heavy cream, coconut milk and whole milk in a heavy-bottomed saucepan over medium heat. 


Place the eggs and sugar in a heatproof mixing bowl and beat until pale yellow in color and all of the sugar has dissolved. 


Temper about 1/2 a cup of the cream mixture into the egg mixture and whisk vigorously to incorporate well. 


Add the egg mixture to the saucepan with the cream mixture, lower the heat slightly, and cook, stirring constantly with a whisk or wooden spoon, until the custard has thickened enough to coat the back of a spoon, 4 to 5 minutes.


Remove from the stove and strain the custard through a fine mesh sieve into a clean bowl. 


Place the bowl in another bowl half-filled with ice and water. 


Stir occasionally until chilled.


Pour the chilled custard into an ice cream machine and process according to the manufacturer's instructions until frozen. 


Transfer to an airtight container and freeze until ready to serve.


Click Link FOR:   


Friday, January 1, 2021

Ginger Green Smoothie - My Jamba Juice CopyCat


Pretty sure a daily green smoothie is the only thing keeping my husband alive! (...His words, not mine.)  This particular green smoothie has slowly crept onto the entire family's "Favorite List" - starting with me at the beginning of a race weekend...

A few years ago, when we met up in Utah for a long trail race, my sister Nicole insisted I order the “Greens and Ginger” smoothie from the airport Jamba Juice before we headed out.  

I was skeptical -  :0/  GINGER???  

I’ve never been a fan.  Unless it’s in baked goods...

But then I tried it... and oh man!  What can I say?  I don't have the words to describe - but Cindy, my yoga friend, phrased it perfectly:  it is de-lush.

All my kids now ask for it  -  and I regularly make this twice a day to have a spare for myself in the fridge.

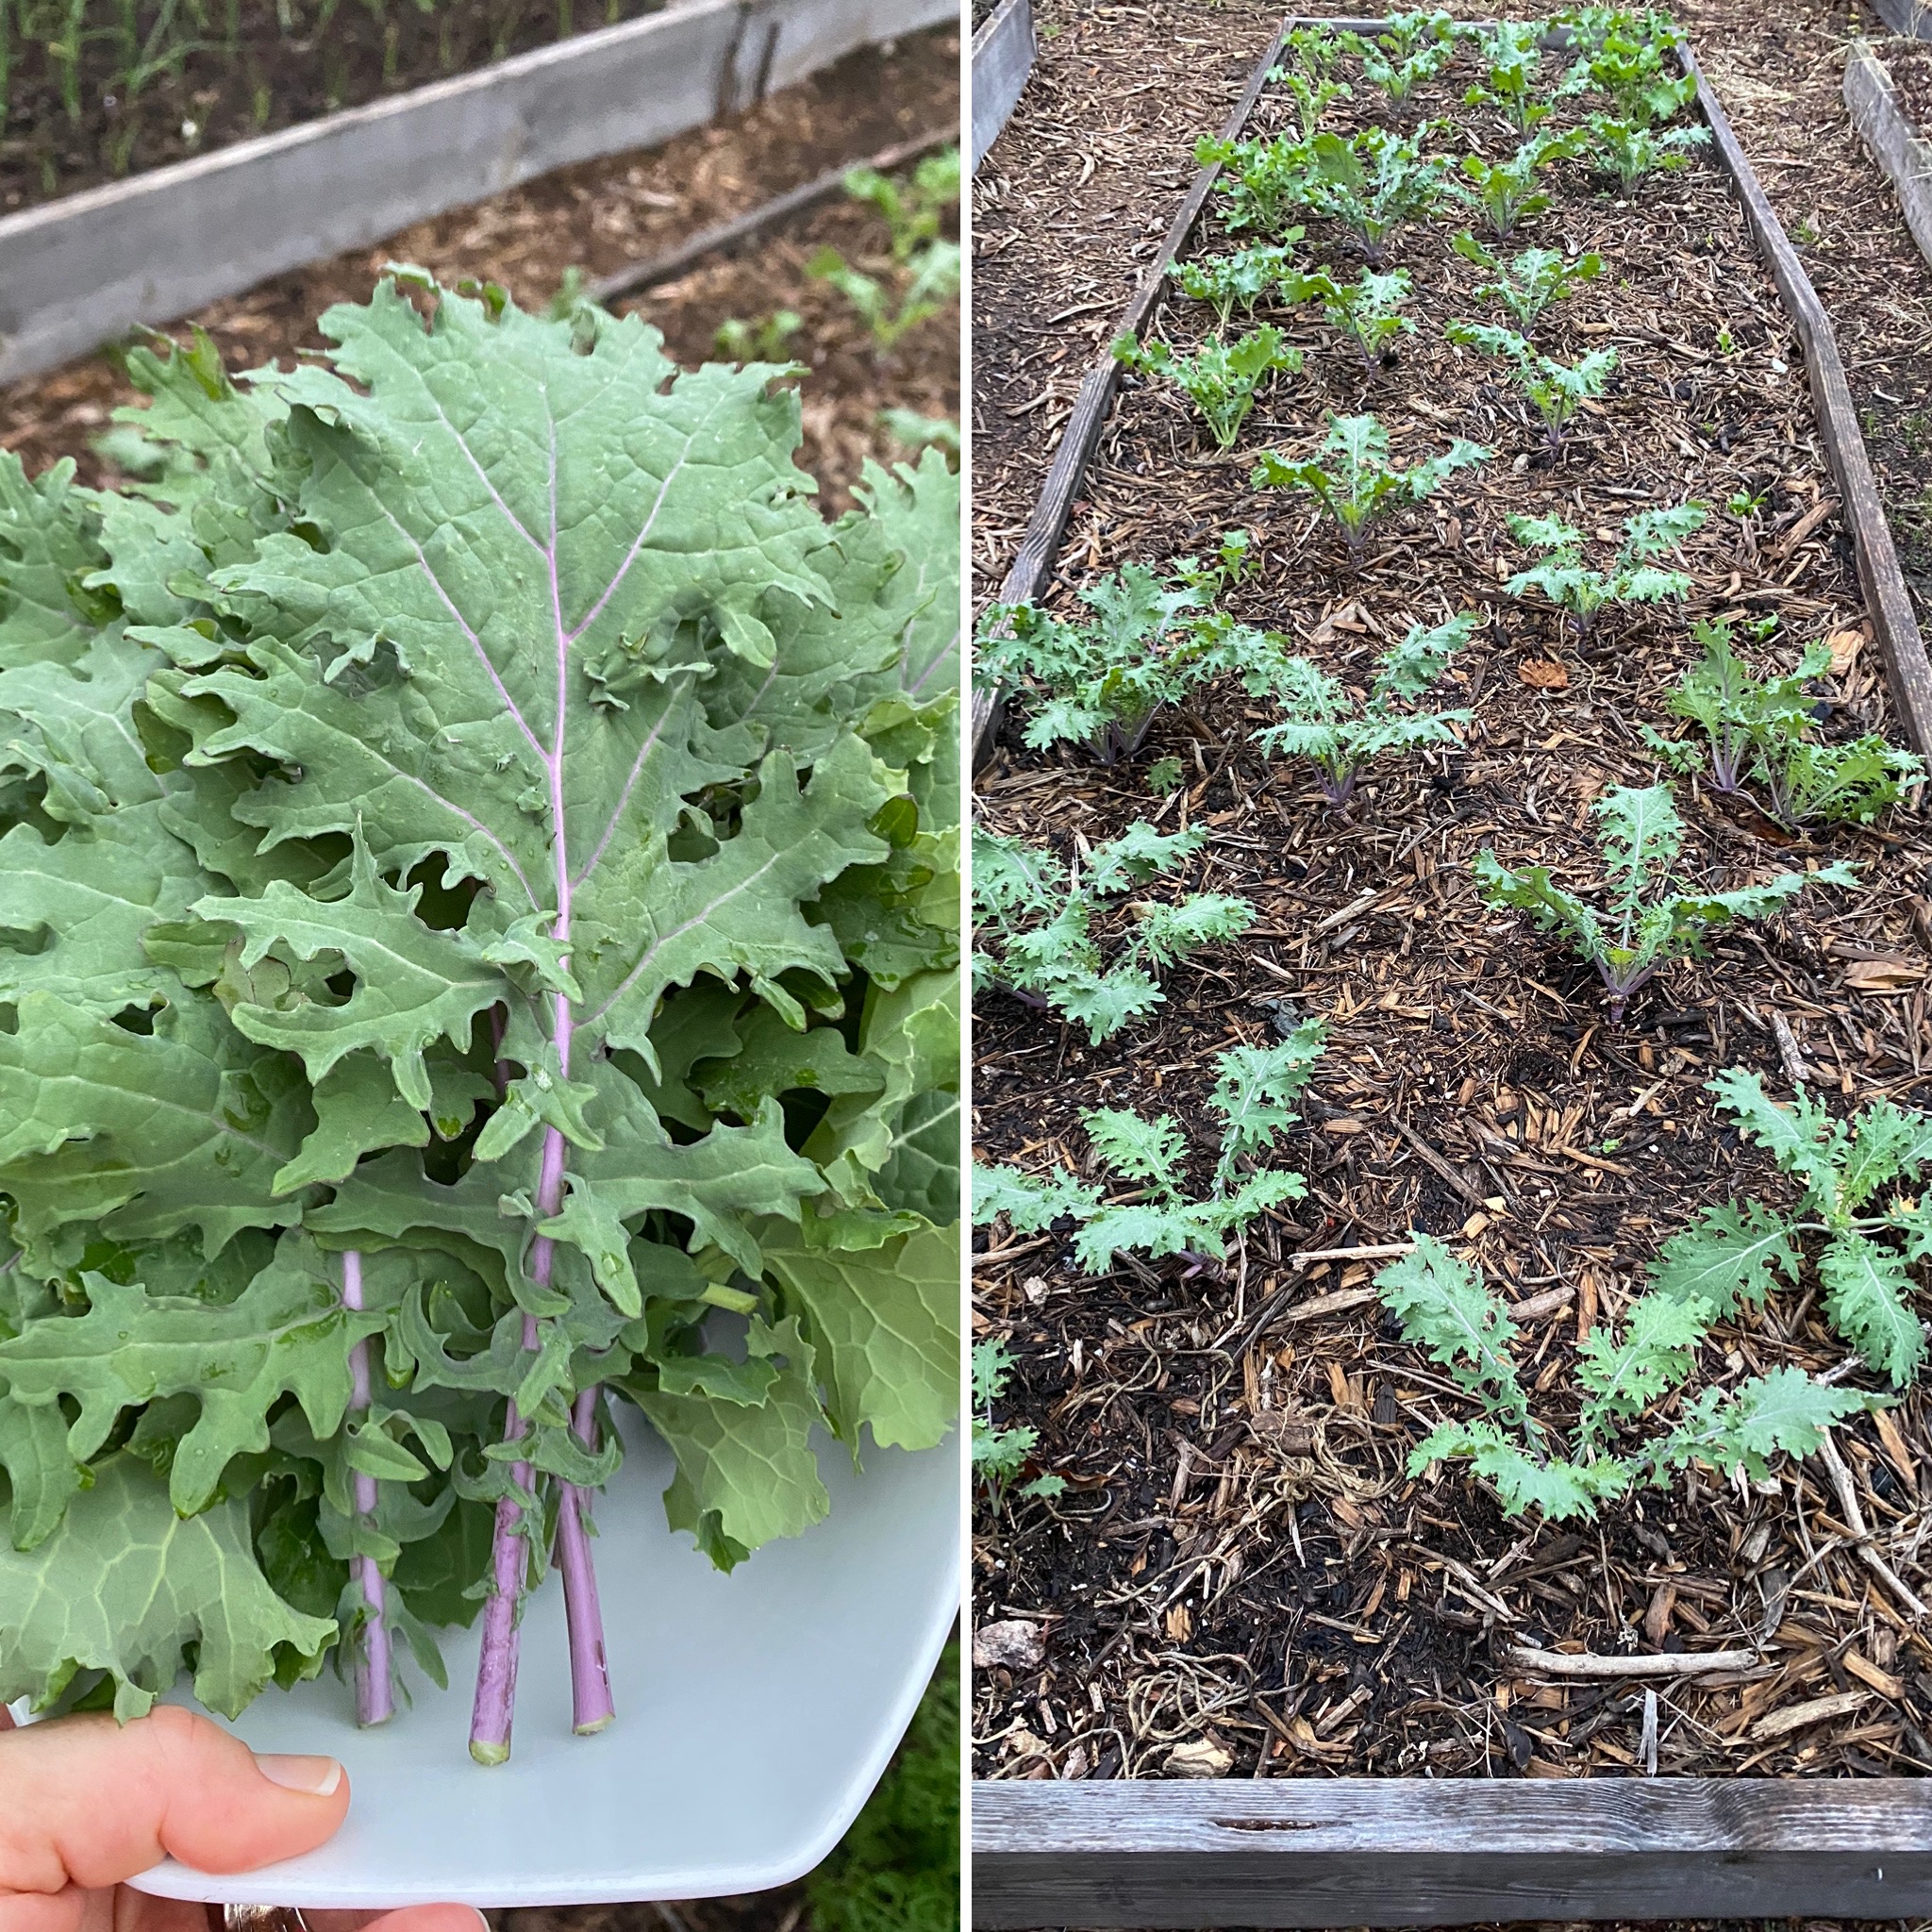
Lucky for me  -  the 2020 winter garden "smoothie bed" can finally keep up with amount of kale needed for these green smoothie requests!


Ginger Green Smoothie -  My Jamba Juice CopyCat

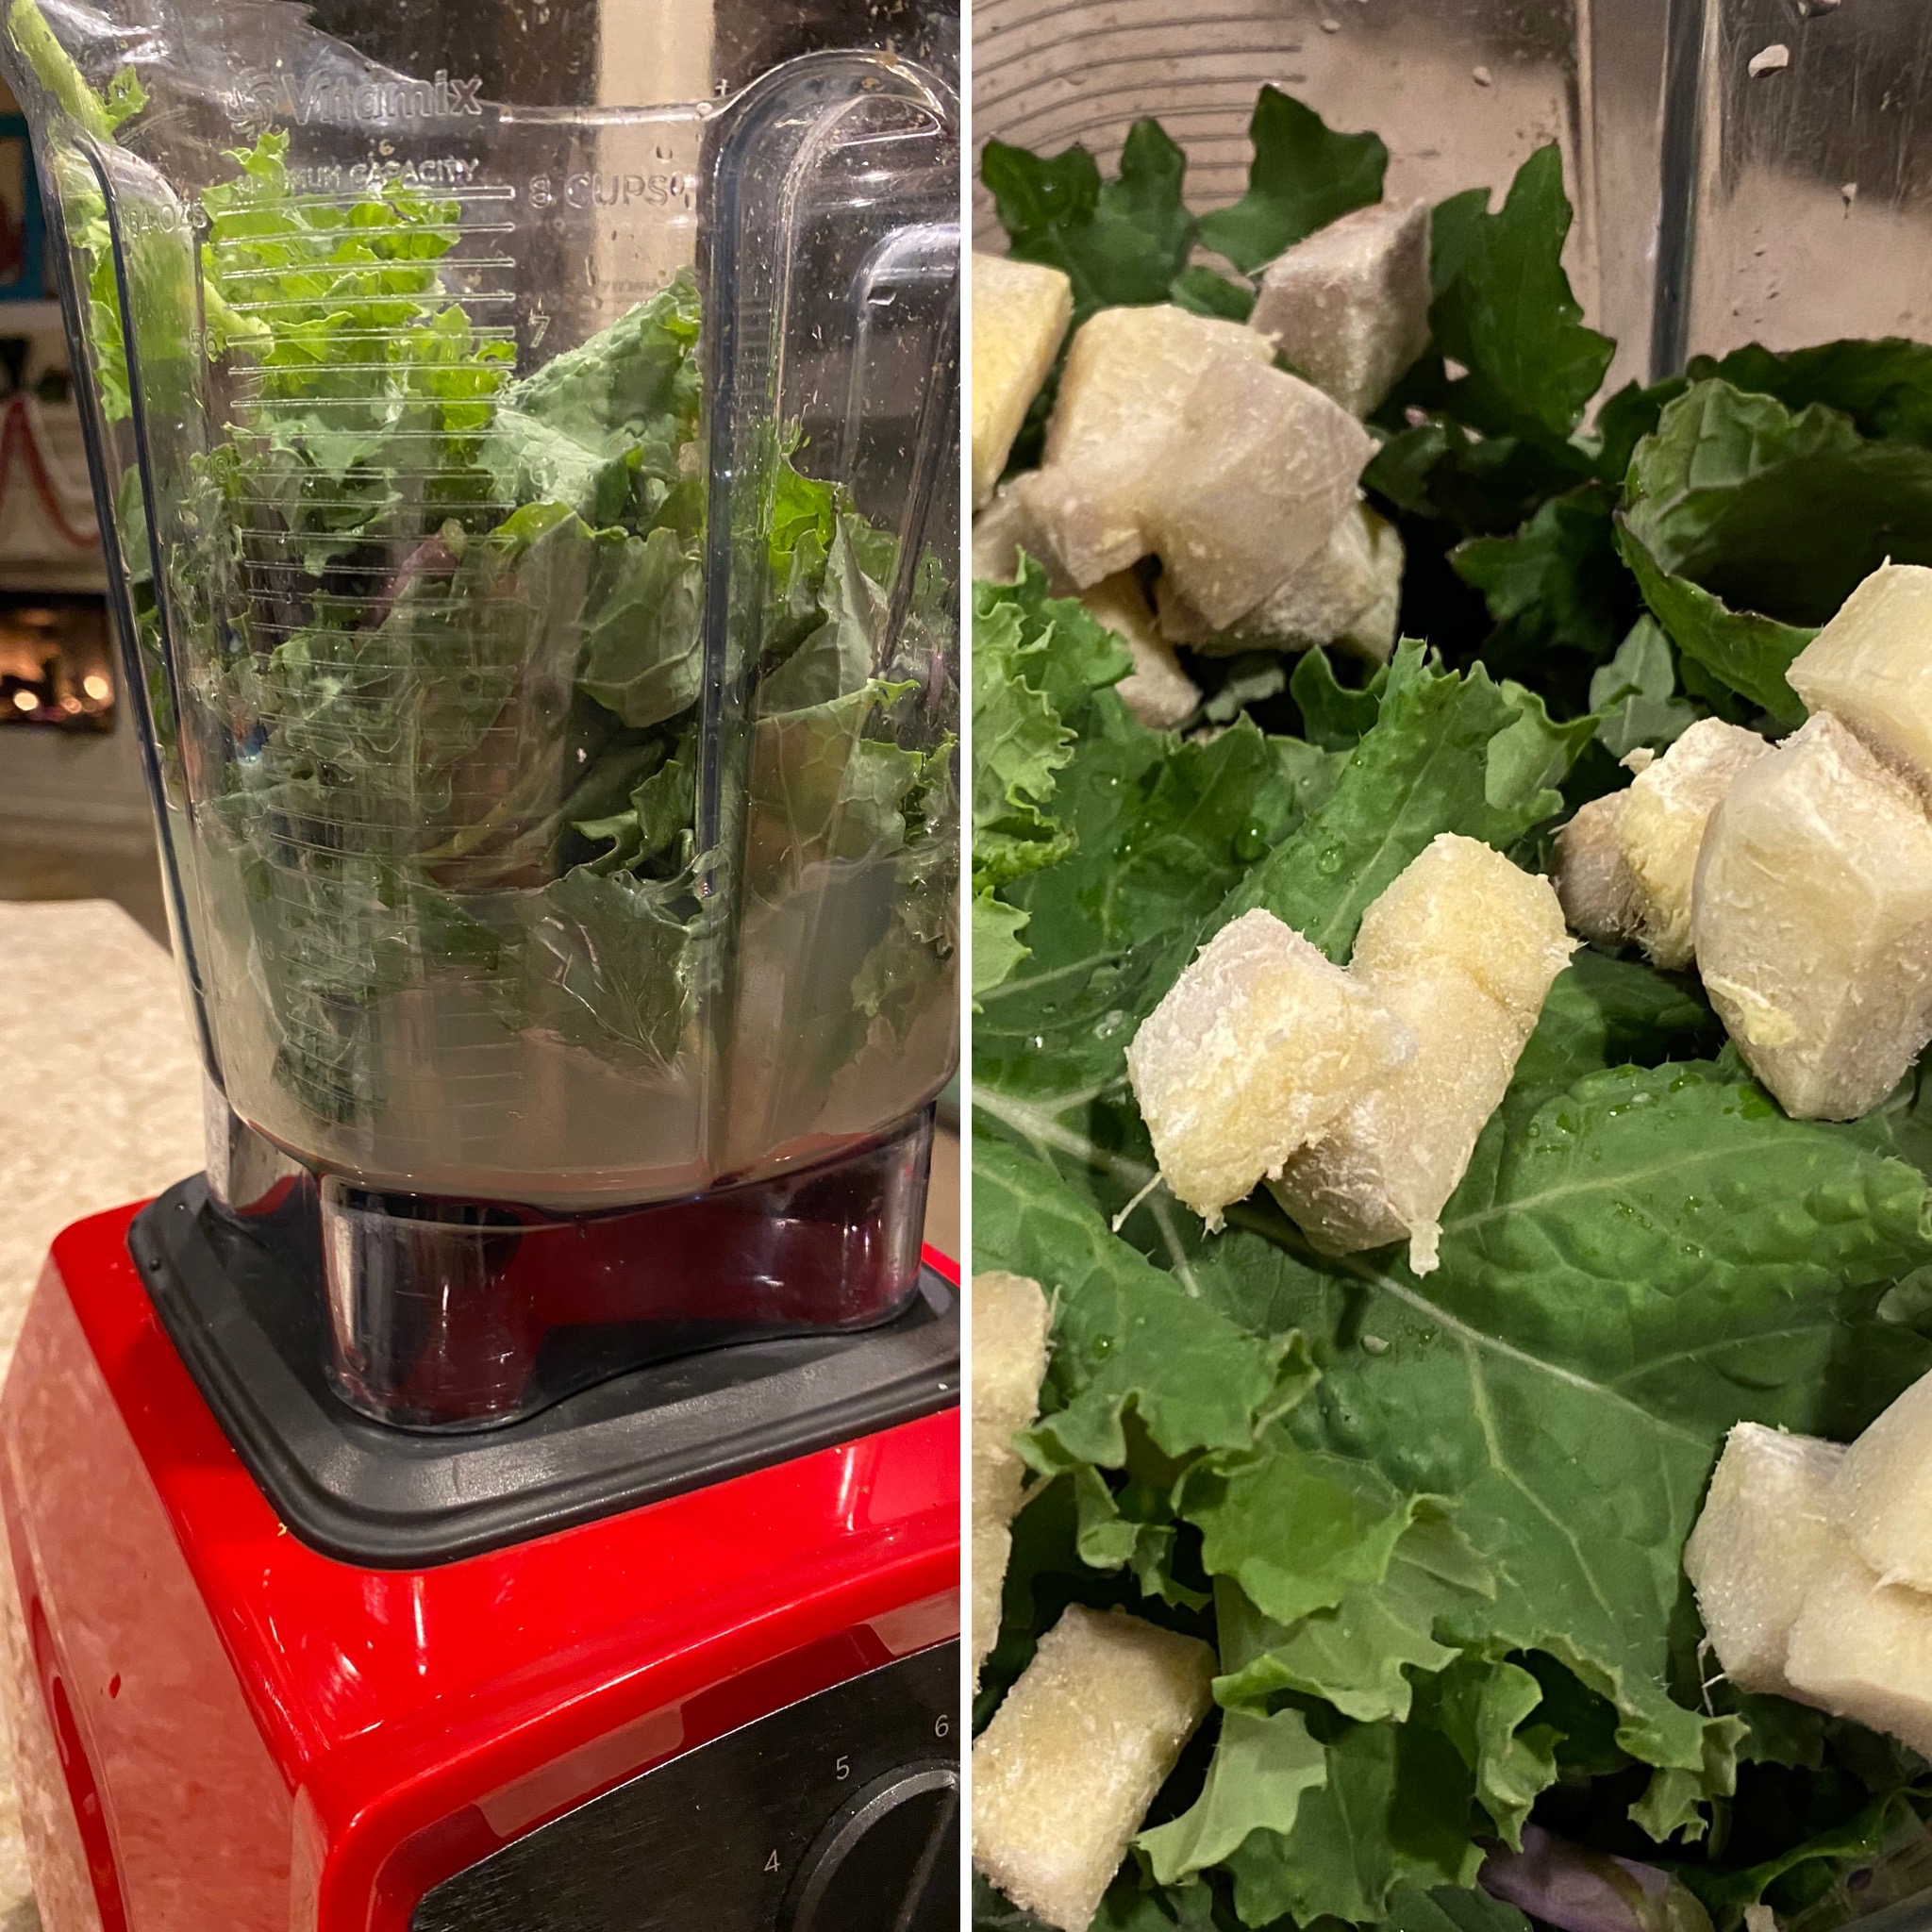
If you have a commercial grade blender - layer in this order and blend until throughly mixed.  Keep an extra 1/2 cup of water nearby if mix is too thick to finish blending. 

If you do not have a commercial grade blender, still blend in this order and throughly mix one layer at a time instead of mixing all at once. 


2  cups water 

4  TABLESPOONS  dry lemonade mix  
(OR  USE:   1  lemon, juiced  AND  3  TABLESPOONS  honey)

4  cups washed kales leaves and stems

1/4  cup frozen ginger pieces 

1 to 2 cups frozen mango pieces 

2  cups frozen pineapple pieces 

1/4  cup ground flaxseed 


Wash your fresh ginger
- then break into pieces.
Using a paring knife,
flatten the edges of
your ginger pieces
and cut away the peel.


Cut your ginger pieces
into a stackable shape
and then dice into
medium/small chunks.


Fresh on the LEFT.
Frozen on the RIGHT.
It will darken a bit once frozen.


2  cups water 

4  TABLESPOONS  dry lemonade mix  
(OR  USE:   1/2  of a lemon, juiced  
AND  3  TABLESPOONS  honey)

4  cups washed kales leaves and stems


1 to 2 cups frozen mango pieces 


2  cups frozen pineapple pieces 


1/4  cup ground flaxseed 


Cindy, my yoga friend,
phrased it perfectly: 
it is 
de-lush.


This is a true life
before and after photo...
The smoothie shown above was a photo
taken 24 hours before this photo.

If you have leftovers after
blending this recipe up - 
store in the fridge for up to
48 hours.

Be sure to shake or stir
in the water portion
that separates from
the more fibrous part.


Click Link FOR: