Thursday, August 18, 2016

Best EVER Baked Beans

This is a recipe that I plan around - as in... I want to eat this, so I plan a dinner around it instead of planning a main course and then planning the side dishes!  Easy, tasty, makes a bunch and then I can freeze leftovers for a quick side a few other times.  

Wonderful with BBQ, baked potatoes and anything else you care to plan around your BEST  EVER  BAKED  BEANS...


1  pound bacon, cut into 1 inch pieces

1  pound ground hamburger (80/20 or 85/15)
1  medium onion, chopped

1 15oz can kidney beans
1 15oz can Bush's Original baked beans
1  15oz can red beans
1/2  cup ketchup
1  teaspoon dry mustard
1/2  cup brown sugar, NOT packed
3  Tablespoons vinegar


Pre-heat oven to 350.

Prep your bacon and add to a heated cast-iron pot.

Brown the bacon pieces.  Brown your bacon EXTRA  WELL  DONE.  i.e.: nearly burnt.  It will be added later and "re-hydrate".  (You don't want soggy bacon...)

Remove bacon pieces and set aside.  

Add the hamburger and chopped onion to the bacon grease and brown hamburger.

Once all 3 first ingredients are browned, re-add bacon and add all remaining ingredients AND  DO  NOT  drain the beans.


Bring to a slight boil, stirring constantly while it’s heating up - then turn heat down and simmer for 10 minutes.  Stir occasionally while simmering.

Place the cast-iron lid on your pot and transfer from the stovetop to your pre-heated oven.

Bake in oven at 350 for 45 minutes.

Stir when done and then replace the lid and let rest until ready to eat.


NOTE: If you do no have a cast-iron pot, transfer cooked baked bean mixture to a 9X13 baking pan and cover with a double layer of foil to bake.


LEFTOVER  IDEAS:
Freeze, baked potatoes, savory dinner crepes... :0)  that one is coming!


Click Link FOR:     Mama Jo's Recipe Blog TABLE OF CONTENTS


Sunday, August 14, 2016

Baking with Natural Yeast - Rehydrating Yeast Flakes


Only 1 TABLESPOON
of dehydrated flakes are
needed to get a jar started...


… … … … … … … … 

YouTube Video For: Rehydrating Natural Yeast Flakes

… … … … … … … …

The short version of what natural yeast is, and what I convey to a "D" personality type:  (For the person who really just wants me to GET TO THE POINT.)

Natural Yeast is just that - NATURAL.  Not manufactured but gathered from nature.  You can grow it, share it, use it, freeze it, dehydrate and store it.  Used in baking bread, making crepes, pizza, muffins, pancakes, waffles... your baking uses of natural yeast depend on how you want and need to use it.

For those of you who'd like a few more details:
It takes time to rise.  Definitely the furthest thing from QUICK with the process time it takes to make a loaf of bread.  However, I can say from years of use and experience with both quick-rise and natural yeast that NATURAL YEAST is the EASIEST and FASTEST way to make bread.  I've timed it: 10-15 minutes total time to put a loaf together and feed my yeast.  That's it.  No babysitting, no kneading, NADA.  

The yeast processes the gluten protein our bodies cannot handle and which causes inflammation (think about the food baby you end up with after eating fast-food or pizza) and through that process of rising the yeast does all the work for you.  You mix your bread, seal the dough, leave it alone to process on your counter.  Come back when it's done, pull it onto a puddle of grape-seed oil, form your dough and bake.  That's it... and indeed a LIFE changer.  Especially if you're living with gluten intolerances or straight-up allergies. 

Natural yeast in flake form is easy to transport, send, or store for sharing and also for helping a jar of sick yeast.  (And yes, it can get sick.  It's alive, and you want to keep it that way...)  

I have found through several different tries what works best for me.  It may be that I have a thinner yeast flake from my dyhydraing process, the humidity in my house (thank you TEXAS...)  or some variable I will never quite understand.  Any which way, this is what works for me.  I'd love to hear what works best for you and your little happy jar of natural yeast.


LET'S  GET  STARTED!

You'll need:
1 - natural yeast flakes.     
2 - pint size jar, lid and ring.  (or a plastic lid for your canning jar.)


(flip your lid with the seal flipped TOP-side facing down... you want to make sure your yeast is getting air to breathe.)


3 - Tablespoon measurement
4 - filtered drinking water  


Add 1 TABLESPOON of dehydrated flakes to your clean, pint size jar.

Add 1/4  CUP  filtered drinking water, put on your lid flipped TOP-side facing down,
tighten your lid BUT NOT ALL THE WAY!, and let it sit in your kitchen for 6-12 hours.

After 6-12 hours when the natural yeast flakes have become mushy:
Add  1/4  CUP flour

Let's chat here for a bit - my yeast does not like ALL whole wheat flour.
I  DO  NOT  FEED  MY  YEAST  WHOLE  WHEAT.
(It turns it into a hot mess I don't want to bake or cook with... EVER.)
If you want to try it, split your yeast when you have a large amount and experiment in a separate jar from the one you want to keep long term in your fridge.

That said, I have great success making the dough doing 1/2 whole wheat and 1/2 all-purpose flour.

Before you dive into experimenting with whole wheat, 
THINK:  GOOD,  BETTER,  BEST  when it comes to your flour.

All-Purpose is GOOD.

Unbleached / All-purpose is BETTER.

Unbleached / Organic is BEST.

AND REMEMBER:  
You are MAKING your bread.  
Holy COW! and a pat on the back!  

Do the best with what you have...  I am typically using Unbleached.  I'm not at Costco everyday to buy unbleached/organic, and I no longer have a food storage room in the basement.  I do the best with what I have and what I can quickly get running into HEB or Kroger while staying within my family's monthly budget.


NOW, back to the Natural Yeast you are making...

After feeding your natural yeast a 1/4 cup flour your yeast it will need to hang out on the kitchen counter again with the lid on.  But now that it is fed it will be ready to be fed again by the end of the day.


By the end of the day you should see significant activity in your jar.

LOTS  OF  AIR  BUBBLES! =  Happy, Alive, Active yeast


Now it's time to feed it one last time before sending it to the fridge OR using it.

Add:
1/4  CUP of un-bleached flour                     
1/4  CUP  filtered drinking water

Stir with a fork and mix well throughout. The mixture should look like thick oatmeal and
have a few air bubbles from being mixed throughly.  Put in the fridge OR set on the counter for another 5-8 hours and use when bubbly and active throughout again.


NOTE FOR USE:  always feed and water your natural yeast after using it for making  dough.


Place in your fridge in the "warmest" spot possible. I've learned through trial and error (killing my natural yeast) that I have to keep a hand towel underneath my yeast jars for added 
"warmth" against the harsh glass shelving.


I keep any extra dehydrated yeast flakes zipped up in a Ziplock, labeled and rolled up at the coldest corner of my fridge.  Make sure to date your batch of yeast and use your oldest one first.

Annnndddd...  I've named my yeast.  IT'S LIKE A PET!  You have to feed, water and care for it 
- keep it alive.  :0)


If your baking needs require larger amounts of natural yeast, transfer to a larger glass jar at a feeding stage of use.  Always allow for "breathing" room, at least a 1/4 of your jar.


How to feed for a larger quantity:

Simply equal parts flour and water.
EXAMPLE:  
1/4 cup yeast starter
1 cup flour
1 cup water
Let sit on your counter for 9-12 hours. 
Use starter and feed and water as normal,
or immediately put in the fridge for later use.

FOR  fridge  storage:
DO NOT EXCED THE AMOUNT OF YEAST YOU'RE FEEDING
ie:  do NOT feed a 1 cup of flour and 1 cup of water to a 
1/4 cup yeast and shove it in the fridge...


(INSTRUCTIONS   WITH  PHOTOS:)

I keep dehydrated yeast flakes zipped up in a Ziplock,
labeled and rolled up at the coldest corner of my fridge.


Annnndddd...  I've named my yeast.
IT'S LIKE A PET!
You have to feed, 
water and care for it 
- keep it alive.  :0)

Make sure to date your batch of 

yeast and use your oldest one first.


You'll need:
1 - natural yeast flakes.    
2 - pint size jar, lid and ring.


(flip your lid with the seal flipped TOP-side facing down...
you want to make sure your yeast is getting air to breathe.
Another reason you might want to name it...)


3 - Tablespoon measurement
4 - filtered drinking water        


Add 1 TABLESPOON
of dehydrated flakes
to your clean, pint size jar.


Add 1/4  CUP  filtered drinking water,
put on your lid flipped TOP-side facing down,

tighten your lid BUT NOT ALL THE WAY!,
and let it sit in your kitchen for 6-12 hours.


After 6-12 hours when the natural yeast 
flakes have become mushy:

Add  1/4  CUP flour


After feeding your natural yeast a 1/4 cup flour
your yeast will need to hang out 
on the kitchen counter again with its lid on.
but now that it is fed it will be ready to be 

fed again by the end of the day.

By the end of the day you should 
see significant activity in your jar.

LOTS  OF  AIR  BUBBLES! =  Happy, Alive, Active yeast


When your contents look like the 
photo above when you open your lid,
it's time to feed it one last time 

before sending it to the fridge.


Add:


                1/4  CUP of un-bleached flour                     
1/4  CUP  filtered drinking water


Stir with a fork and mix well throughout.
The mixture should look like thick oatmeal and
have a few air bubbles from being mixed throughly.

Put in the fridge OR set on the counter for another 
5-8 hours and use when bubbly and active throughout again.


NOTE FOR USE:  always feed and water your natural yeast 
after using it for making  dough.

CLICK  LINKS  AT  THE  END  OF  THIS  POST  FOR  ADDITIONAL  
RECIPES  AND  NATURAL  YEAST  BAKING  INFORMATION.  


Place in your fridge in the "warmest" spot possible.

I've learned through trial and error (killing my natural yeast)
that I have to keep a hand towel underneath my yeast jars for added 

"warmth" against the harsh glass shelving. 


If your baking needs require larger amounts of natural yeast,
transfer to a larger glass jar at a feeding stage of use.

Always allow for "breathing" room, at least a 1/4 of your jar.

How to feed for a larger quantity:
Simply equal parts flour and water.
EXAMPLE:  
1/4 cup yeast starter
1 cup flour
1 cup water
Let sit on your counter for 9-12 hours. 
Use starter and feed and water as normal,
or immediately put in the fridge for later use.

However, with fridge storage:
DO NOT EXCED THE AMOUNT OF YEAST YOU'RE FEEDING
ie:  do NOT feed a 1 cup of flour and 1 cup of water to a 
1/4 cup yeast and shove it in the fridge...


CLICK  LINK  FOR:    Baking With Natural Yeast - Basic Loaf


CLICK  LINK  FOR:    Mama Jo's Recipes - Table Of Contents


Monday, February 15, 2016

Ham and Lentil Soup


Serve with some toasty Natural Yeast Bread.


Comfort food.  Most people will read this and think of a baked Mac and Cheese...  (Fleming's Steakhouse please!)  Or maybe a fall-apart pot roast paired with roasted potatoes and carrots.  (I will blog that one later... promise!)  For me, it's soup.  

Alas - my children are over it, ready to breakup with anything that resembles soup, and I am not.  I'm still smitten and in love.  :O)  The weather down here in Texas isn't helping the relationship my children have with soup... we're enjoying a lovely winter with 70 PLUS degrees each day, making it hard to successfully cheerlead soup when presented for dinner.  

My arsenal of dinner choices have been shaped for nearly 12 years by blowing wind and a balmy 20 SOMETHING degrees in Idaho.  Nine months of winter used to make it easy to keep my love of soup  going strong... Not so much when we really only have 3 months of winter (and sometimes that's an exaggeration!)  So these will be for you out there... those of you with frost in the corner of your windows, deep in snow, with freezing toes and fingers and in need of a hot winter soup.

I have updated my arsenal of soups, photos and all, and have double checked my amounts by making each recipe again to make sure each of my steps were included in the final edits.  

Here is the first in the lineup...

ENJOY!


Ham and Lentil Soup


3 Tablespoons olive oil 
1 1/2 medium onions, chopped
6-8 stalks of celery, sliced
2-3 lbs. (12-15) carrots, peeled and sliced
3 teaspoons sea salt - OR 2 teaspoons Kosher salt
1 1/2 teaspoons freshly ground black pepper 
1 bundle garlic, pressed
2 bay leaves 
2 teaspoons thyme
2 quarts chicken stock 
2 cups water
1 pound ham, cubed 
1 pound lentils 
1/4 cup chopped parsley or parsley flakes


In a large pot, over medium heat, add the oil. 

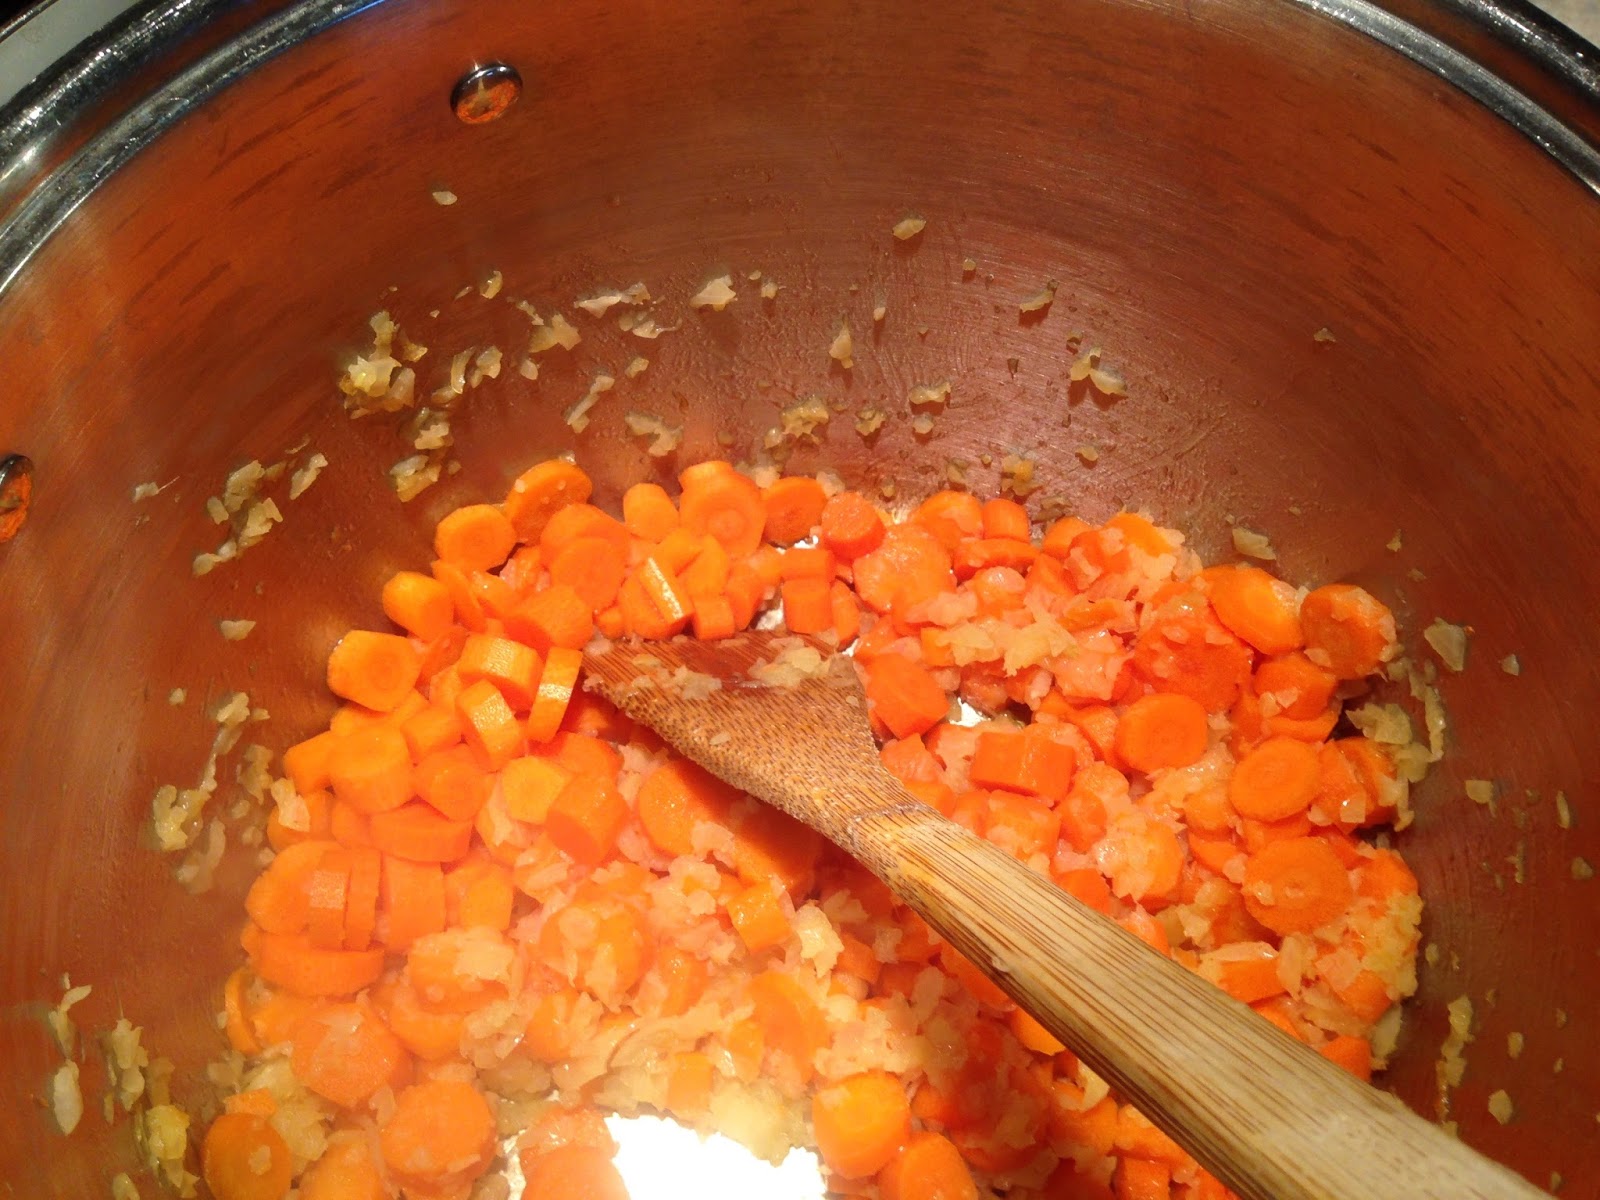
When the oil is hot, add in the following order: onions, celery, and then carrots.  Sauté vegetables until soft and onions start to caramelize.

Add cubed ham pieces.  Stir.   

Add minced garlic, thyme, salt and pepper. Sauté for 4 minutes. 

Add liquids, parsley, bay leaves and lentils.

Bring the liquid to a boil, reduce the heat to medium-low and cook 30-45 minutes, or until the lentils are tender. 

Re-season with salt and pepper if needed. 

Serve with a natural yeast bread.


*** OPTIONAL:   Add 2-3 yukon/yellow potatoes, peeled and cubed, at the last 20 minutes of cooking.

*** NOTE:  Excellent freezer dinner!


Gather up your stuff!


Always start with your onions...
It keeps everything else from sticking to the pan.


Add your carrots as  you get them peeled and sliced.
I've come to realize how much this is a needed,
dare I say required SOUP STEP.
Your carrots and other veggies need to be prep-cooked.
No one wants to crunch a carrot while eating soup...
Just saying...


Next!  Celery.


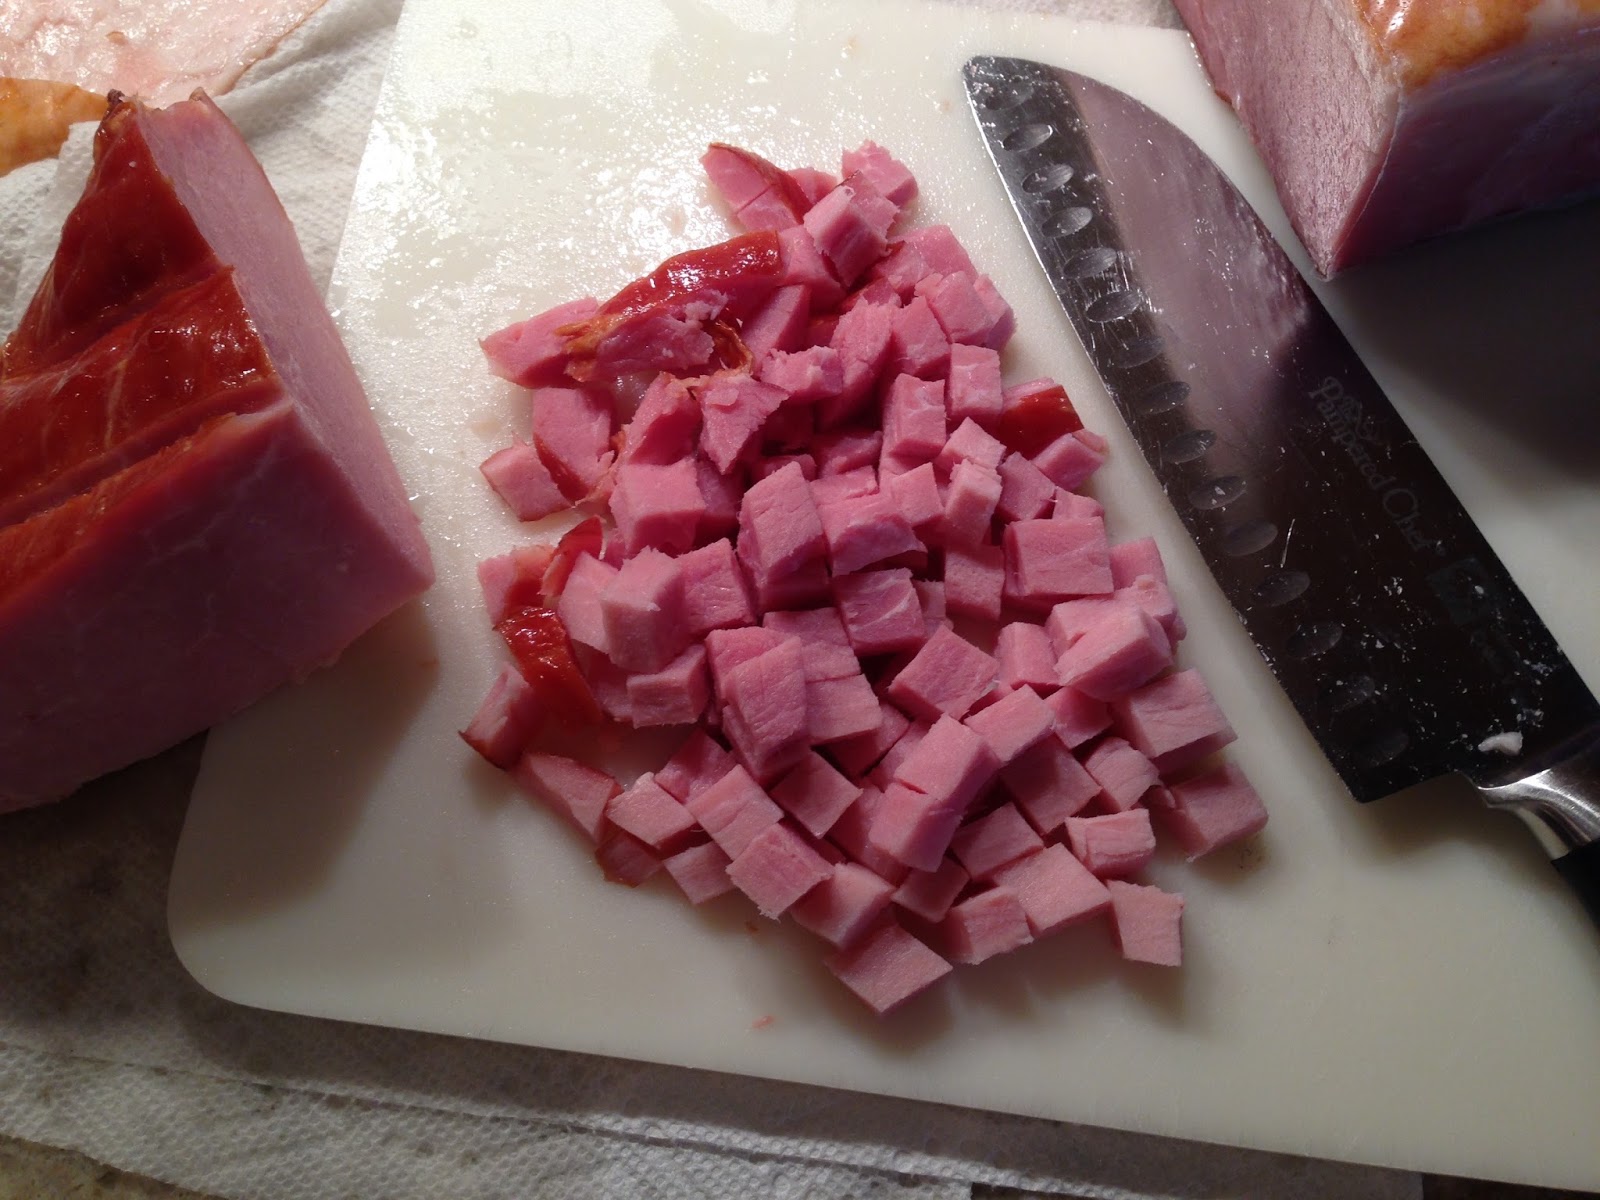
Find yourself a cooked ham - or cook one and use the leftovers.
Either way, you'll need about a pound of it!  :O)


Cube it up...


Add it in...


As your adding all your ingredients,
keep everything stirred up and moving about.
You'll notice the onions and carrots start to caramelize a bit...
It's what you want to see!
But do not leave it too long, it will burn.


And then GARLIC.
(Insert heavenly smells here.)


NOTE:  Add all of your garlic at once.
DO NOT add bit by bit as you mince.
It will cook quickly and you do not want to burn it.


Chicken broth - Anyway you like it.
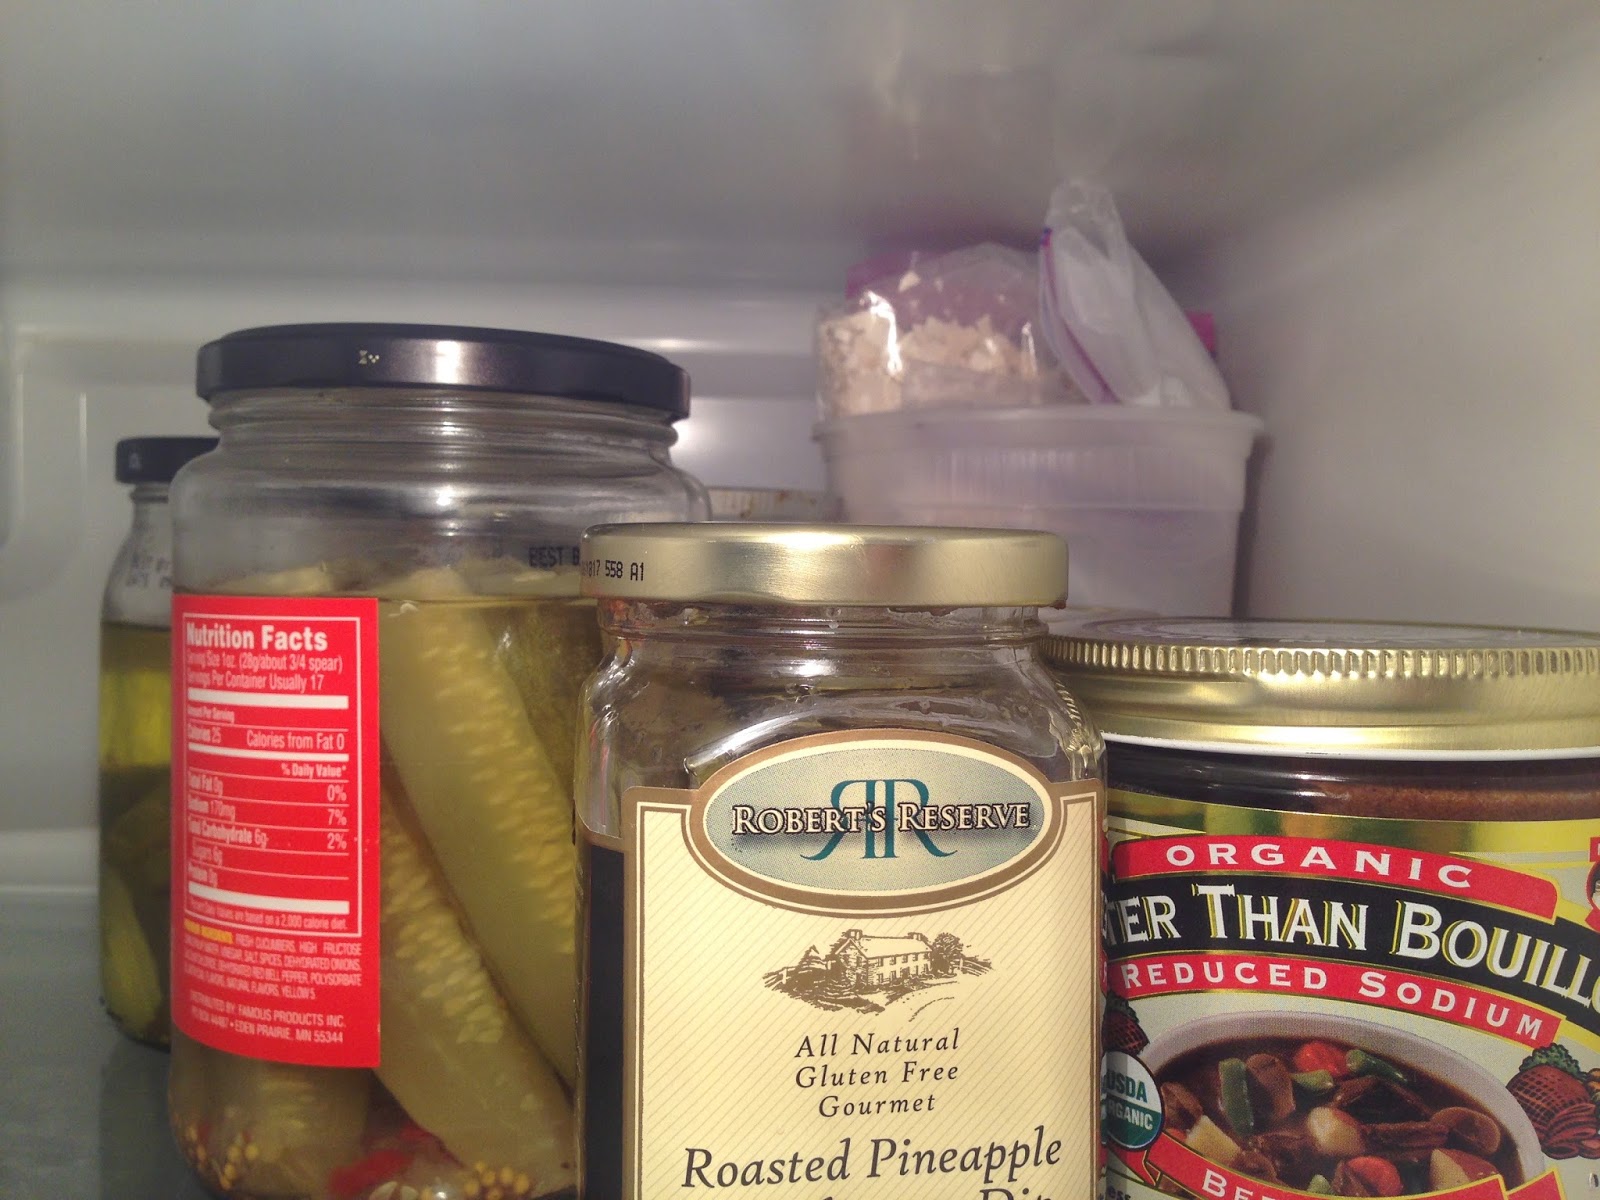
Box.  Can.  Homemade.  Better Than Bullion.
Bullion if you can find it these days...
Whatever you want.  :0)


Rinse and add your 1 pound of lentils.


Bring to a full boil and then let simmer 1/2 hour to 1  1/2 hours.


As your soup cooks down, add water as needed.
NOTE: You may need to add salt and pepper
depending on how much water is added!
Taste your soup before serving...
add only 1/2 teaspoon of salt and/or pepper
at a time until desired taste is achieved.


Serve with some toasty Natural Yeast Bread.
I prefer a Natural Yeast Bread with added flaxseed,
but do not have a photo of it...
Will update when I think of it!  :0)


Are you in love too???


Thursday, January 28, 2016

Muddy Hot Chocolate Mix

NOTE:  Large quart jars hold 6 servings, 
and pint jars hold 3 servings. 
In total this recipe makes 24 servings.


Baby, it's cold outside!  Okay... it isn't right now in Texas, but I'm sure it's cold somewhere!  And once in a while, it does actually get cold enough to have hot chocolate.  


This one is my favorite.  It is very similar to a hot chocolate I used to buy in Twin Falls, Idaho from a coffee house that made their own Mexican Hot Chocolate with a touch of cinnamon.  

Mine offers three (yes!)  THREE different kinds of chocolate... FOOD  IS  LOVE ...and your tastebuds will be feeling the love for more than a few servings if you decide you'd rather not share.


5  1/2  cups powdered milk 
5  1/2  cups sugar 
3  1/2  cups cocoa powder 
3  1/2  cups chocolate chips - Milk Chocolate and DARK Chocolate (60%-75%)
2  TABLESPOONS ground cinnamon 

Combine all the dry ingredients in a large bowl.

Mix well with a wooden spoon and then store in a dry, airtight container. 

To make the hot chocolate, simply add 1 cup of water per 1/2 cup of hot cocoa mix. 

Heat water and added hot chocolate mixture in a small saucepan over low heat, stirring consistently with a whisk. 

Heat until hot, but DO NOT boil.

About 6 to 7 minutes.

OPTIONAL:  serve with marshmallows (because you're having hot chocolate...)


NOTE:  6 ingredients...
3 of them are different chocolates!
You're welcome.


(I never measure...
it's just one regular bag of milk chocolate chips
and one bag of EXTRA DARK chocolate chips)


COSTCO sized baking cocoa powder because 3 1/2 cups is a lot. 


When I am done combining all the ingredients,
and there are no remaining pockets of sugar or dry milk,
I will transfer the hot chocolate mix into my storage/gifting
container using serving size measuring cup.

Using the actual serving size amount
is ideal when I get
to the bottom of my mixing bowl.

I usually only have a few extra
Tablespoons to distribute among my jars
- these are pretty darn close-to-exact-amounts.  


NOTE:  Large quart jars hold 6 servings,
and pint jars hold 3 servings.
In total this recipe makes 24 servings.


If you do decide to share this loveliness, 
make sure your gift has instructions.
ENJOY!   :0)


Click Link FOR:        Mama Jo's Recipe Blog TABLE OF CONTENTS